This is more than sharing a recipe this week, this is sharing a victory! Years ago, when my fiance was my best friend, I decided to be the coolest best friend ever and make him a Pokemon cake. It wasn’t going to be overly wild, just a round 2 layer cake decorated like a pokeball on top. One layer was red velvet and the other was plain vanilla. Simple yet fun. Apparently, it wasn’t simple enough because I manged to totally wreck it! The bottom cake wasn’t even, and when I put the top layer on, it fell apart and slid off in painfully slow motion. Even frosting couldn’t fix it! It was a heartbreaking disaster.
If you’re wondering if the birthday boy got a treat anyway, the answer is yes. I ended up taking the whole thing and crumbling it up (even more than it already was) and making cake truffles with the whole mess. I learned two things that day and I have found them both to be incredibly important in my baking endeavors. The first thing was that almost anything can be saved, you just have to get creative. The second was to make sure your cake layers are PERFECTLY even before you stack them!
However, this cake uses a “cheat” so it’s easy for a beginner to make also. Since that long ago cake experience had me scarred, I decided to do a beginner’s version of a layer cake that is much easier than what I tried last time.
The love of my life requested mint chocolate and that was all. He gave me no other specifications other than that flavor. He wanted me to run wild and create whatever I wanted, so I decided to visit my old nemesis: layers. Although this time, I had watched the Kids Baking Championship and I got schooled by people half my age! I have to say I learned a lot about cake making from that show and it definitely helped me with this cake!


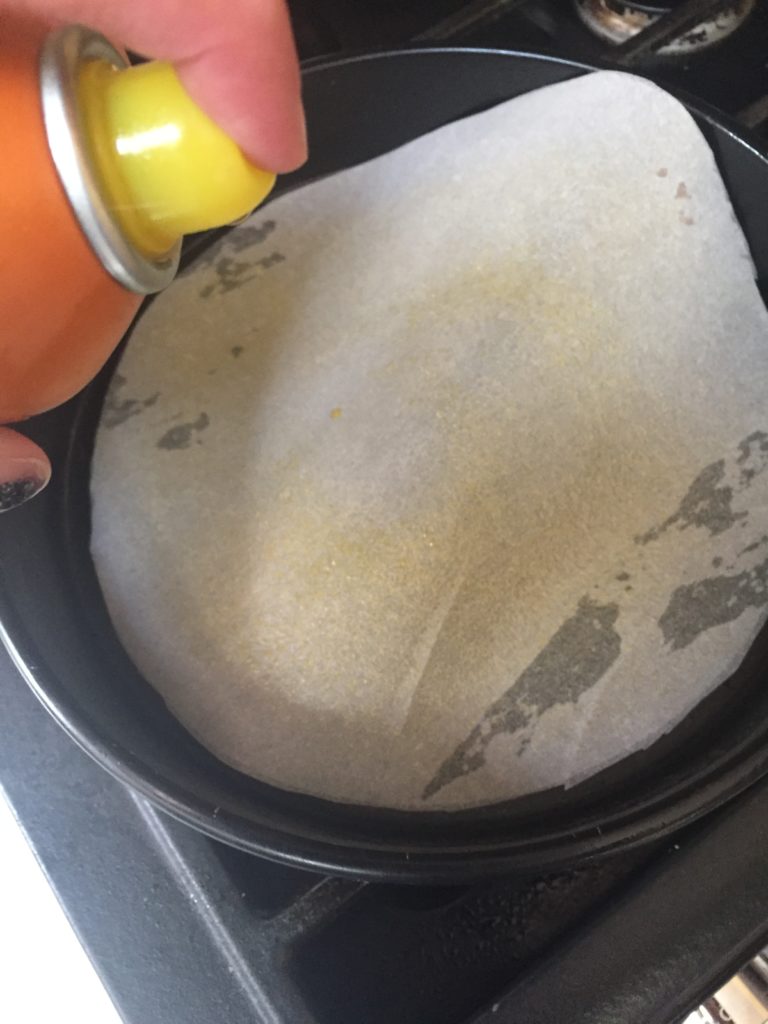
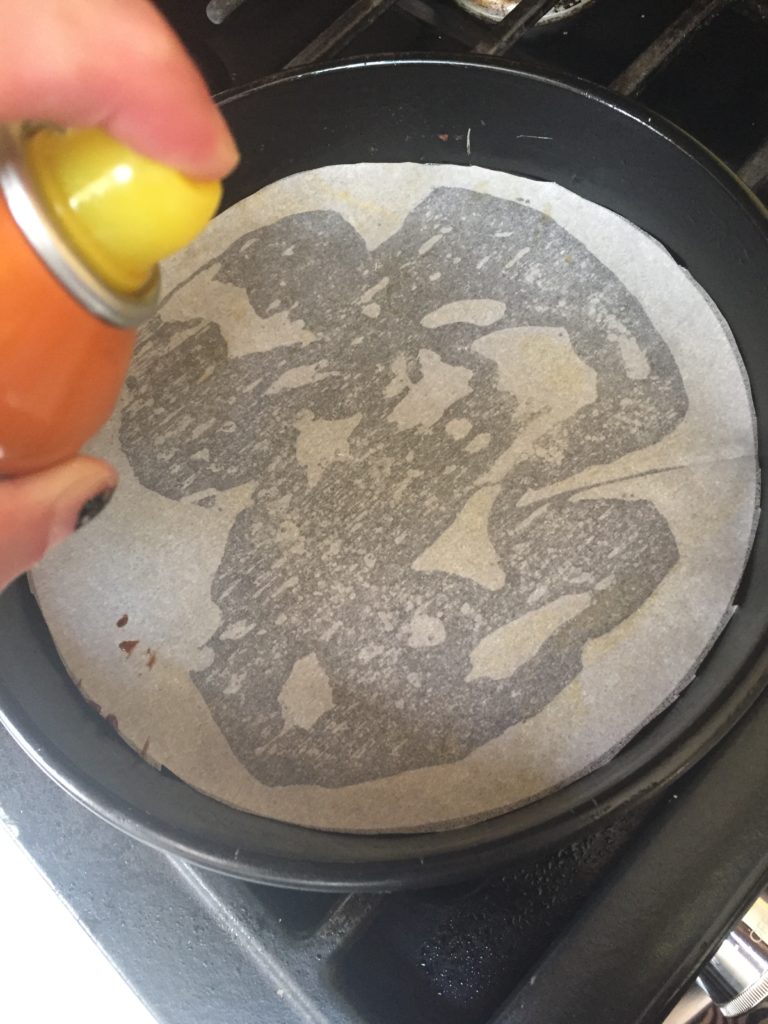
One of the best things I learned is the importance of prepping the pan. I always buttered it and often floured it. I even used Wilton brand Cake Off, which works amazingly, but this time, I used the parchment paper trick since brownies are dense and sticky. Taking the extra time to trace the bottom of the pan and cut out the paper liner for the bottom was totally worth it. I plan to use this way more often!
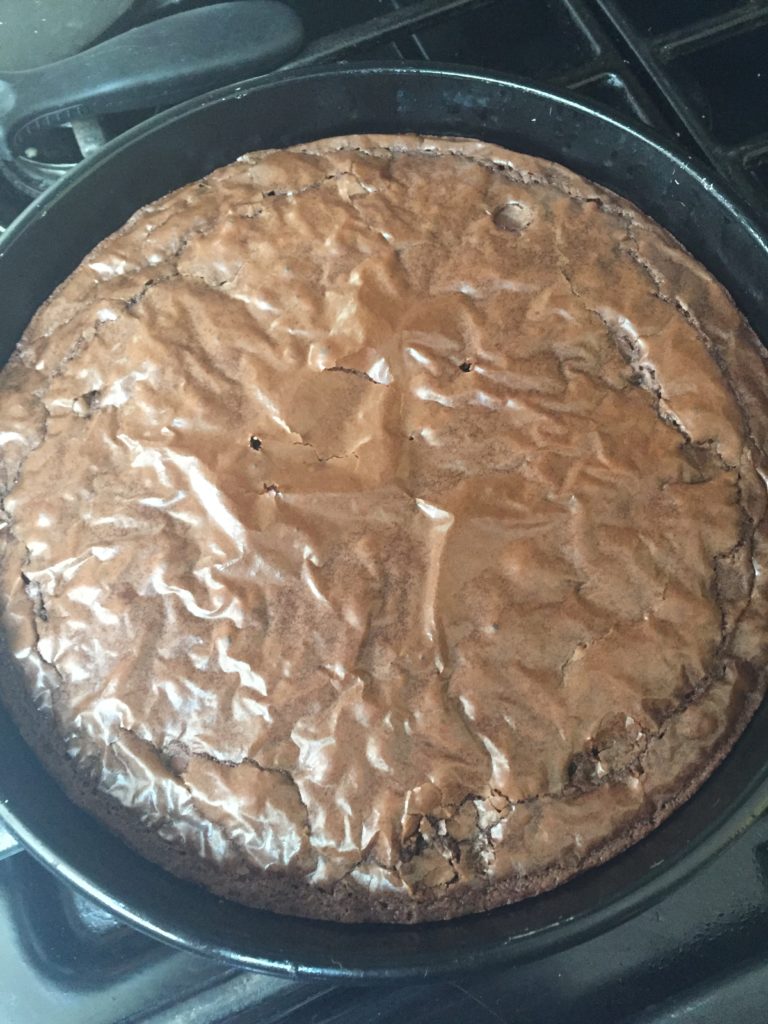
So here’s the easy cheat part: I used box brownie mix and brownies don’t even need to be leveled like cakes once they’re baked. Now why didn’t I make him a Pokemon brownie cake all those years ago? Oh well, it’s no use crying over cracked cake……..
I found two round pans of the same size, so this worked perfect for the three layers I did. When they come out of the oven, just run a knife around the side of the pan, and after about 15 minutes, invert it onto a cooling rack and gently peel the parchment paper off the bottom.
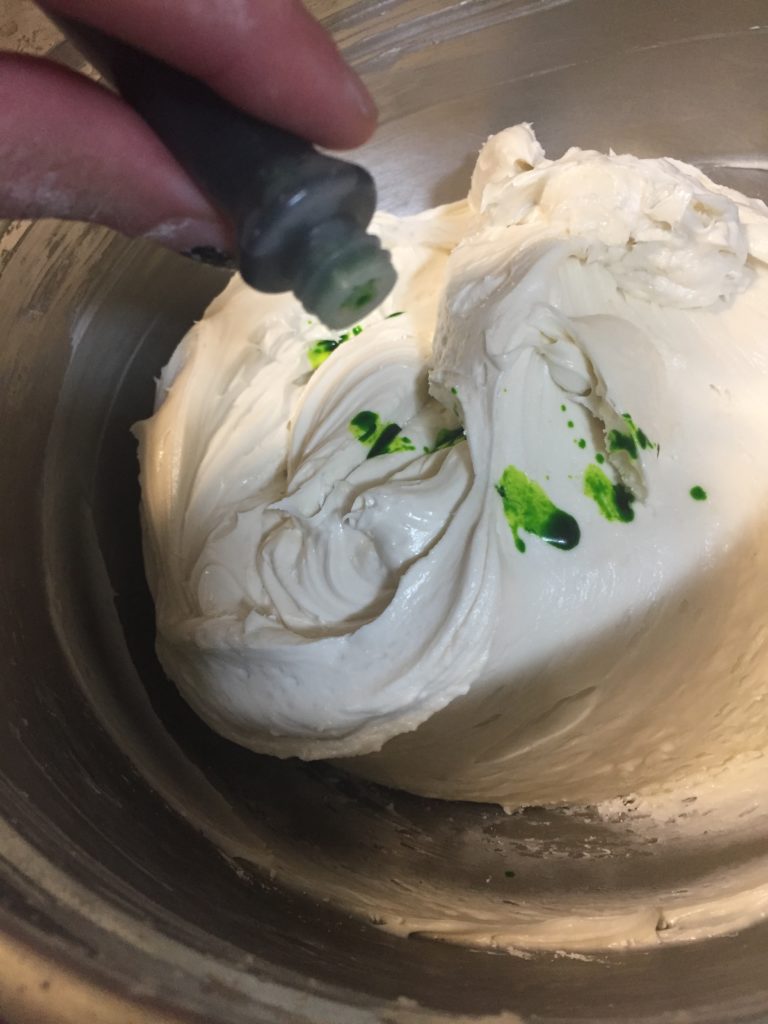
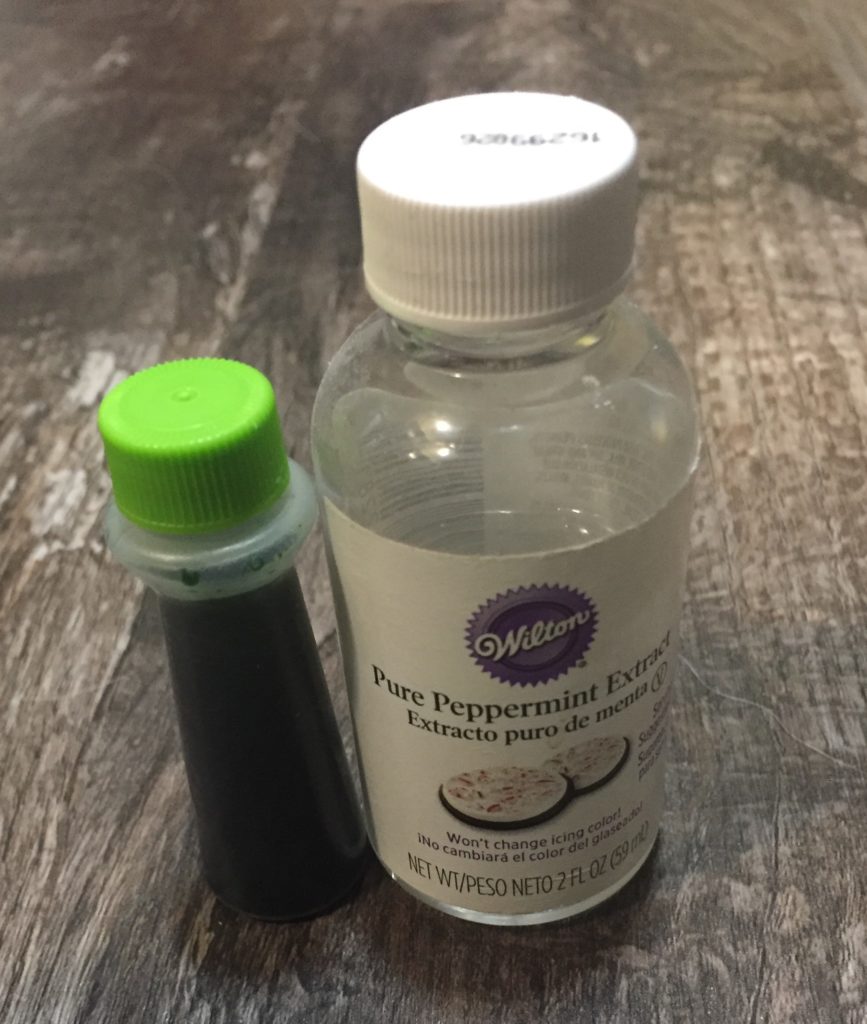
Once all the layers are cooled, you can start on the frosting. I found an awesome cream cheese frosting recipe that I modified a bit and it was a hit! To take it from regular to minty goodness, a bit of peppermint extract and green food coloring did the trick! I don’t usually like to use food coloring, but in this case, I feel like it really added to the overall look of the cake.
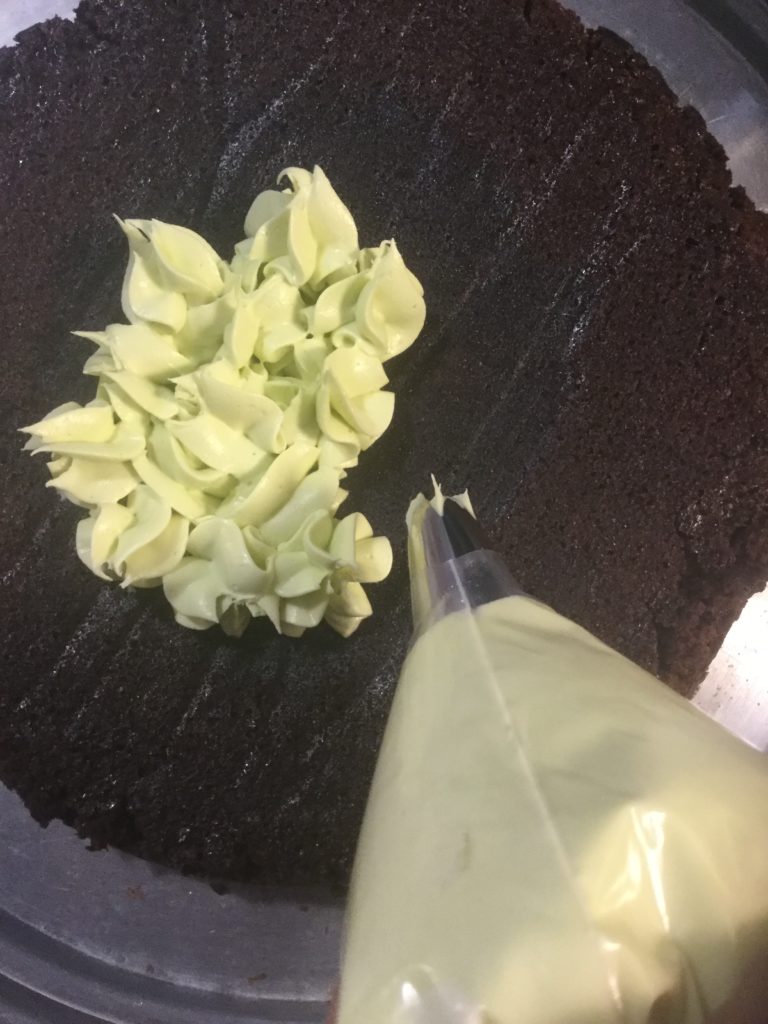
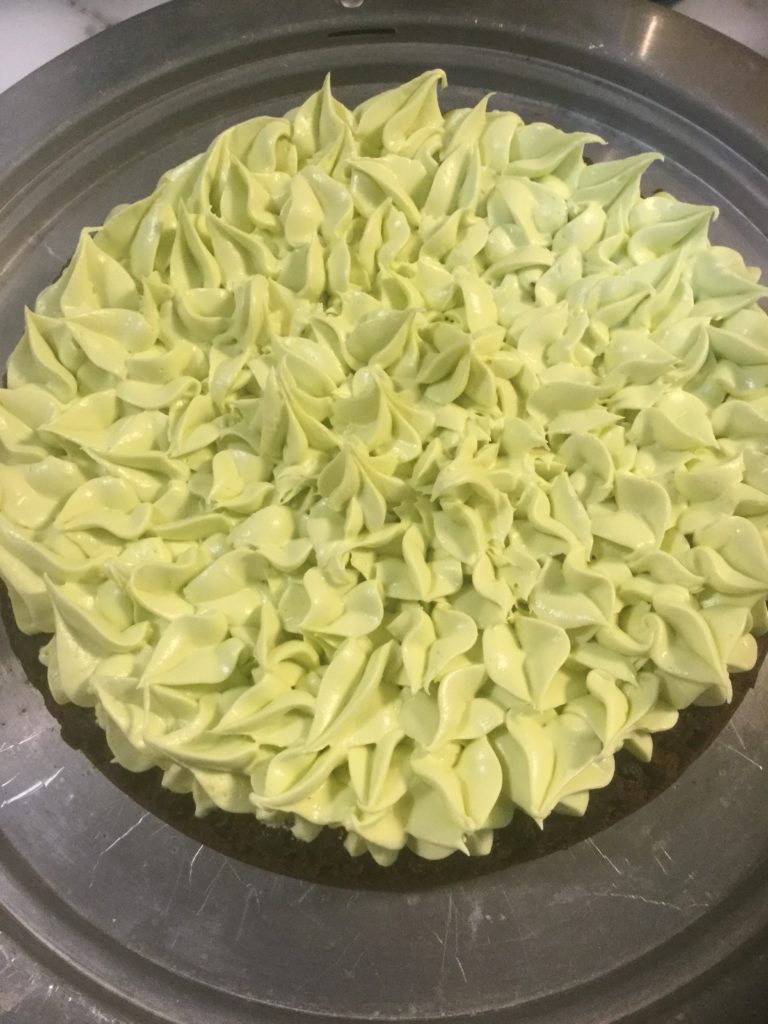
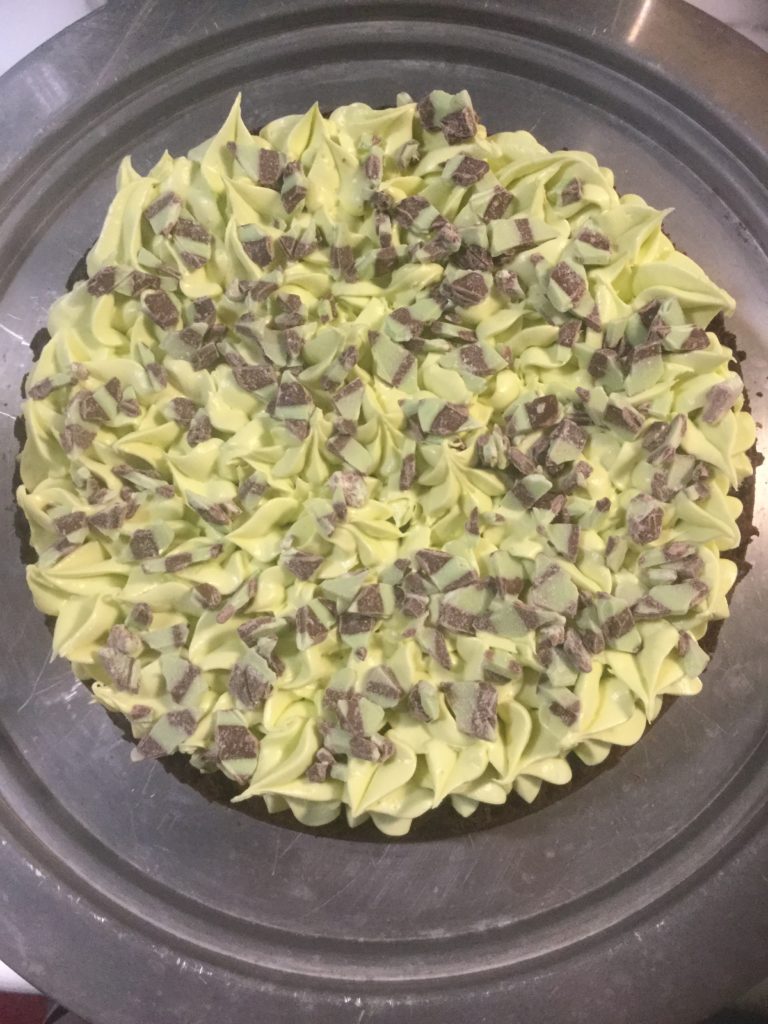
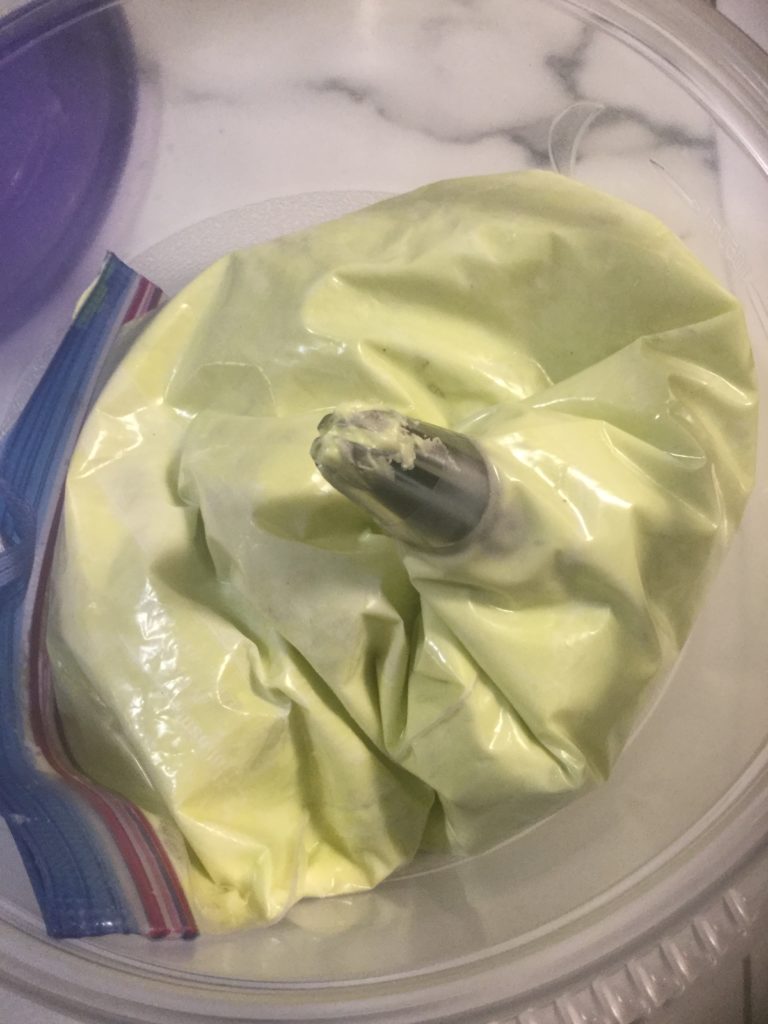
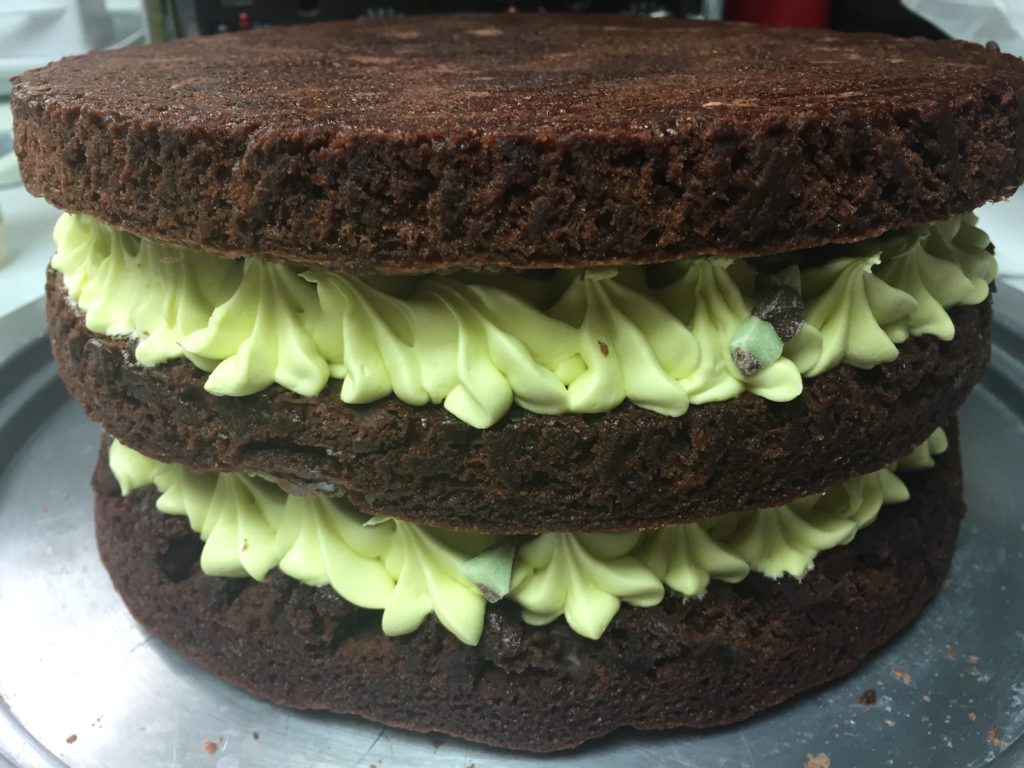
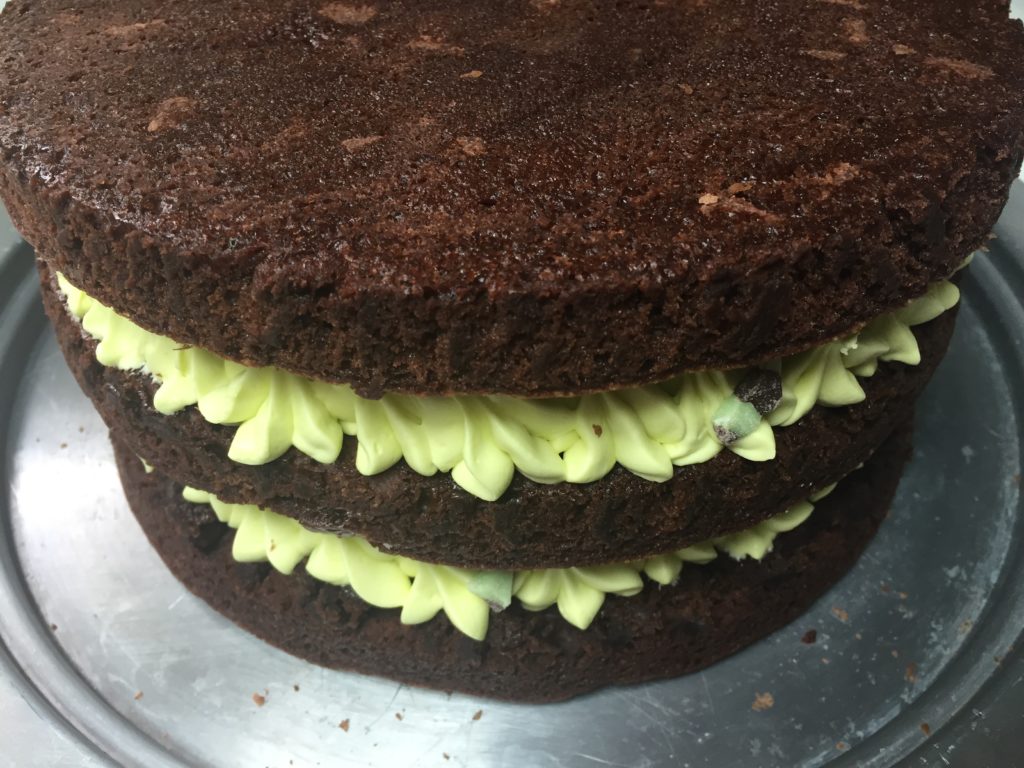
It’s a little extra work to make a ton of tiny stars all over each layer, but I did it for practice and uniformity in height. I didn’t want to glop it on and then have it be uneven and end up with an unfortunate repeat. It was definitely worth the extra time. As a bonus, you refrigerate the frosted layers before you stack them so they are nice and set up and there is little risk of a mishap. I decided to add mint candy bits between the layers for an extra surprise when you cut the cake. After two of the layers are frosted, let the frosting set up in the fridge and place the piping bag of frosting in there too until you’re ready to stack and finish the cake.
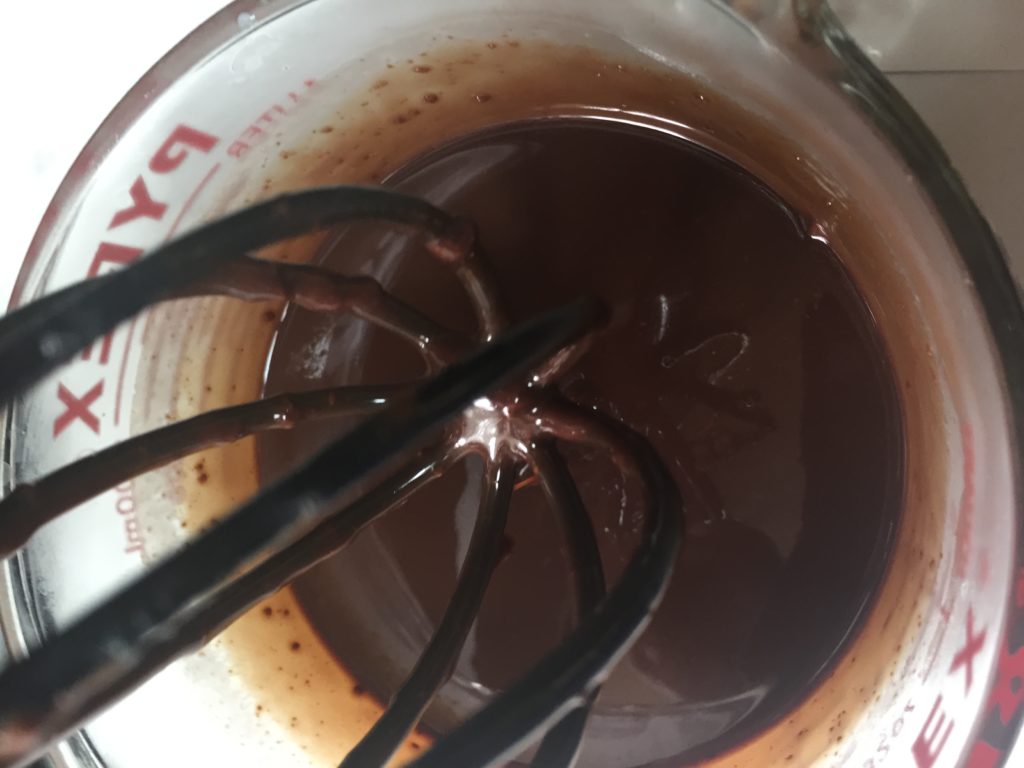
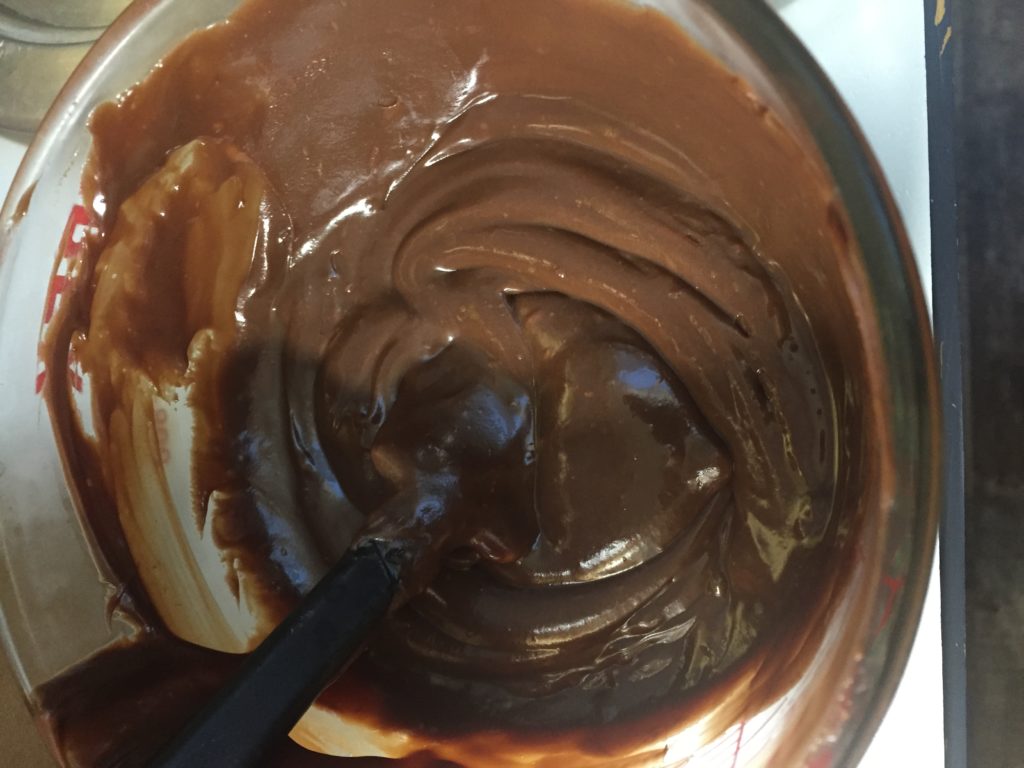
Once the cake it very carefully stacked, it’s time to make a ganache. I also have to admit that I messed this up a bit. It was supposed to drip down the sides, but I let it thicken too much and it did NOT drip. As I said earlier, almost anything can be saved. I went for using it as a frosting/ glue for more mint candy pieces. P.S. Nobody noticed the “improvisation,” they all thought that’s how it was supposed to be and everyone said it looked beautiful. Even if you make a misstep, go with it and see what you can do!
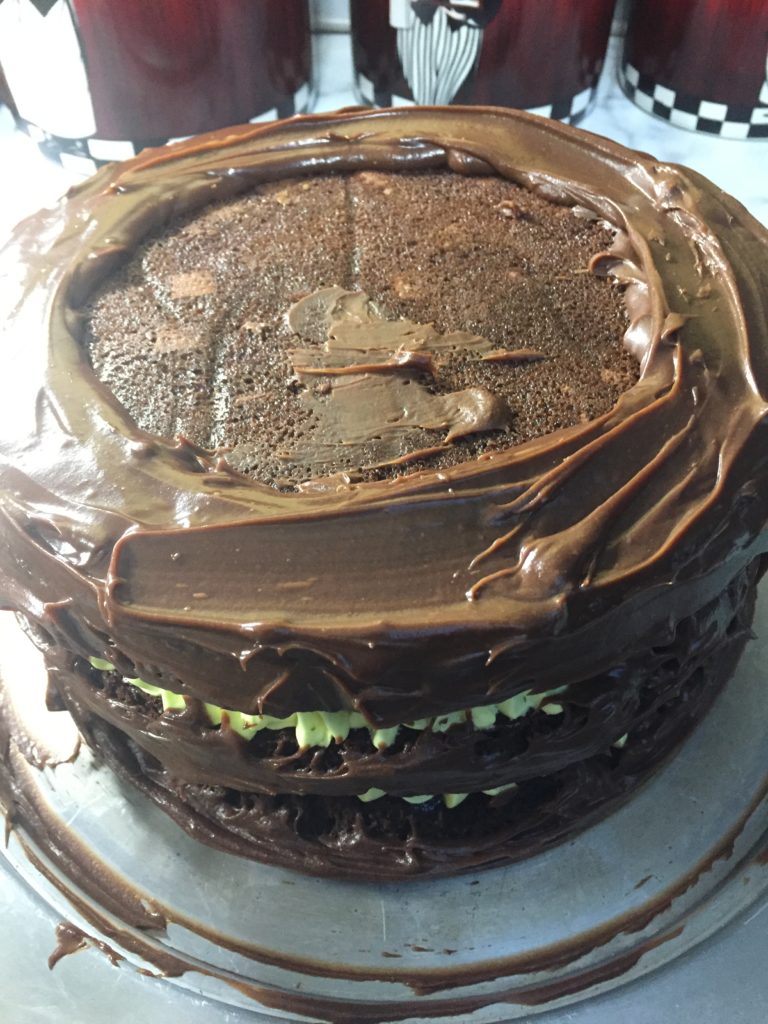
After the disappointment of the drizzles that were not, I stepped to look at what I had done instead and I was pretty pleased. The top needed a bit of cleaning up and so did the cake dish, but I was now ready to put on the finishing touches with the leftover frosting.

We had an awesome day together and he loved his cake! The rest of the family wasn’t to dissapointed with it either. It stayed together like a charm and I feel like I have something else under my belt as a baker now. This is the last cake I’ll make him before he’s my husband and I couldn’t help but smile at the thought. We’ve grown so much together and I can’t wait to show you my husbands cake next year.
Chocolate Mint Layer Cake Recipe
Cake layers:
- 3 boxes of your favorite brownie mix
Frosting:
- 1 8oz. block cream cheese, softened
- 2 sticks butter, softened
- 4c. powdered sugar
- 1/2 T. vanilla extract
- 1/2 T. peppermint extract
- 1-2 T. milk, as needed
- bottle of green food coloring
Ganache:
- 1 1/4c. heavy whipping cream
- 16oz. bag (2c.) chocolate chips
Additional garnish:
- Mint candy pieces
- Sprinkles, optional
- Candles, optional
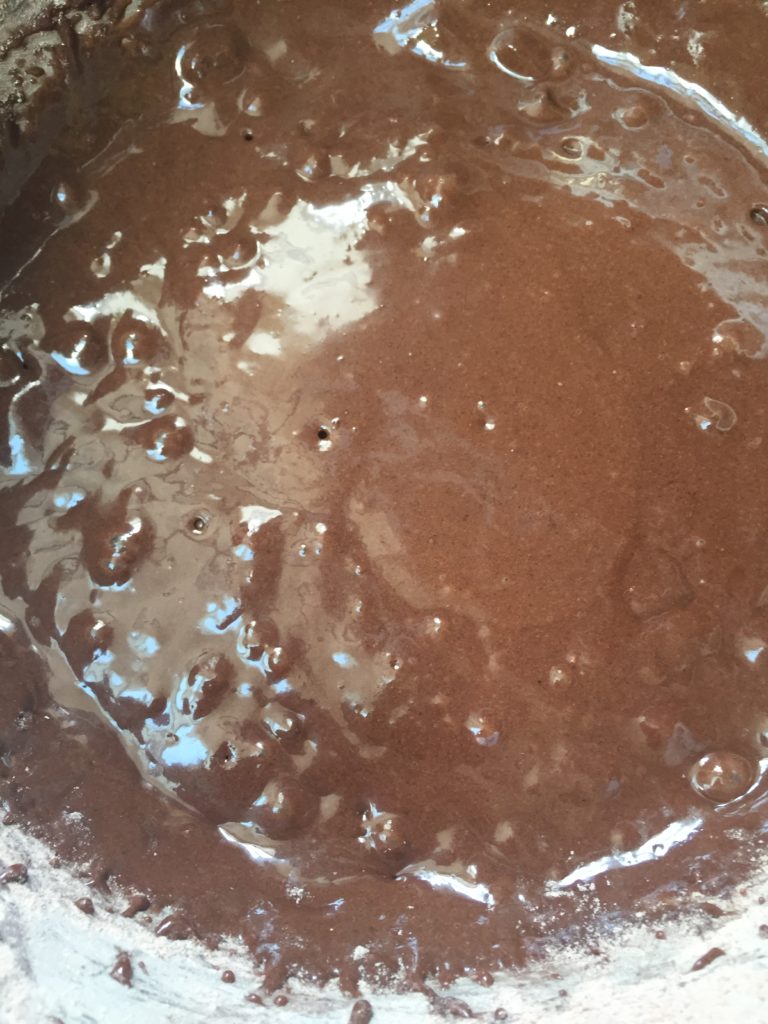
In three separate mixing bowls, mix each box of brownie mix according to package directions. Bake in 8in. round cake tins that have been greased and lined with parchment paper on the bottom. I only had two cake tins of this size so I baked them one at a time instead of all three at once. I also feel this helps with even heating.
When the layers come out of the oven, run a knife around the outside and allow to cool for 15 minutes before inverting onto a wire rack. Peel the parchment paper off the bottom and allow to cool completely.
While the layers are cooling, make the frosting by creaming together the cream cheese and butter with a hand mixer. Add in the powdered sugar and extracts and continue to beat until thoroughly combined. Add in 1-2 T. of milk or coffee creamer until the frosting is easy to work with. Add in the food coloring last, using small amounts until you get the color you desire.
Put the frosting in a piping bag or a plain ziploc and attach a large star tip for decorating. Cover two of the layers in overlapping, even stars until the whole thing is covered to the edges in stars. Alternatively, you can pipe in a giant swirl that starts in the center and comes all the way out to the edges evenly all the way through, still covering every part of the brownie. If you desire, you can put some of the mint chocolate pieces in between each layer
Refrigerate the two middle layers overnight until the frosting is set up and hardened. You can also refrigerate what’s left in the piping bag until you’re ready to finish decoration, just make sure to take it out about 45 minutes before you’re ready to pipe so the frosting can soften.
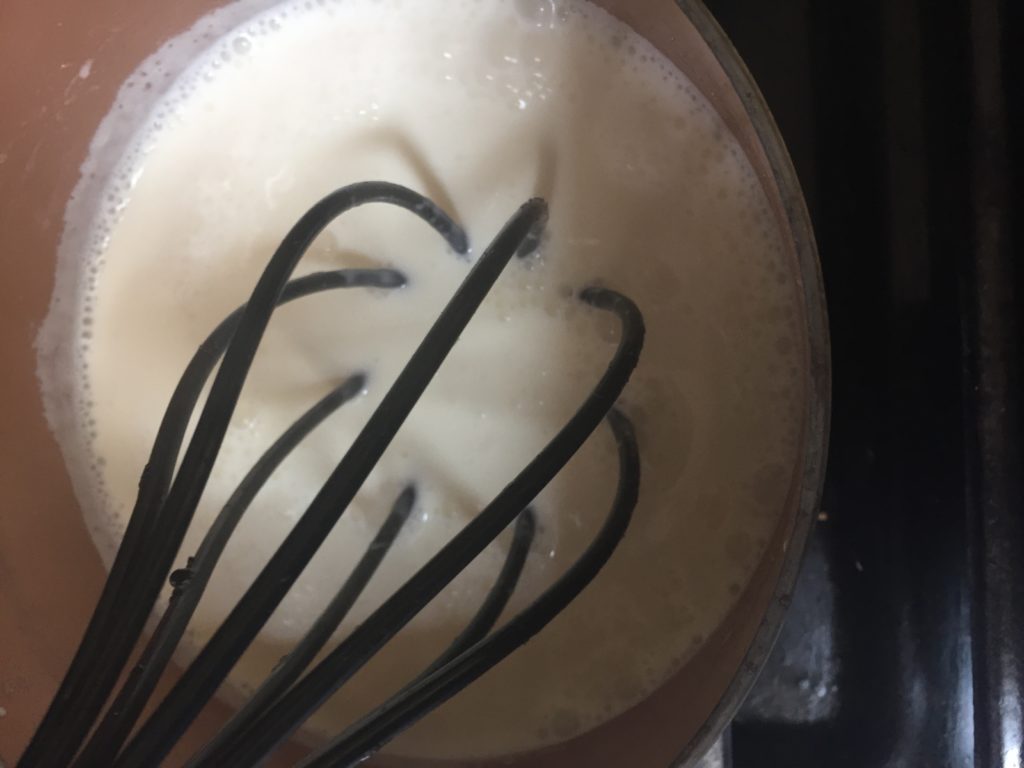
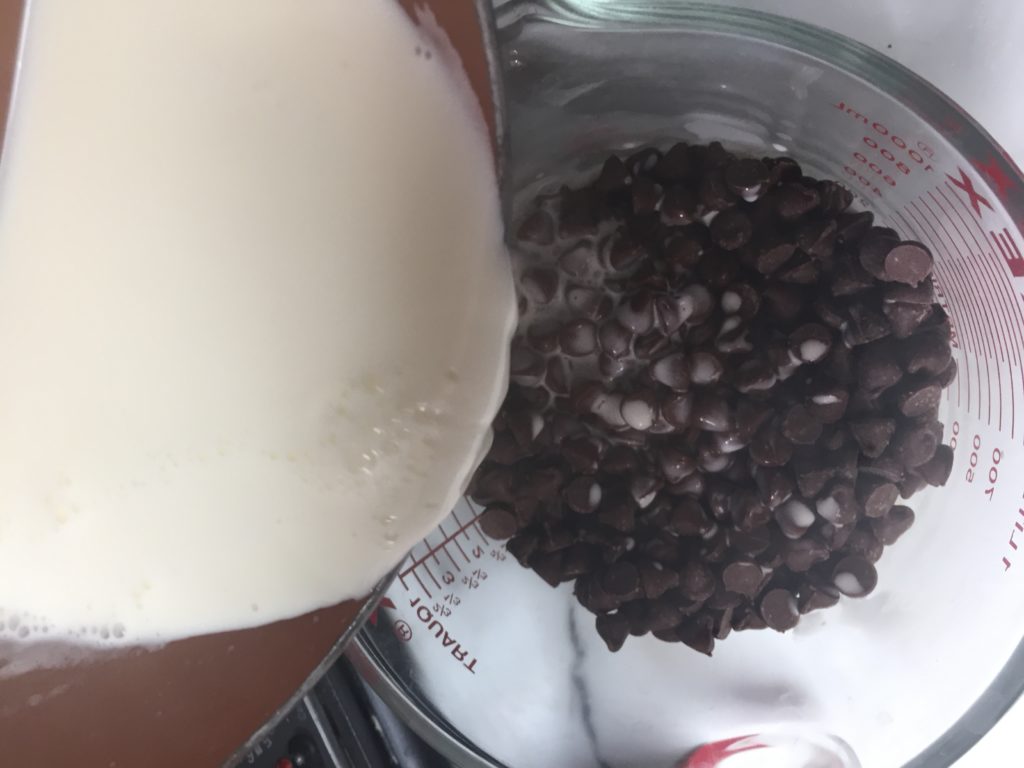
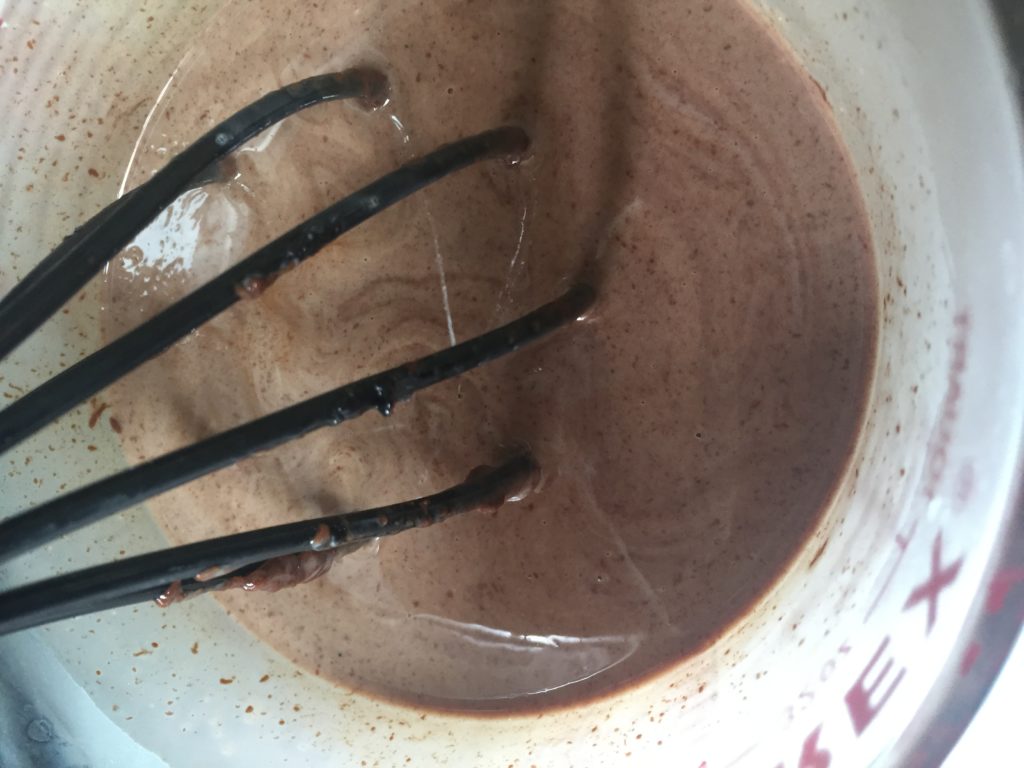
To make the ganache, heat the heavy cream over medium heat in a saucepan, stirring almost constantly until it begins to bubble around the edges, but not quite boil. Turn off the heat and pour it over your chocolate chips. Cover it with a paper towel and let stand for about 5 minutes before giving it a good whisk until it’s a thoroughly combined chocolate sauce. Let it cool, stirring occasionally, and wait until it’s about room temperature to pour.
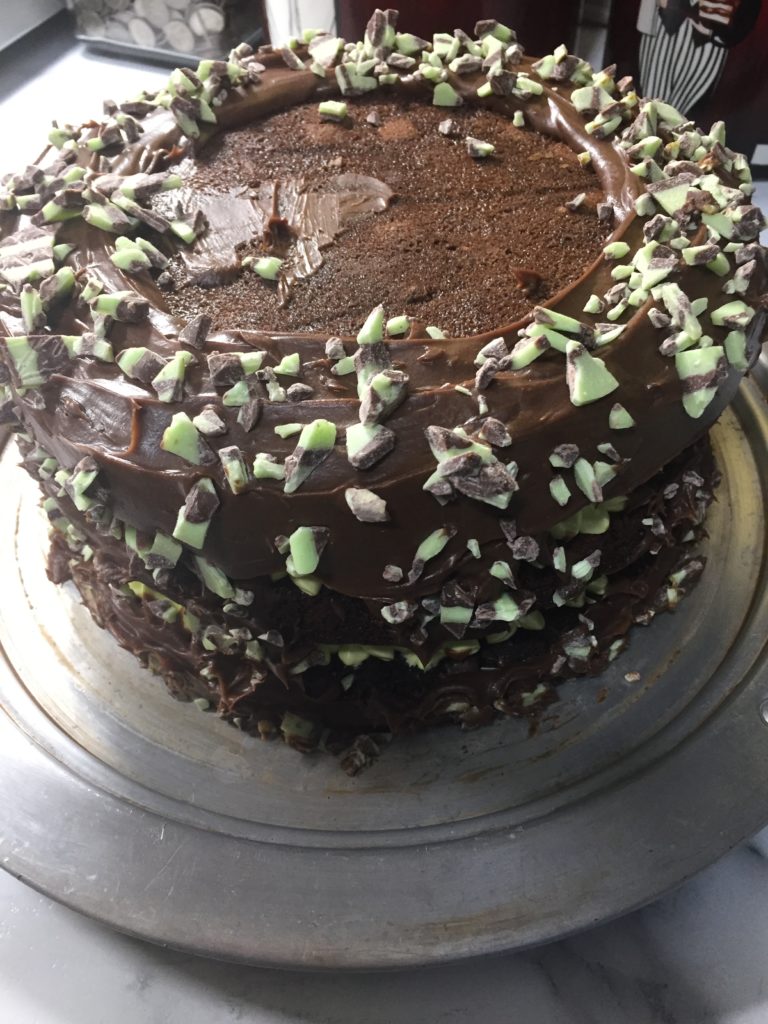
Carefully stack your cake, saving the one bare layer for the top. VERY gently press down around the edges and center to make sure it’s all stacked evenly. You can pour your ganache down the sides of your cake, starting around the top and letting it trickle down. If you let it set up too much like I did, you can use a spatula to frost it around the top and outer layers. It will look beautiful either way. You also have the option of microwaving it in 10 second bursts until it gets to the consistency you desire. Use some of the mint candy chips to decorate the top and sides of the cake.
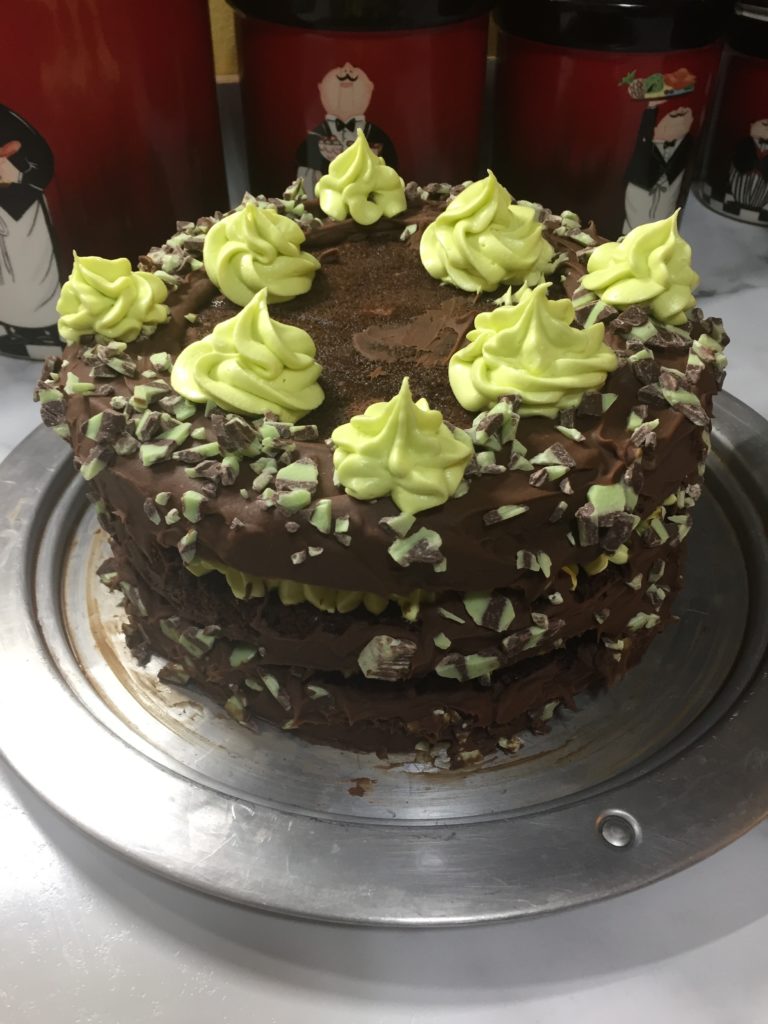
Lastly, use some of your leftover frosting to pipe some swirls onto the top for a nice garnish. Refrigerate until ready to serve and keep stored in the fridge afterwards.
Now go and admire that cake one more time before you cut it and serve it to your loved ones!
Leave a Reply
You must be logged in to post a comment.