It’s a trend that almost everyone has seen on the internet. Even in the small town where I live, people have paid about $6 a piece for these little dudes. So what was all the hype? It seemed if you weren’t paying dearly for them, you were making them at home. These took the internet by storm and I finally decided to see what all the hype was about this holiday season.
I wouldn’t even know what these were if it wasn’t for my husband. He mentioned these in early November and he said he wanted to make some for his family around Christmas time. My wonderful mom heard him say this and she gifted us with a set of molds.
Since my dear husband has never even made a box of brownies, I was a bit surprised by his desire to try cocoa bombs right out of the gate, but I definitely wasn’t complaining. I hate working with chocolate, so I was happy to let him try his hand at it.
Of course, I broke down and decided to try my hand at cocoa bombs first since I had people I wanted to give gits to and money was a bit tight this year. I knew that I could make the cocoa bombs at a fraction of the cost people were paying, that way I could delight my friends in a way I could afford. I armed myself with YouTube tutorials and I went to town.
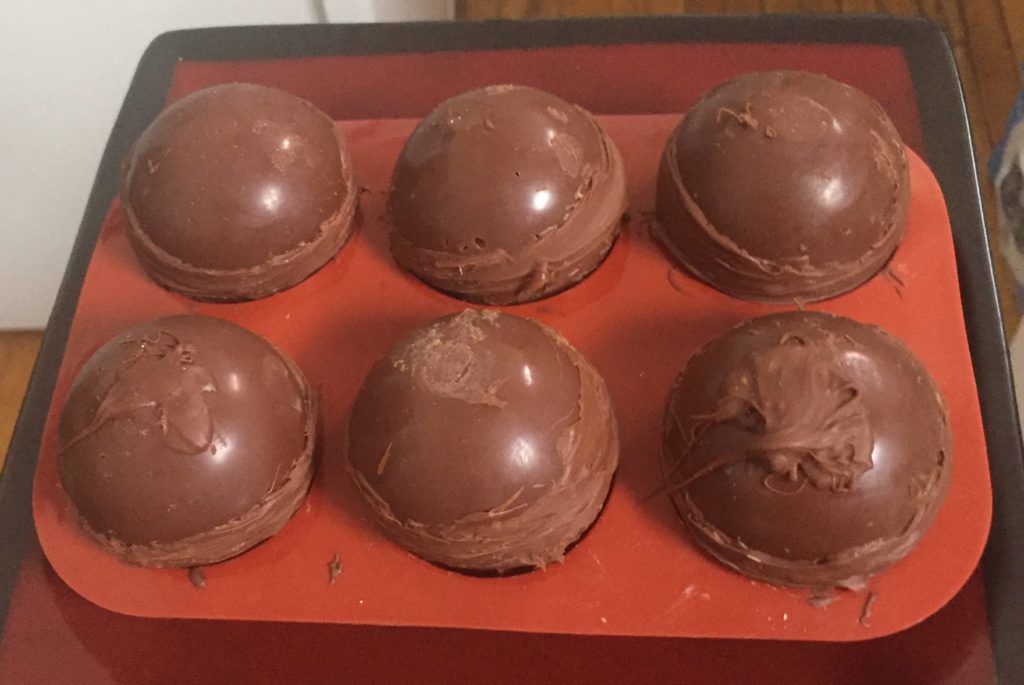
Maybe I should have watched a few more tutorials, because my first attempt was a mess. I didn’t lose/break any of the shells, but I certainly wasn’t going to be making them the cover of this blog post. I included the pictures for so you can laugh at me and cringe inwardly and hopefully not feel bad if you also struggle the first few tries.
Keeping the shells from melting in your hand and bonding them together were my two biggest challenges. I was naturally nervous about removing them from the mold, but that part was simple and stress free. The rest of the process on the first go round was not. I decided to bond them together by painting melted chocolate around the edges of the top sphere and pressing them together. The edges weren’t even and there were gaps, so I then decided to spackle the seam on the outside. It worked, but it was a mess and it wasn’t exactly picture perfect.
I did slightly better on the next round of Christmas ones I made, but I still wasn’t proud. I went back to the drawing board, which meant more tutorials! I felt like the tutorials really helped me on a few things I struggled with, and I knew that there was another surefire way I could do better: recruit my husband! After all, he had wanted to try them in the first place.
We spent our evening watching the tutorials I found most helpful, and before we even started, he was already helping me immensely. After watching a big video on “tempering” your chocolate, he brought up the fact that you might not be able to temper chocolate chips, which I was using. After he looked into it, sure enough, chocolate chips can’t be tempered.
Fortunately, the next video we watched used chocolate melts, and I found out that I learned the most from the second tutorial, which I will post a link to.
The video helped me correct a few struggles I was having. Firstly, I was using a pasty brush for the molds, whihc is okay, but my husband said he wanted to try and use a spoon to spread the chocolate like in the video, and I discovered that not only did it work better for us, it was also easier to clean up!
Another thing is when you put the chocolate filled molds in the freezer, I was putting them in right-side up and the tutorial suggested placing them upside down. This was a game-changer since it helped build up the edges and make them more even to start with.
Another brilliant idea we learned from the video is melting down the edges on both halves of the chocolate bomb instead of spackling them together or melting only the top part. By melting down the edges on the top and bottom, you get them both even so they fit together and meld together beautifully.

We made a good team with the cocoa bombs and having my man at the stove being the designated chocolate melter gave me added confidence for trying this new technique.
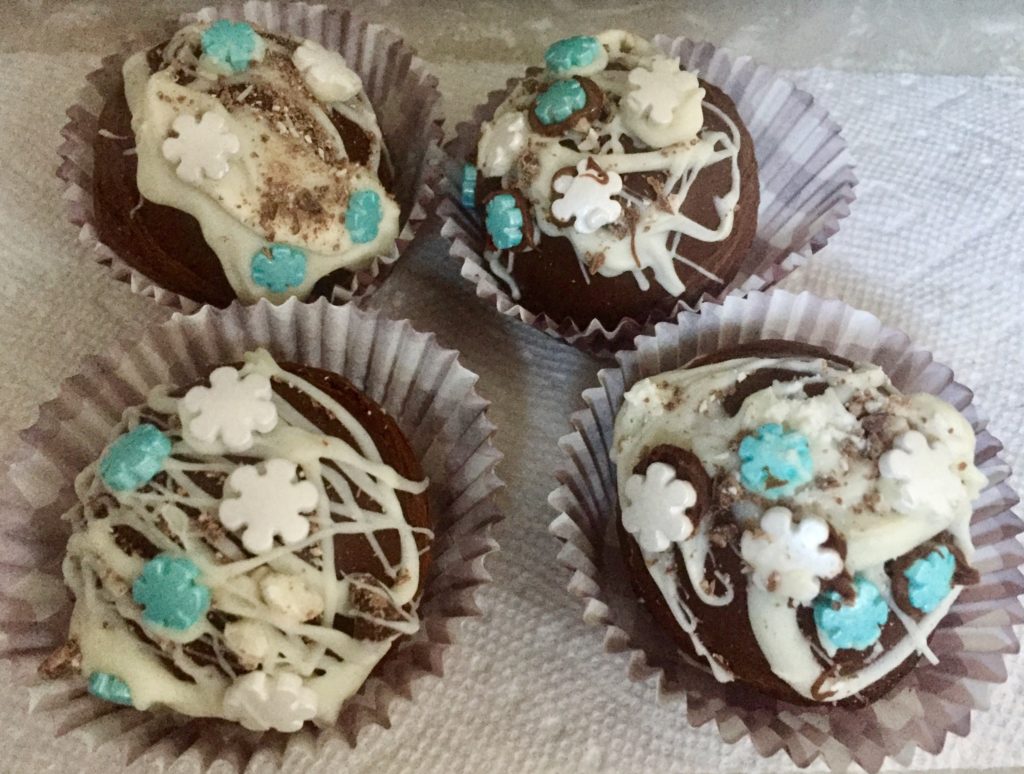
As far as decorating goes, I drizzled the chocolate on the first time and it looked super messy. I’m no master at piping, but my wonderful teammate also researched to make sure that I could pipe melted chocolate, since I was afraid the chocolate would melt the plastic bag. He determined that it definitely wouldn’t be a problem, so I was the chocolate piper and he went through and added the sprinkles afterwards.
When I stepped back and looked at our handiwork, I smiled. As usual, we did better together and I was looking at hot chocolate bombs we could be proud of. Needless to say, my New Year’s presents looked a bit better than my Christmas presents, although nobody complained about the first ones!
I can’t wait until Valentine’s day to make some for my family and close friends. I already have all kinds of ideas for flavors and decorating.
Below is the link to the most helpful video I found on YouTube, followed by a list of my personal tips.
Hot Cocoa Bomb Tutorial: https://www.youtube.com/watch?v=rGz_BR6WEO4
Tips & Tricks
- I used chocolate chips for my cocoa bombs. 1 1/2 cups melted down makes 6 hot cocoa bombs.
- You can’t temper chocolate chips, so don’t worry about that. Just be very careful not to burn the chocolate or get it too hot. Microwave it for 30 seconds and then for 15 at a time, stirring in between, until all the chips are melted.
- I found it easier to use a spoon than a paint or pastry brush to coat the molds.
- Some places say to use only one coat, some use two. I found using two works well for me.
- Listen to the advice in the video and let the chocolate harden upside down!
- I like to store the halves on a cookie sheet or metal pan, so when I take the molds out and pop the spheres out, they go onto a sheet that’s already cold. Plus, it’s easy to put them back in the freezer all at once while I get the other stuff ready for the next step.
- I found that taking them all out at once didn’t work as well, since by the time we got to melt down the last edges, they melted a bit too much. I took out 4-6 spheres at a time.
- Everyone has a different order of operations for this part, but I like to make them one at a time. For each bomb, I melt the edges on the half I want to use as the bottom, quickly fill it with my hot chocolate powder, then melt the edges of the top half and quickly stick them together.
- When melting the edges, place the sphere firmly on the hot skillet (or plate) and twist it a few times, moving only your wrist, until it feels even. You’ll be able to tell when it’s even by feel pretty quickly.
- Once you’re all done, I let them harden in the freezer for a few more minutes before I decorated them.
- I used the back side of the mold to hold the chocolate bombs while I decorated.
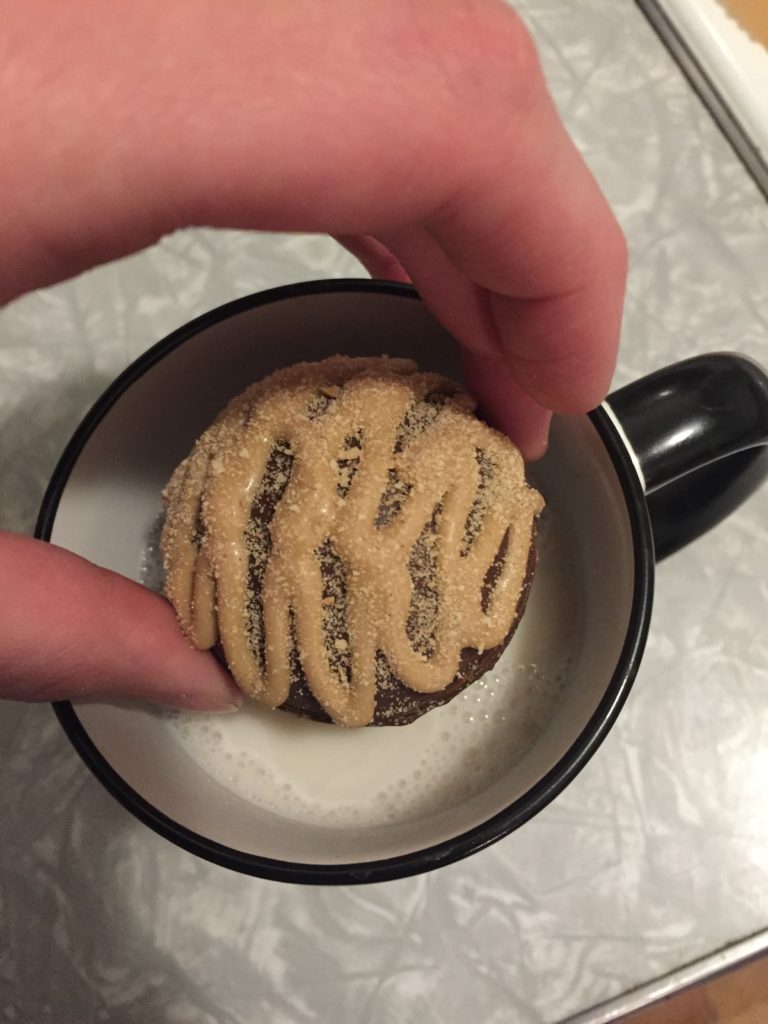
- If you pipe melted chocolate onto the cold chocolate bomb, it will set pretty fast, so you want to add any glitter or toppings right away instead of piping and going back to add toppings later.
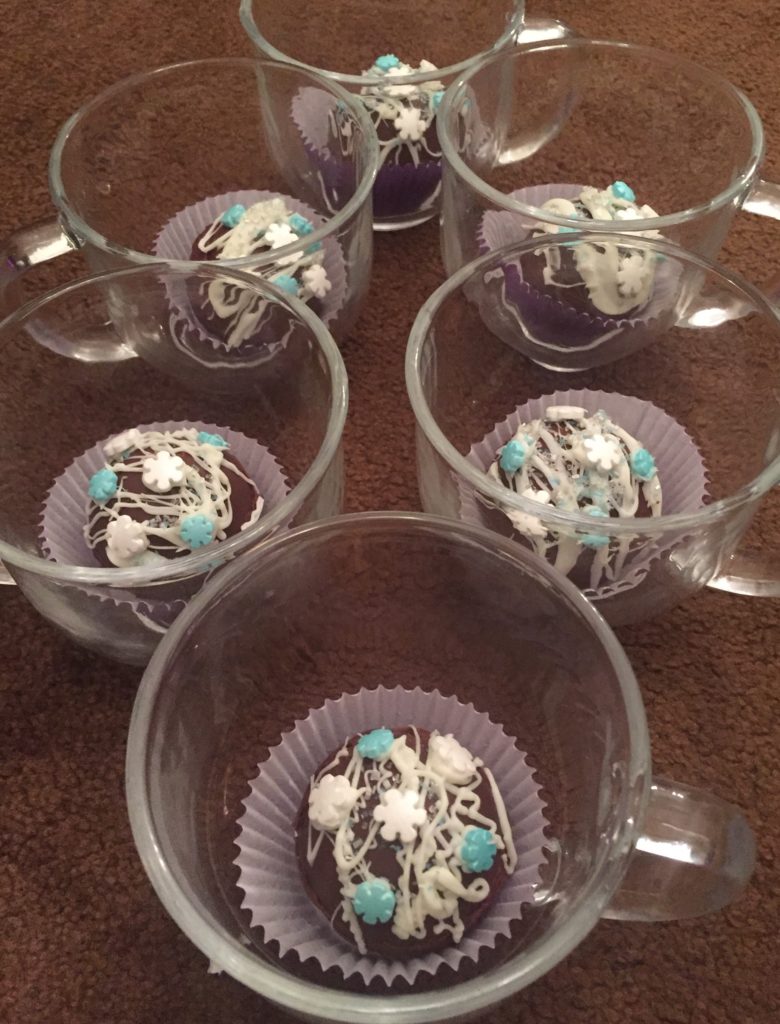
- The finished chocolate bombs fit great in cupcake papers.
- They lasted perfectly at room temperature and they stayed bonded. Success!
Leave a Reply
You must be logged in to post a comment.