I have been wanting to make these for so long! As a kid, I adored pop-tarts. There were a few flavors that I could live without, but as a whole, I loved keeping up on all the new flavors. A few years ago, I saw homemade ones on Pinterest and I was super curious. I’m not sure why it took me so long, but I finally decided it was time to try them.
I might have been nudged by the fact that The Pioneer Woman had her own homemade pop tart recipe out. I adore her, and her recipes are always so delicious. I also loved the fact that she used a refrigerated pie crust for them! They looked incredibly easy. However, I decided that they were worth a little extra effort.
Speaking of extra effort, it made me laugh because my husband and I were just talking about how many people say that it’s cheaper to make things at home and that people pay more for convenience. We were on this subject because whatever I was making from scratch at the time, was costing a bit more, with no convenience to be had and I was on a rant about it. I had to laugh when I made these because not only were they a ton more work, they were WAY more expensive! I think you’ll feel that it’s worth all the extra in this case though. Especially that pie crust!
Confession time: I have never made a homemade pie crust before! “What kind of baker doesn’t know how to make pie crust?” you’re asking. Well the answer is one who doesn’t like pie. If I don’t like something, I don’t learn how to make it. Definitely one of my worst traits. I have also never cooked a steak or made fried chicken, both of which I do not like. I have the palate of a six year old, so it stands to reason that it would take toaster pastries to motivate me to actually learn to make pie crust.
Another confession: I used a refrigerated pie crust at Thanksgiving one time. I have a family filled with amazing cooks and bakers and Thanksgiving is when they pull out all the stops. Since nobody in their right mind is going to ask me to cook, I decided I would take over all the baking, and everyone was happy to oblige. I had already taken over most of the baking, but I also acquired the making of the pumpkin pie, which you may have already guessed, I don’t like. My mom told me she had a really good and easy pie crust recipe, and I told her I had an easier one. She immediately knew that I was going for the refrigerator section at the grocery store. My mom was the only one that knew my secret, and when family complimented me on my crust, I simply said “thank you.” To mom’s credit, she never spilled the beans on me.
So am I making homemade pie crust for Thanksgiving this year? Maybe. Am I making it for another flavor of toaster pastries later this month? You bet! I used a 7up pie crust recipe and I have no complaints. It was buttery, flaky, and all around awesome. It held up great and I intend to keep using the recipe, which I got from another blog, and I will be posting the link in the recipe.

The great thing is you can also freeze this ahead of time. I’m making them again for a bake sale next weekend, and I intend to freeze the crust early in the week.
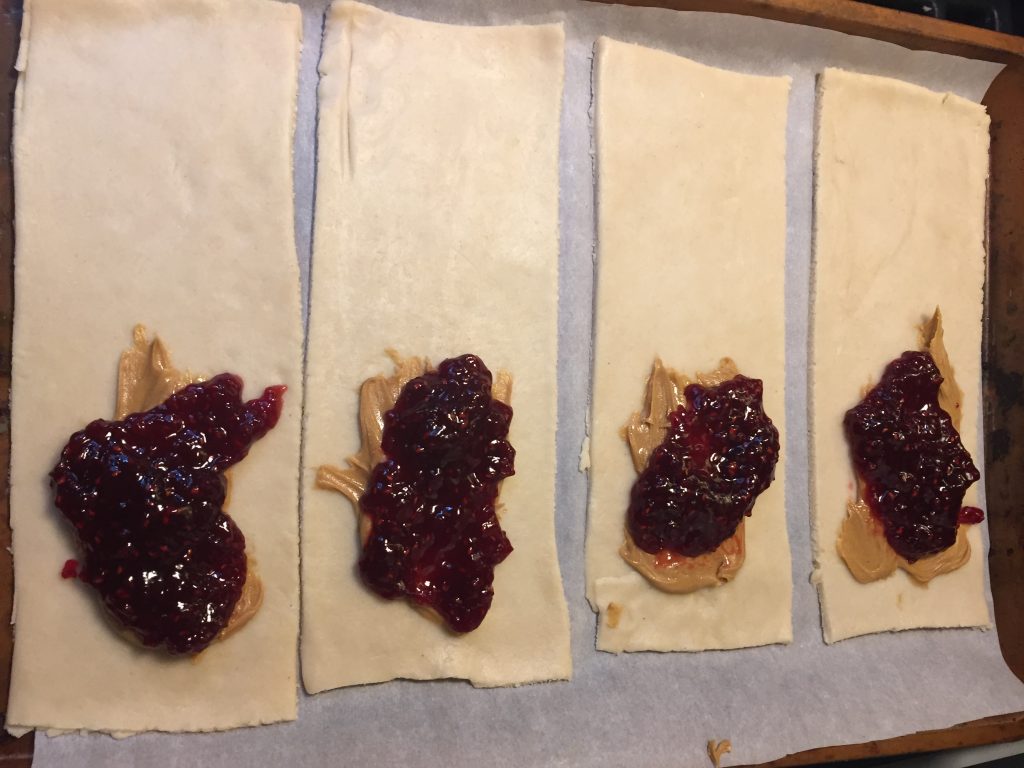
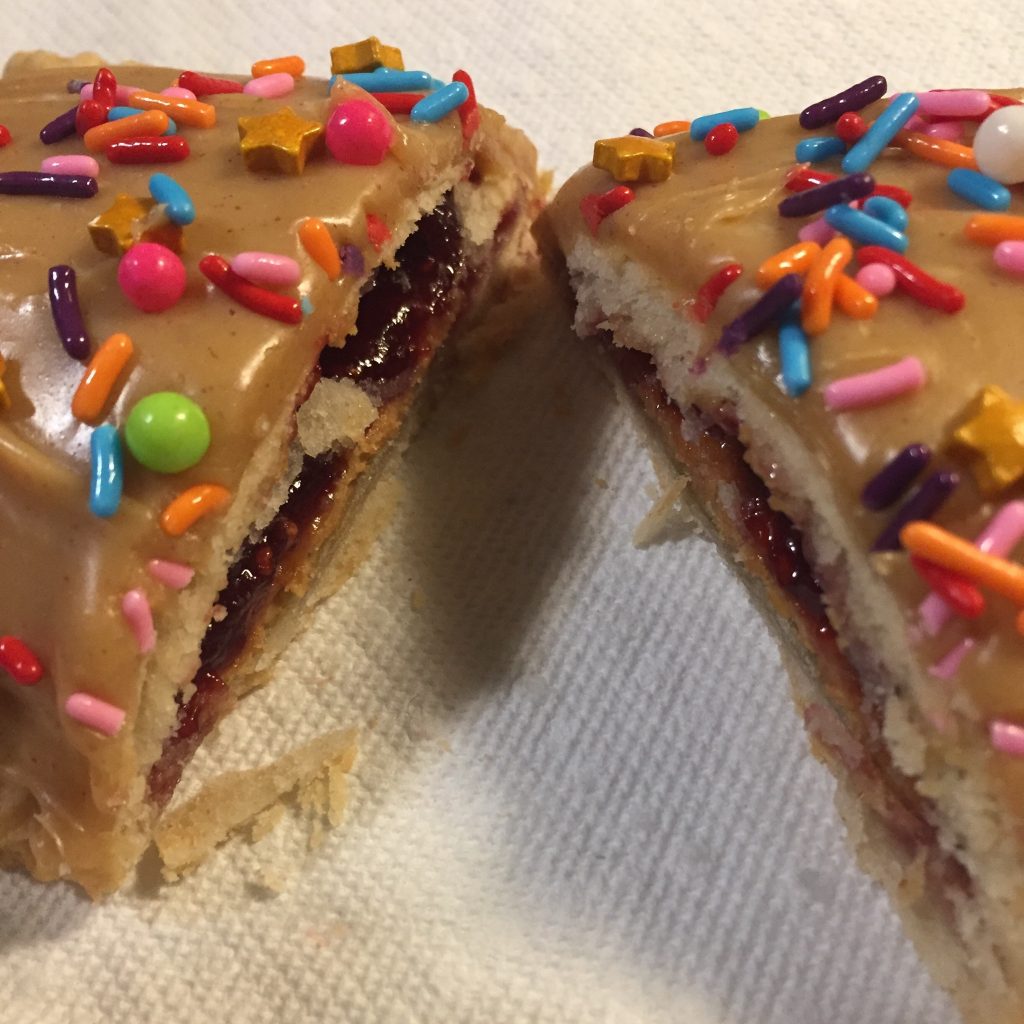
As for the filling, the sky is the limit! Jelly, jam, pie filling, peanut butter, Nutella, the list goes on. You can even do a savory version if you’d like with scrambled eggs, cheese, and bacon bits. For my first try, I decided on peanut butter & jelly, since it’s a classic and I also ADORE it. Of course I did raspberry jelly since I’m a huge fan of raspberry, but you could do any flavor you like.

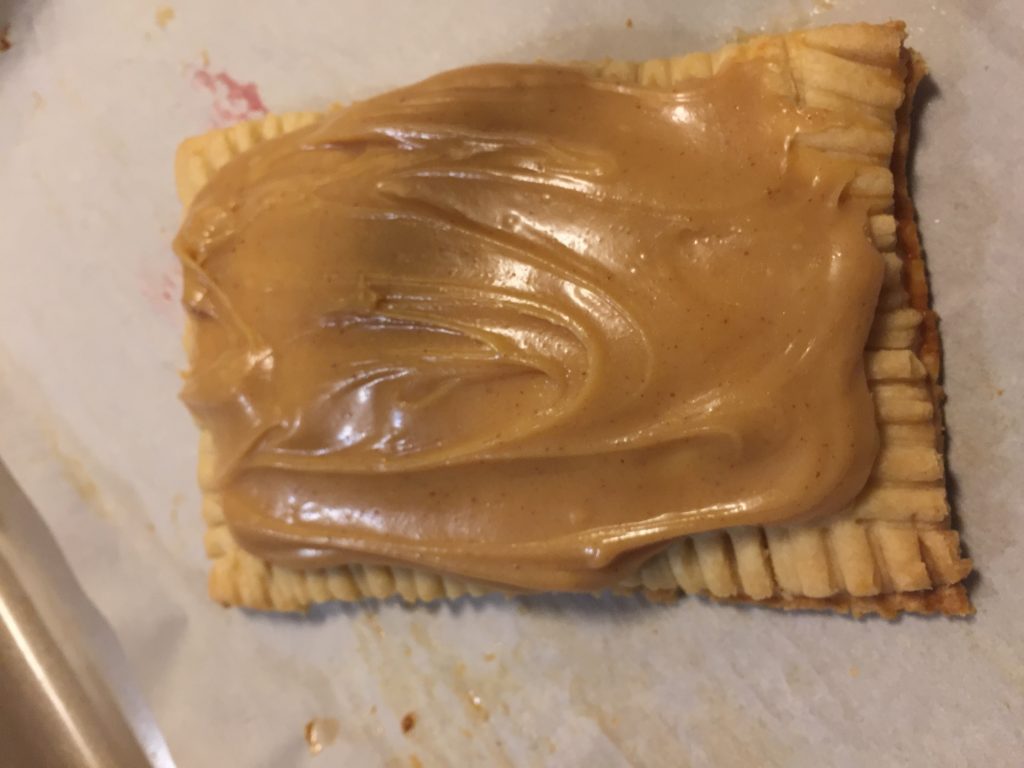
Most of the recipes I saw used a glaze as the frosting, but I don’t care for glaze. It’s also super hard to control. I had a brainstorm and I thought of the super simple fudge that I make. It sets up quick and it’s delicious. This was a practice run after all, so why not give it a try?
Everything came together beautifully! For a first try, I was very pleased and so were my taste testers. I am super pumped to try these again with a completely different flavor profile. Am I still gonna be in line when Kellog’s releases their Banana Cream Pie Pop Tarts later this month? You bet! But I also think I’ll be taking the long, expensive way around every once in awhile and making some homemade versions to share.
Peanut Butter & Jelly Toaster Pastry Recipe
- 2 pie crusts, refrigerated or homemade
- 1 jar raspberry jam, or flavor of choice
- 6-10 T. of peanut butter
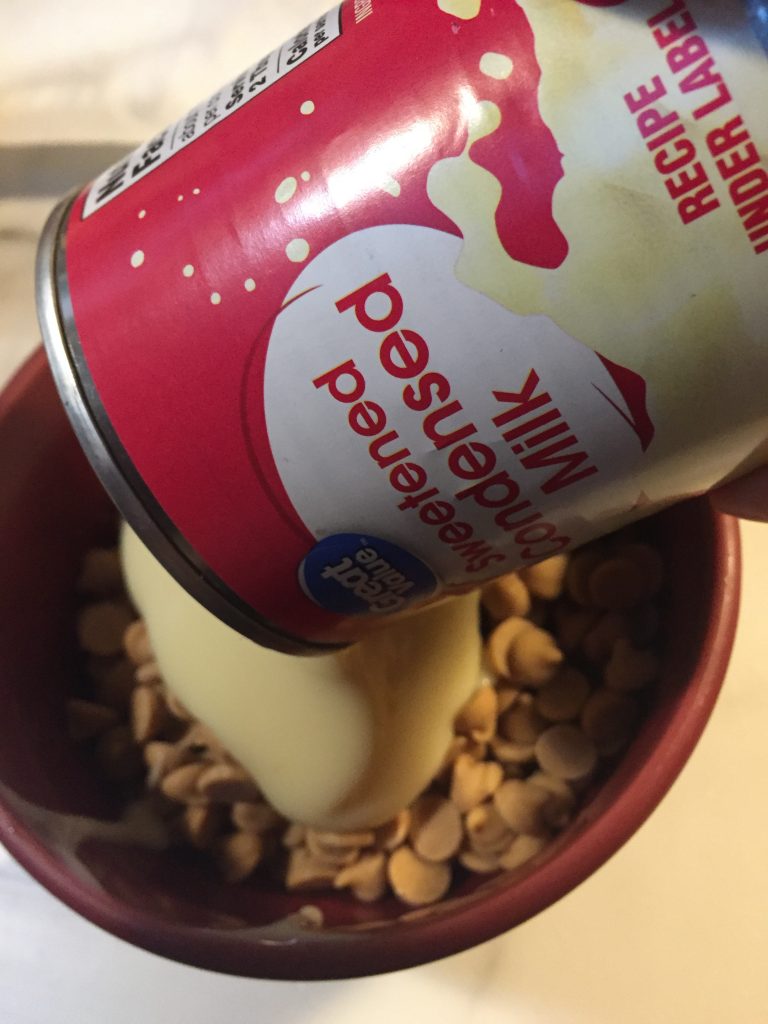
- 1 package peanut butter baking chips
- 1 can sweetened condensed milk
- 1 egg
- 1 tsp. water
- sprinkles
For the homemade 7up pie crust I used, click here: https://www.melissassouthernstylekitchen.com/7-up-pie-crust-recipe/
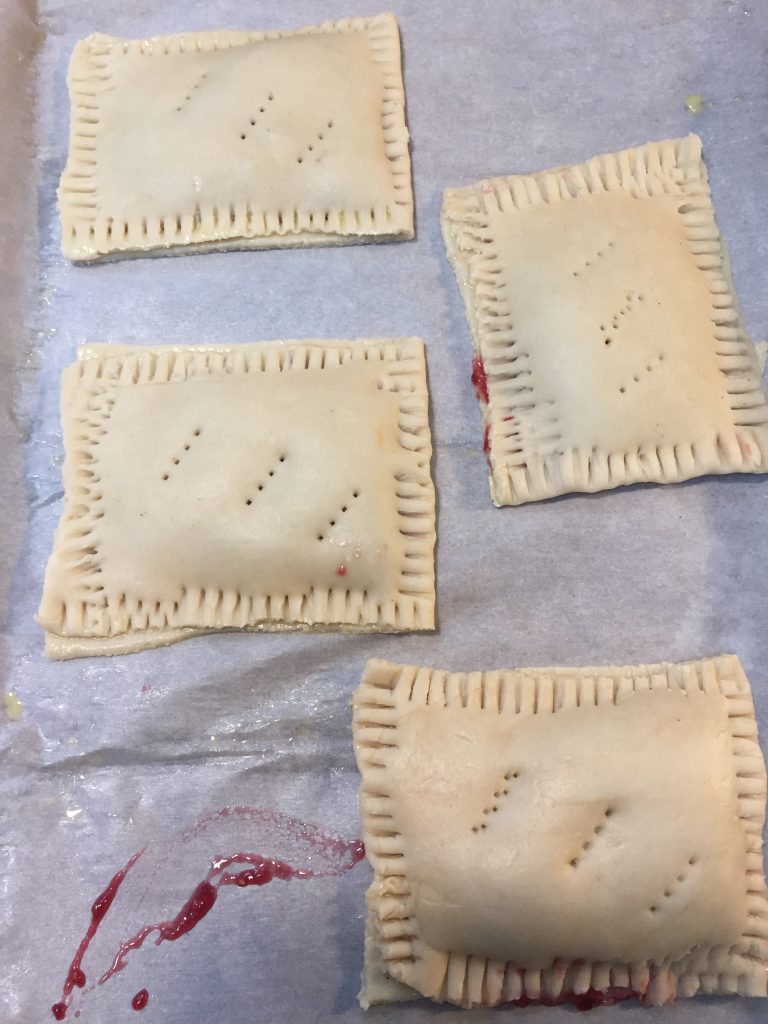
You’re going to cut extra long strips of dough so that you can put the filling on one side and then fold the other side over and crimp the edges. You can do two separate pieces for each pastry, but it’s a bit simpler this way.
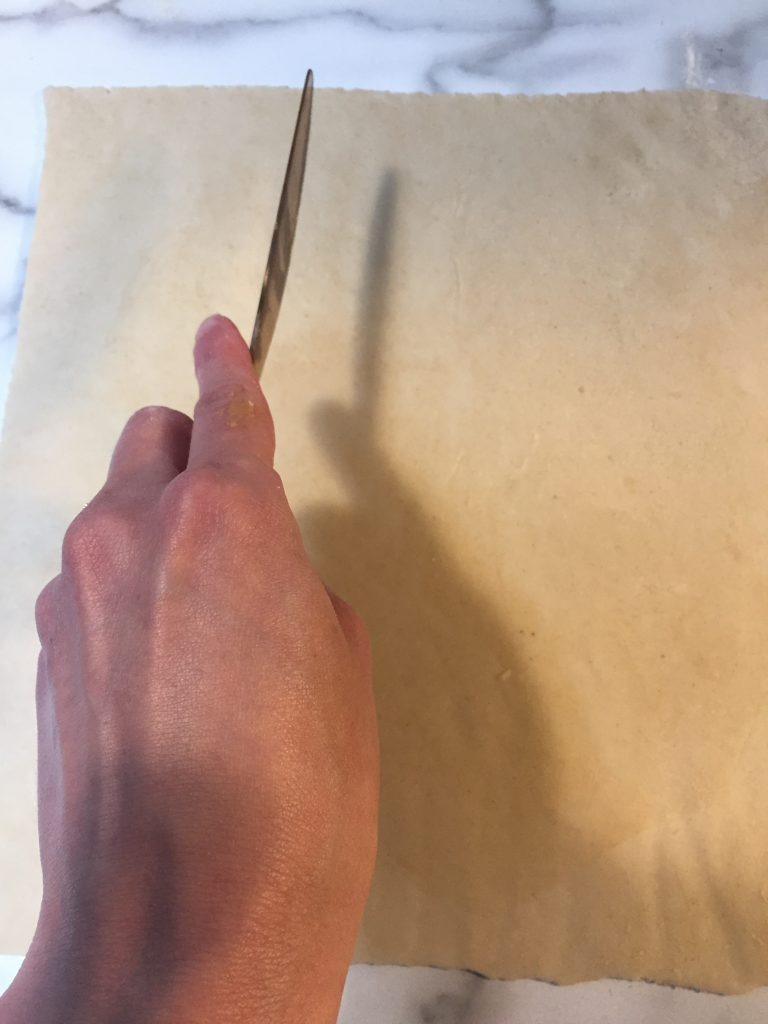
Roll the dough out until it’s about 1/8- 1/6 of an inch in thickness and it’s roughly 12 inches on one side. Cut off the edges, set the scraps aside, and you should now have a square or rectangle that’s about 11 inches one way. Cut as many 11x 5in’ strips as you can, set aside the leftover dough with the scraps, and do the same with the other pie crust, setting your pastry strips on parchment lined baking sheets and putting your scraps aside.
Gather your scraps and roll them out to get as many pop tarts as you can out of the dough. I got 9 total, but my measurements weren’t perfectly precise.
Preheat your oven to 375 and make a simple egg wash by whisking together the egg with a teaspoon of water.
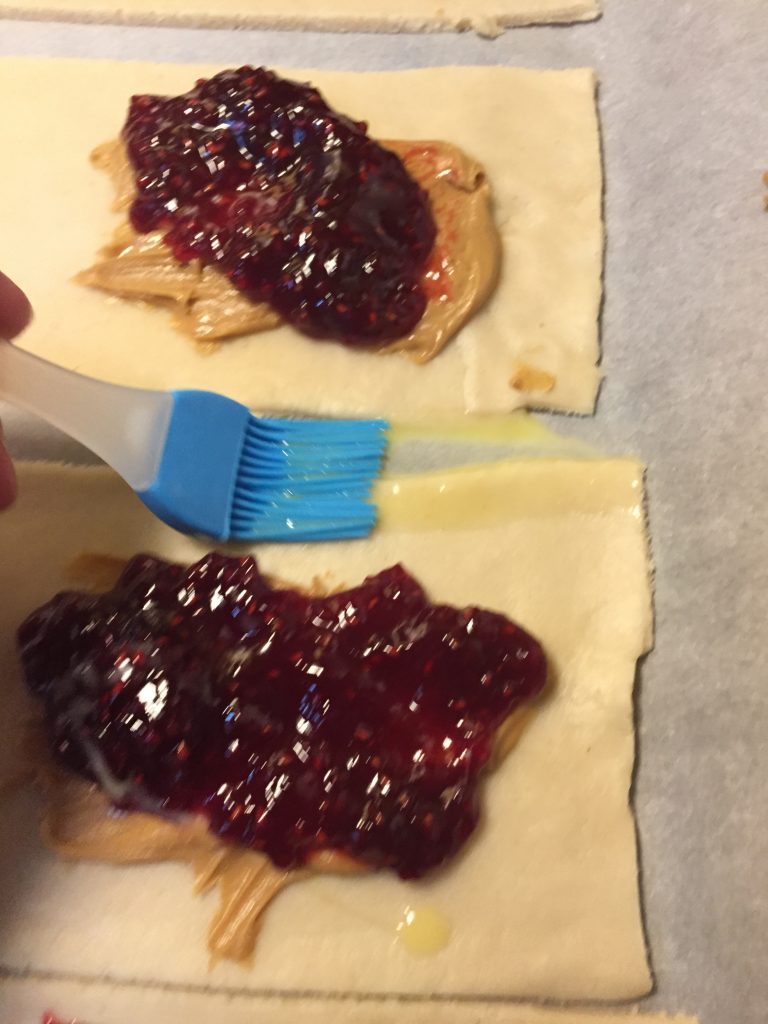
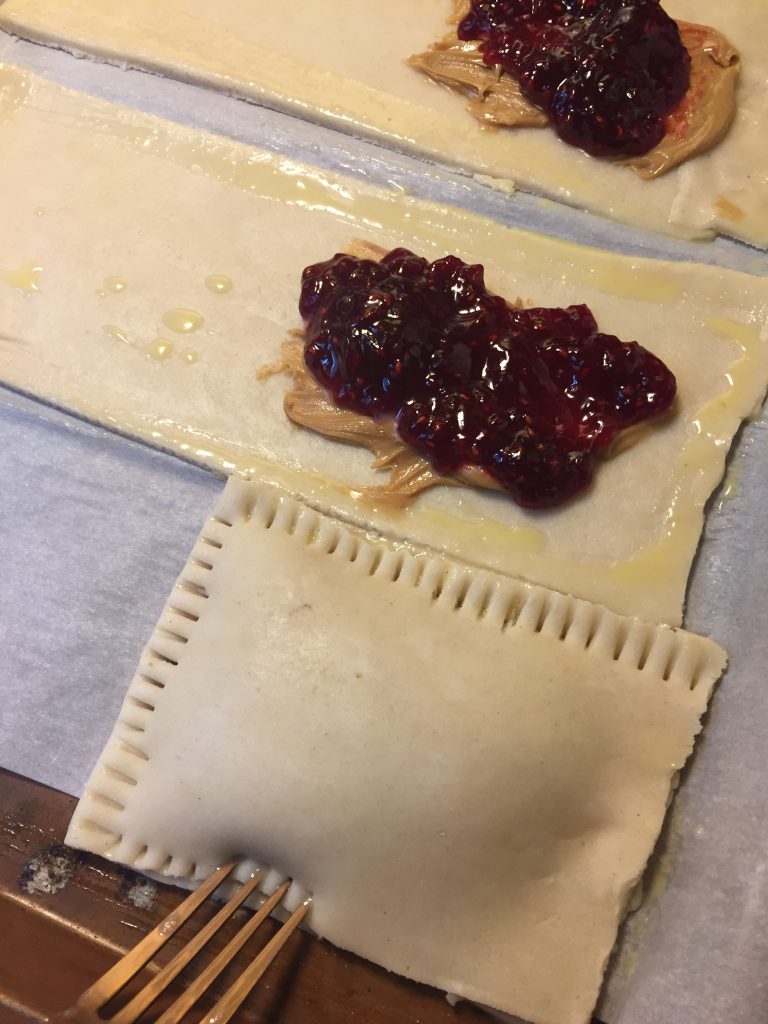
Using a pastry brush, brush the edges of the pastry strips with the egg wash and then put the filling on one side.( I used about 2 teaspoons of peanut butter and 1 1/2 tablespoons of jam.) Fold the other side over and crimp the edges with a fork. Poke some holes in the top and keep up the process until you’ve egg washed, filled, and crimped all the pastries. You can bake about 4-5 pastries per baking sheet.
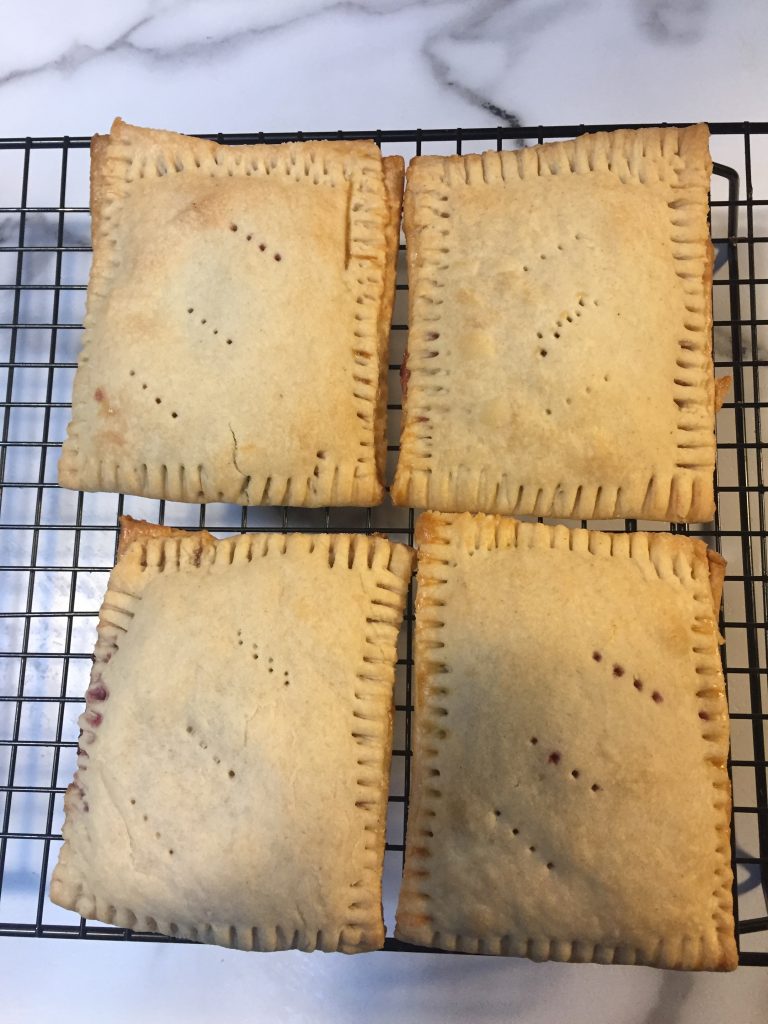
Bake each sheet for 20-25 minutes until the edges start to get a little bit golden, making sure to keep an eye on the bottom of the pastries.
Set on a wire rack to cool.
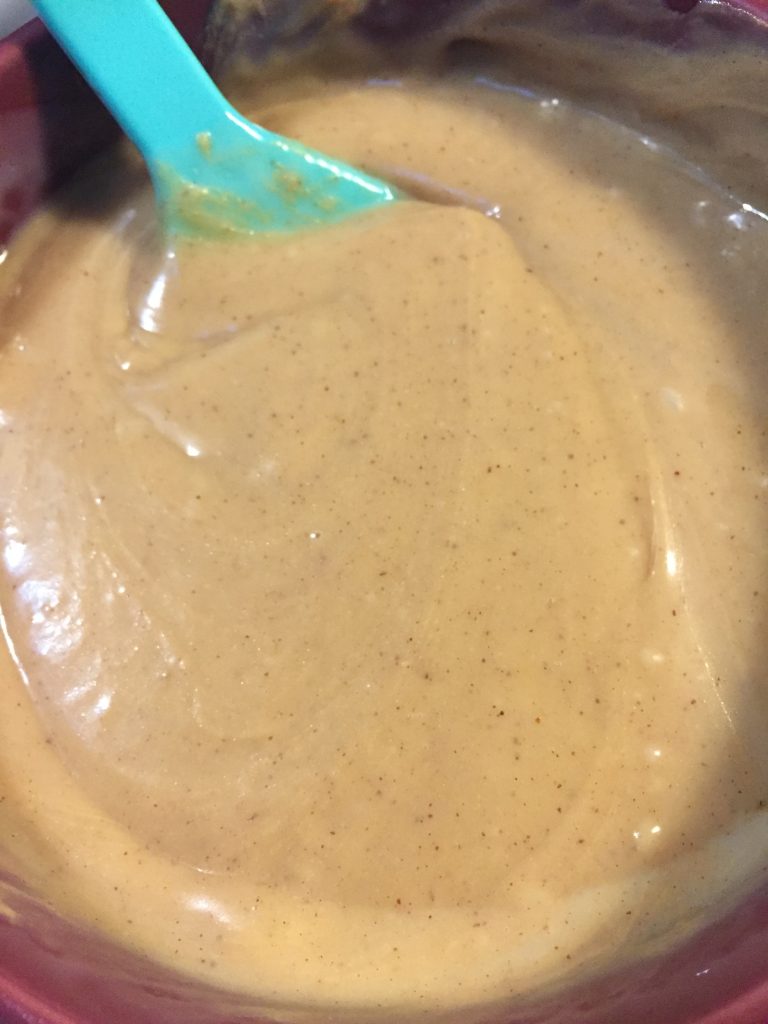
Once they’re cooled almost completely, make the topping by pouring the peanut butter chips and the condensed milk in a microwave safe bowl and microwaving for one minute. Stir until smooth. If it still needs more time after stirring, microwave it in 15 second intervals until it’s smooth.
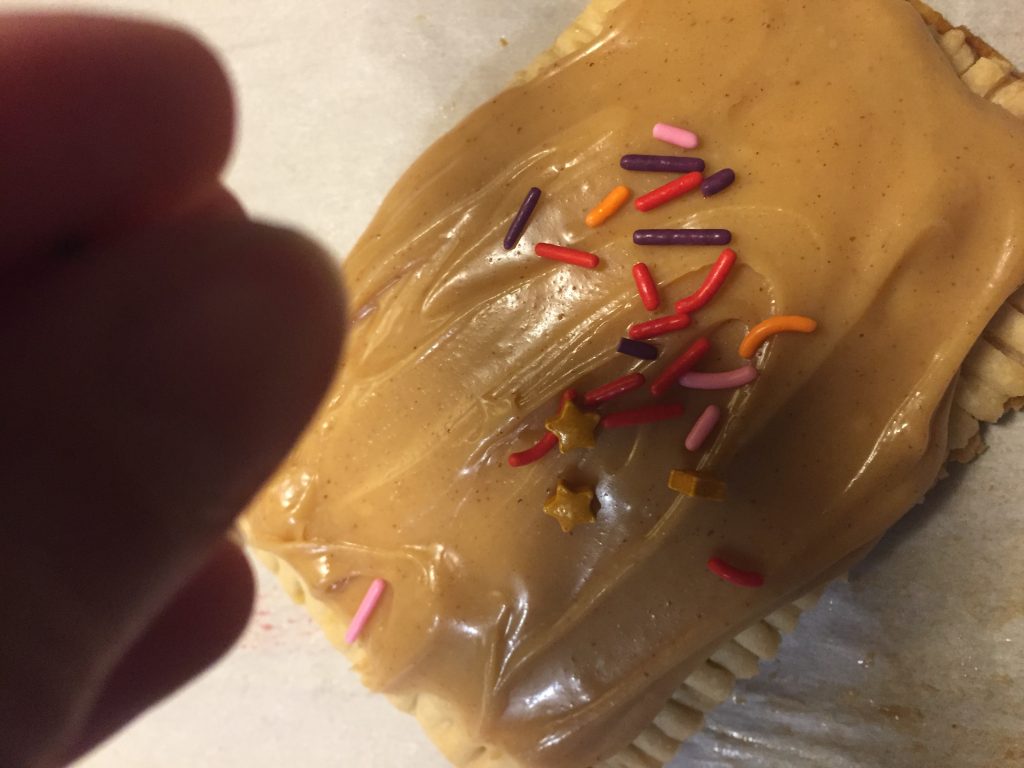
Let it stand for about a minute before frosting the pastries with a spoon. Add some sprinkles to each one immediately after you frost it for some added flair.
Once the topping sets up, you can store them in the fridge for about 5 days, if they last that long!
Leave a Reply
You must be logged in to post a comment.