When I tell people I make ice cream cakes, they often react with surprise. I can’t lie, this makes me feel insanely good about myself. They also look really fancy and complicated and they are super admired. However, my little secret is that they are easier than regular cake in my opinion, and I would much rather do an ice cream cake than a regular one. Sadly, many of my loved ones have birthdays in the dead of winter, and while they have requested the occasional ice cream cake, I usually don’t get to do as many ice cream cakes as I would like to. Fortunately for me, my little brother’s birthday is right in the middle of the hottest part of summer!
I always ask what kind of cake my loved ones want. Sometimes, they give me an almost exact order, other times, they give me one or two tiny ideas. I honestly have no preference since I get to be creative no matter what. There is a certain challenge to making one or two simple elements extraordinary, and there is a definite challenge to trying to give someone exactly what they wanted. When my little brother said the words ‘S’mores Ice Cream cake,” I knew it was going to be somewhere in the middle.
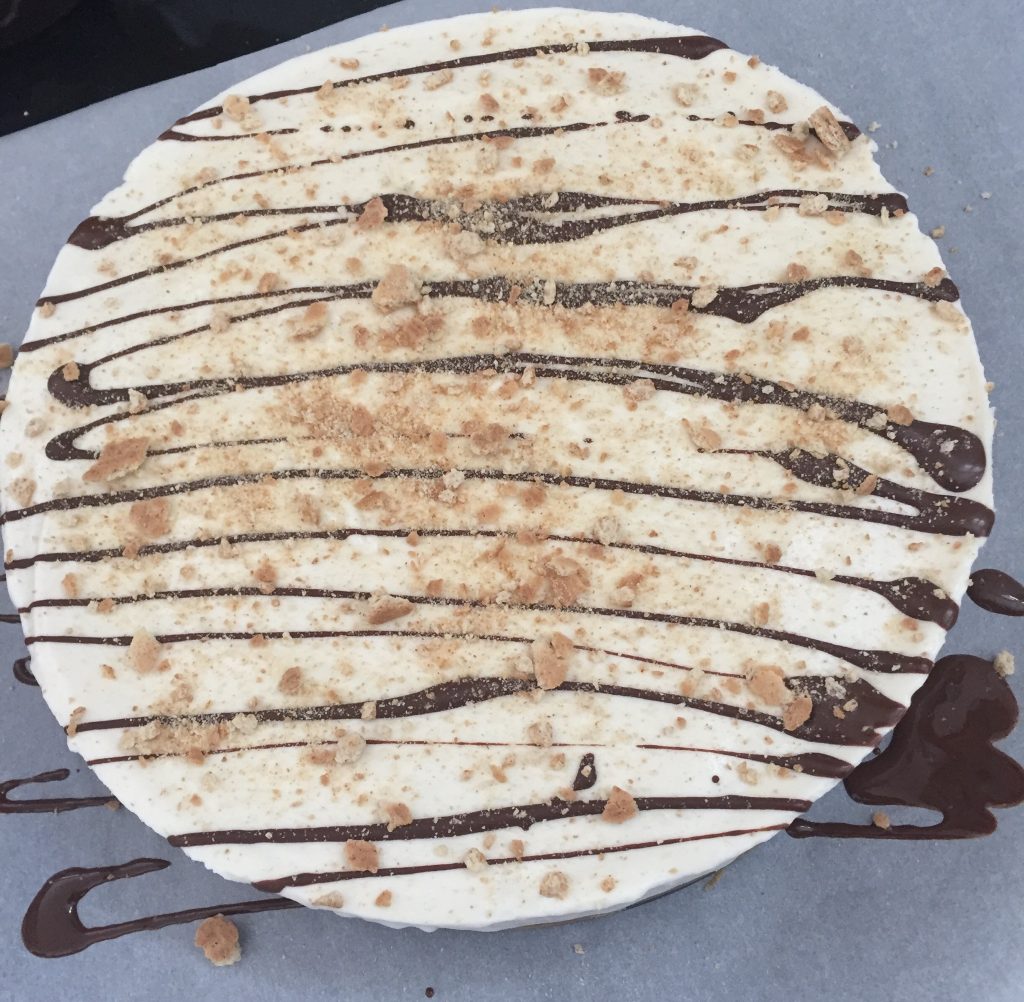
While the cover photo on this blog post is beautiful, it was never intended to look like that. It was supposed to look like a giant s’more. I had a wonderful idea that I began to execute. I even tested the cookie crust recipe in advance. However, when I went to pour the ice cream/marshmallow cream blend over the cookie, the cookie absorbed it and it looked like…….sadness. I say sadness because I cried over this.
It’s slightly shameful to admit, but I went into our living room, lay down on the floor, and cried to my husband. Being the wonderful man that he is, he lay down on the floor right next to me and held my hand as I worked out a whole new cake idea. I would have to start all over again, but a trip to our (only) grocery store that was just a minute from our house would solve the problem.
I was wrong. I adore living in a small town, but for the 15 minutes after I found out our whole town was out of ice cream, I did not adore it. Quite the opposite in fact. I melted down worse than the ice cream. After another round of my husband being super amazing and calming me down, a half hour trip was made for vanilla ice cream. As much as I truly love baking and dessert making, I must admit that I put pressure on myself when it comes to something like this. I want it to be perfect and sometimes, things just aren’t.
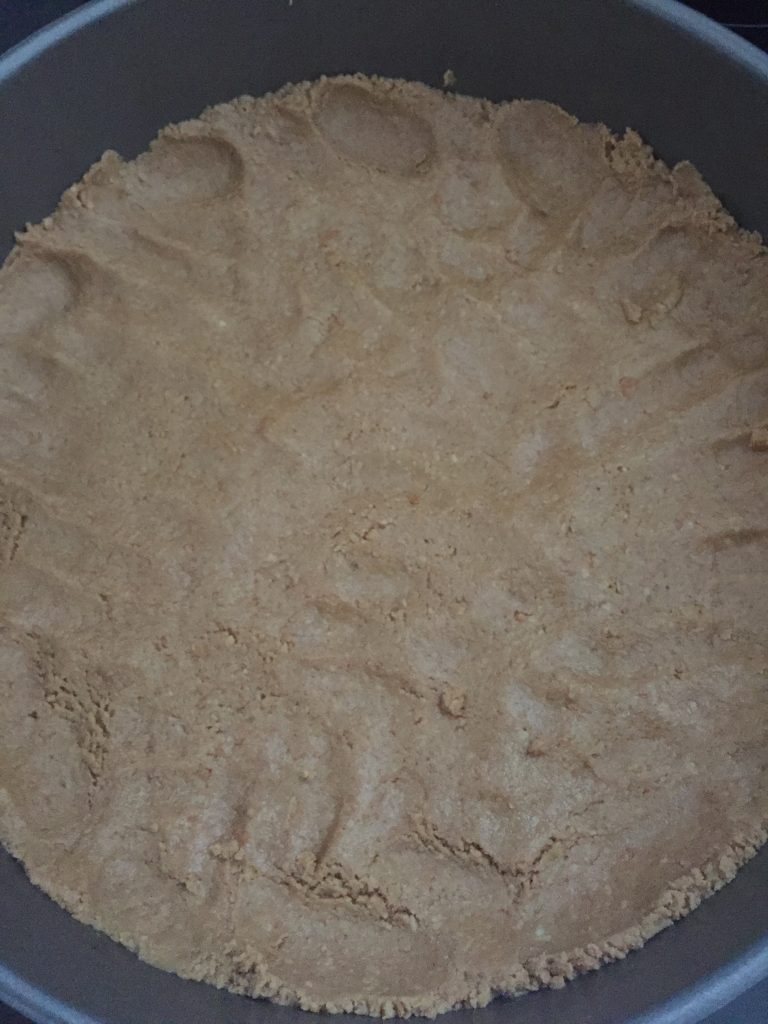
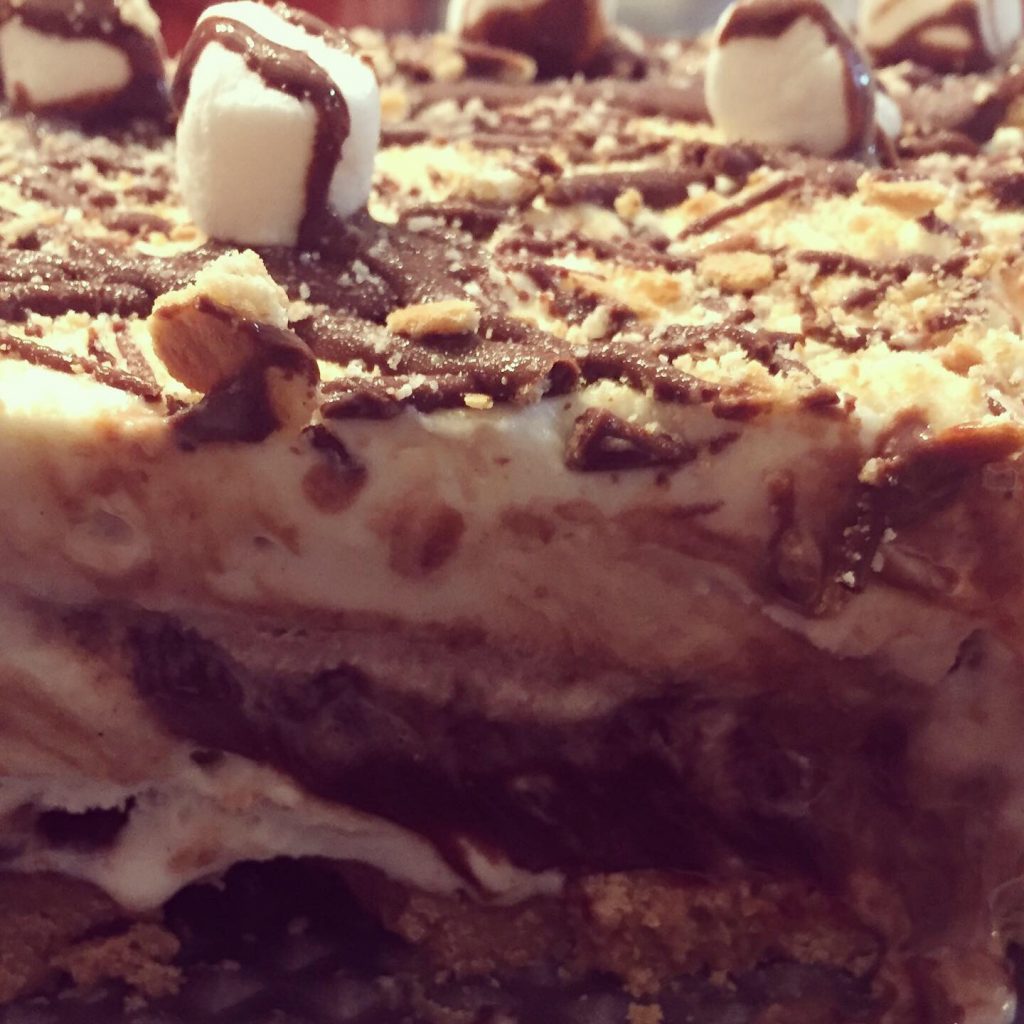
Instead of a cookie crust, I switched to a cookie butter and graham cracker crust. I make the no bake peanut butter cup bars often, and the base layer consists of graham cracker crumbs, butter, peanut butter, and powdered sugar. I decided to use it as a crust, but I would replace the peanut butter with cookie butter to enhance the graham cracker flavor, and since cookie butter is much sweeter than peanut butter, I would have to reduce the powdered sugar as well. With some taste testing along the way, I got a truly awesome crust that wouldn’t absorb the ice cream.
Marshmallow topping 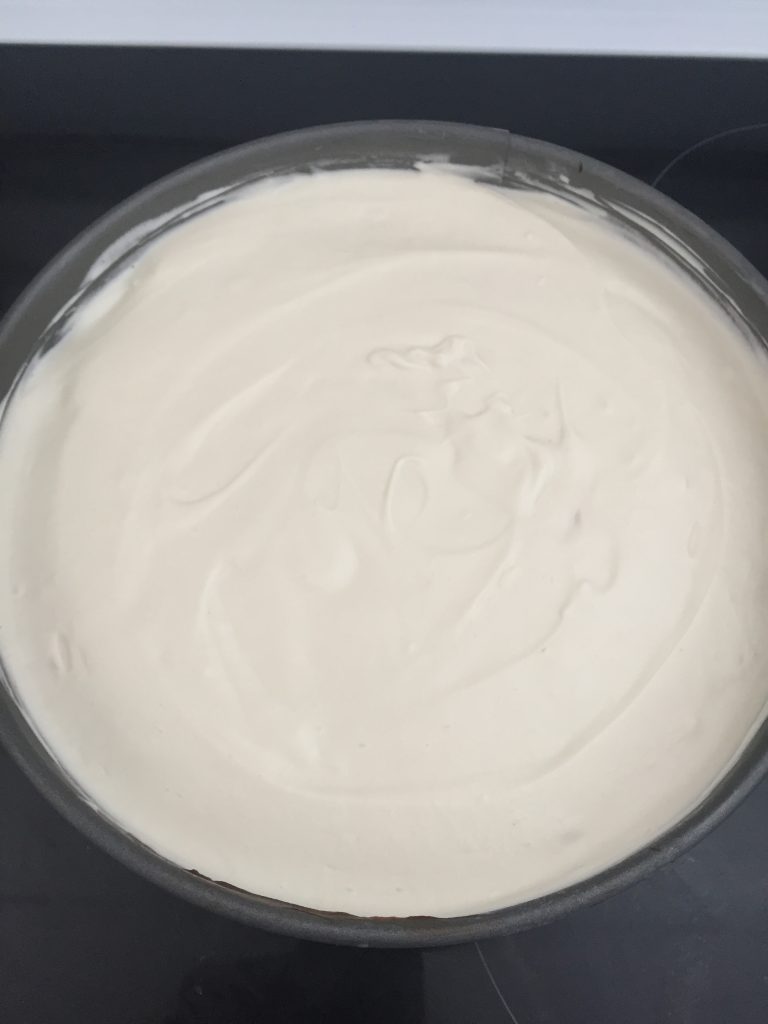
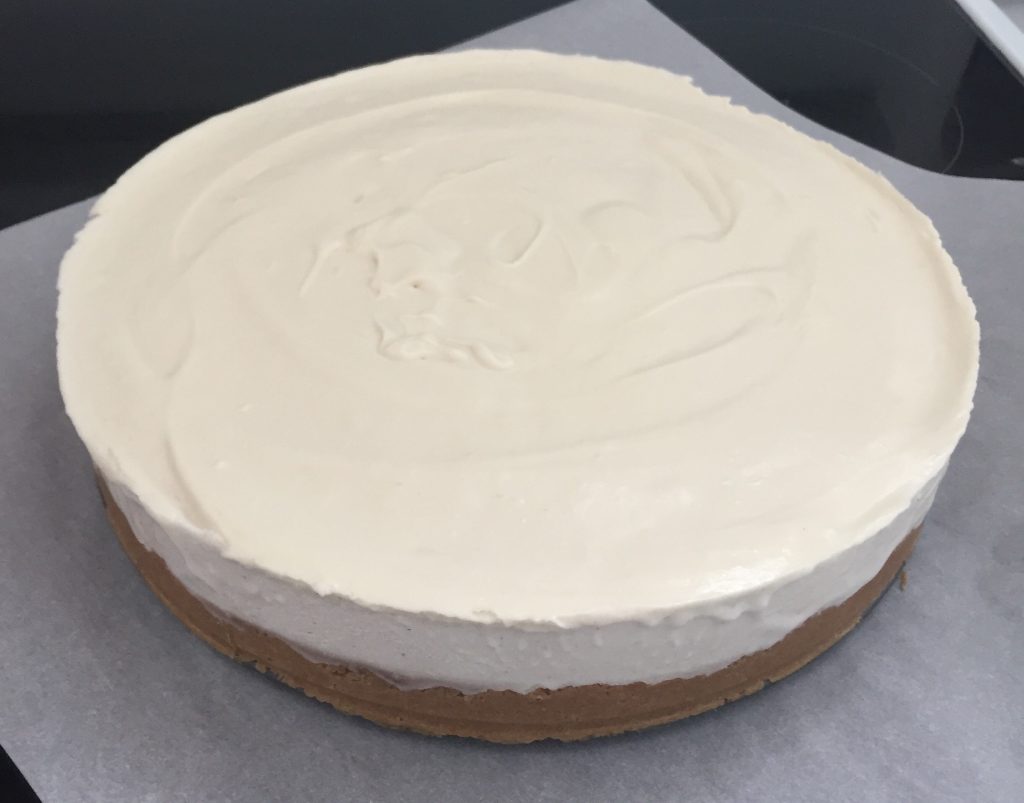
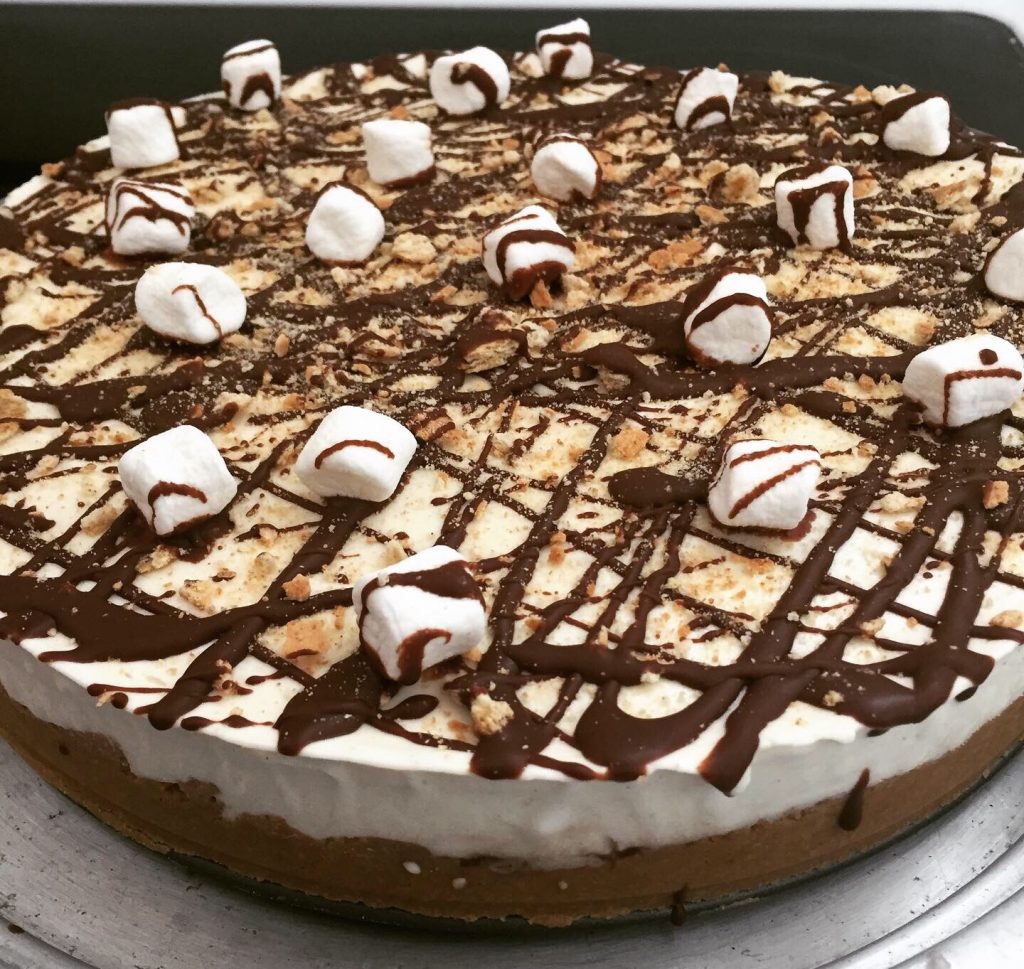
Frozen to perfection!
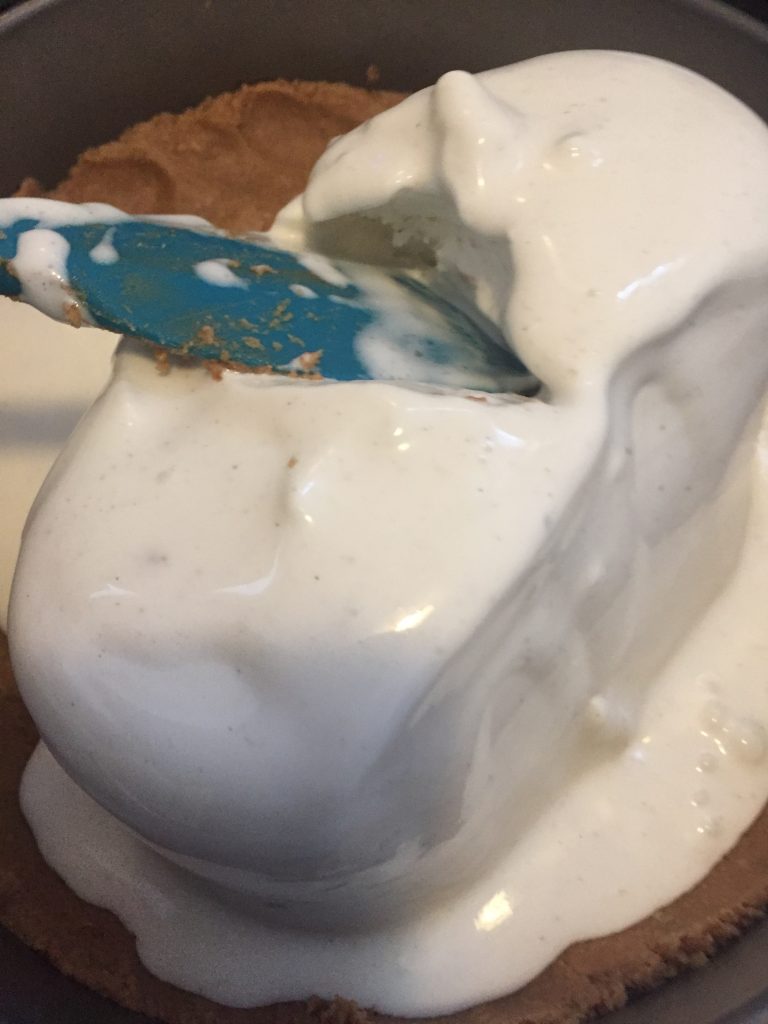
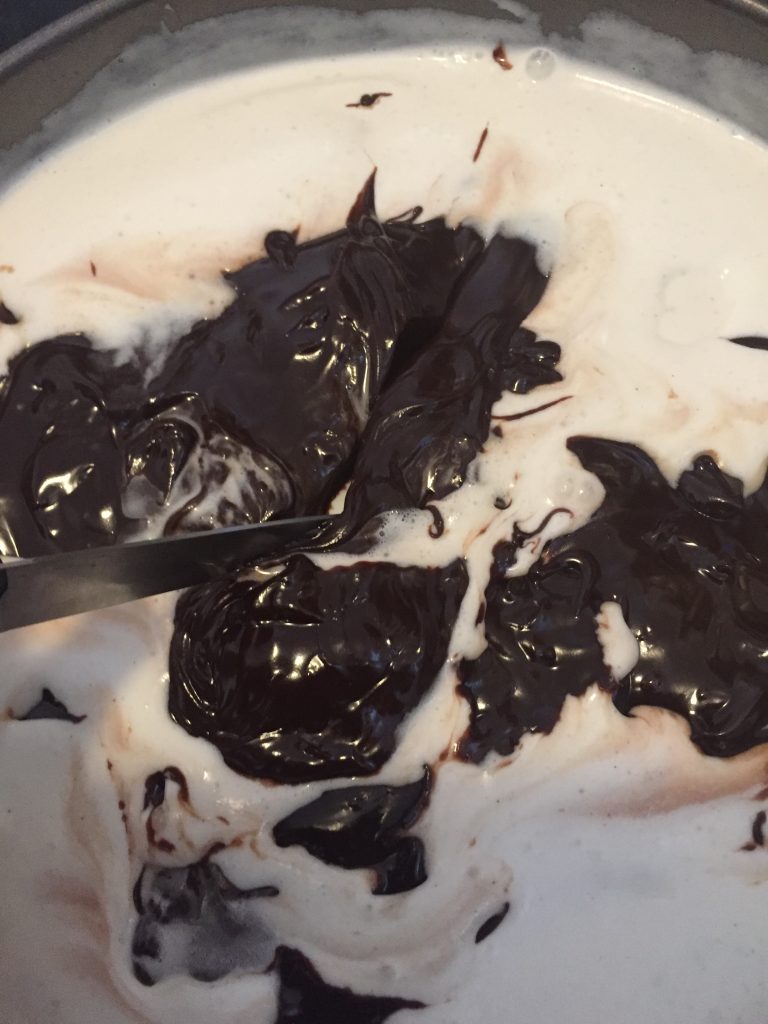
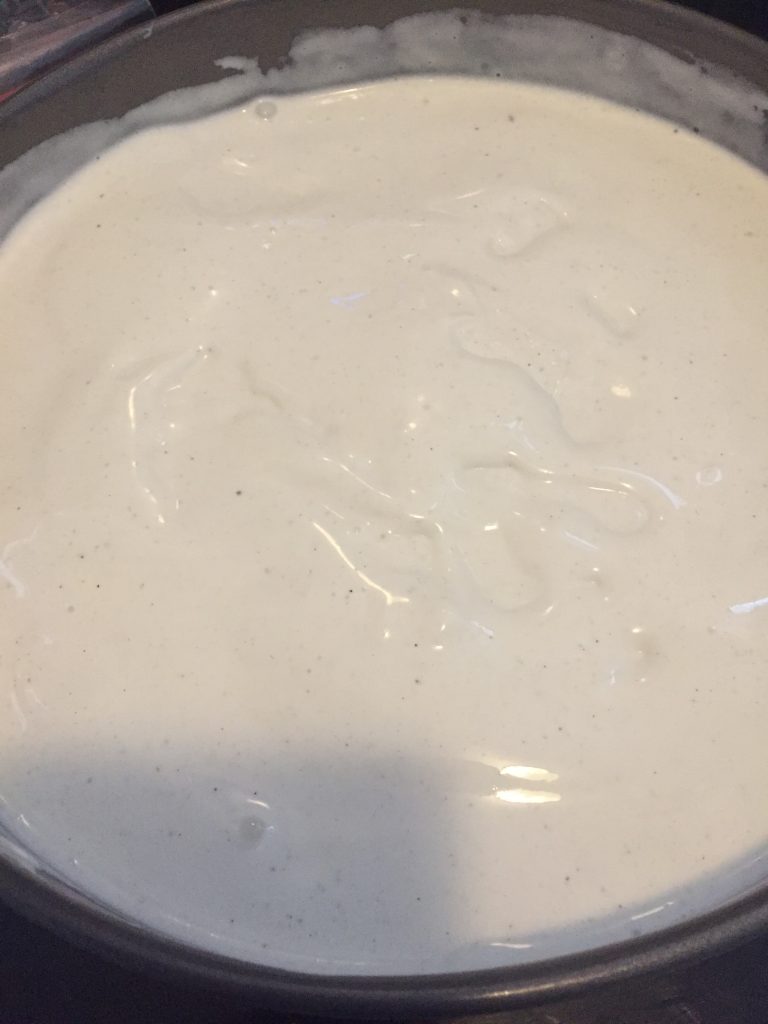
I was also way more careful with the ice cream this time. Instead of letting it melt completely and blending it with marshmallow cream (which totally deflated it!), I decided to let it soften and spread it out. Fortunately, I was still able to use my original idea of swirling chocolate fudge sauce into the ice cream for that chocolatey goodness.
How was I going to get that marshmallow flavor in though? I remembered working with a lady who did fruit trays, and everyone was totally crazy over the fruit dip. She revealed to me that it was just the classic marshmallow fruit dip that consisted of marshmallow cream, cream cheese, and vanilla. A layer of this frozen and spread over the ice cream was the best idea I could come up with. It turned out so good that I wish I had done a double batch!
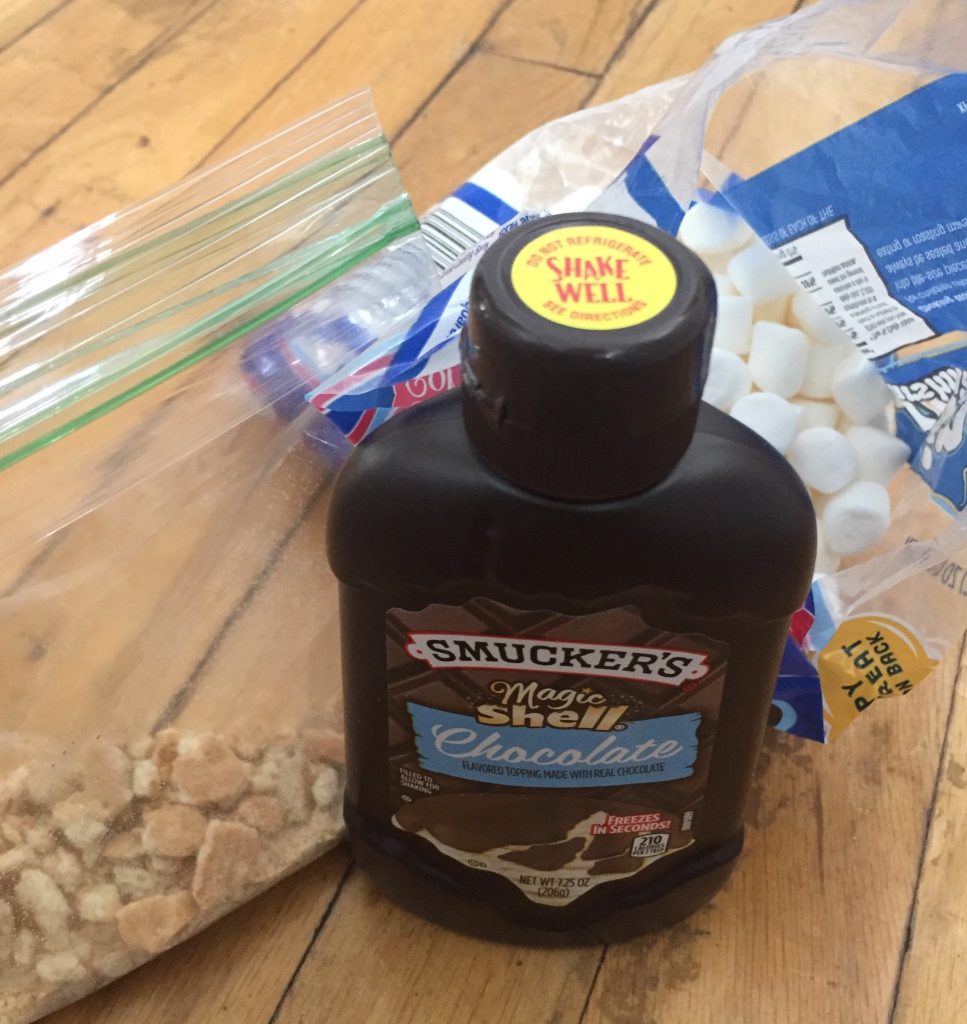
As for the decoration, I hadn’t really planned on having to do much of that. It was just supposed to be a giant s’more after all. Switching gears, I decided to go classic with a magic shell drizzle, graham cracker crumbs left over from the crust, and some mini marshmallows that I already had.
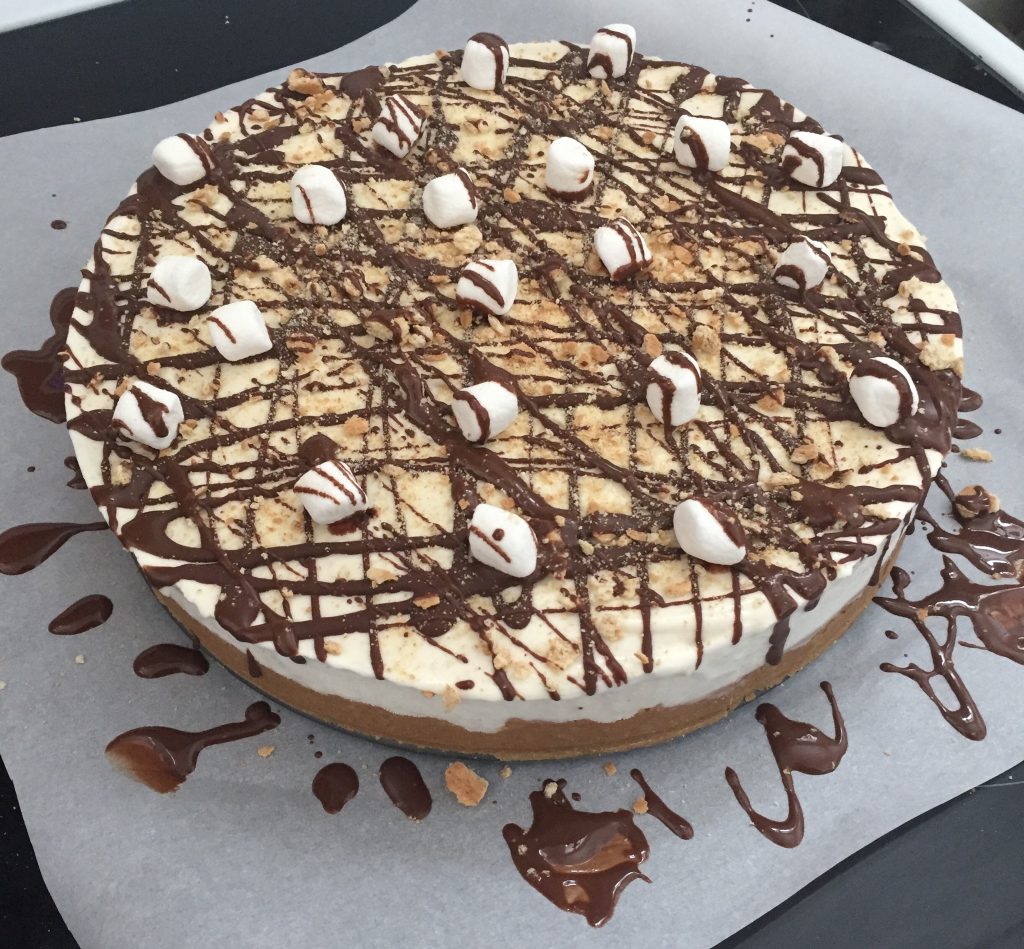
It turned out beautiful and I was so excited to serve it to my family. It was a hit with everyone- especially the birthday boy.
Seeing this tasty, beautiful cake that turned out nothing at alI like I had originally planned, reminded me that it’s okay to fail. As long as you learn, and I definitely did, it’s worth it. I always want to try new things and become a better baker from my failures as much as my successes. I will have more desserts to come, but I can’t wait to try another cake. I’m thinking a cookie cake? I haven’t done one in awhile and I’m about due for one. Whatever it is, I can’t wait to share my lessons here.
S’mores Ice Cream Cake Recipe
Crust:
- 12 1/2 graham crackers (1 1/2 packs, half of a full box), crushed to fine crumbs
- 3/4 c. powdered sugar
- 1 1/2 sticks (3/4 c.) butter, melted
- 3/4 c. cookie butter
Center:
- 1 tub vanilla ice cream, softened
- 1 jar fudge sundae sauce
Marshmallow topping: (feel free to double it!)
- 1 7oz. jar marshmallow cream
- 8oz. block cream cheese, softened
- 1 tsp. vanilla
Toppings:
- Magic Shell
- Graham cracker crumbs (or teddy grahams)
- Mini marshmallows (you can toast them if you wanna be extra!)
Instructions:
Combine all the ingredients for the crust in a large mixing bowl and stir until thoroughly combined. I used a blender to crush the graham crackers into fine crumbs.
Press the crust evenly into a 10 inch spring form pan.
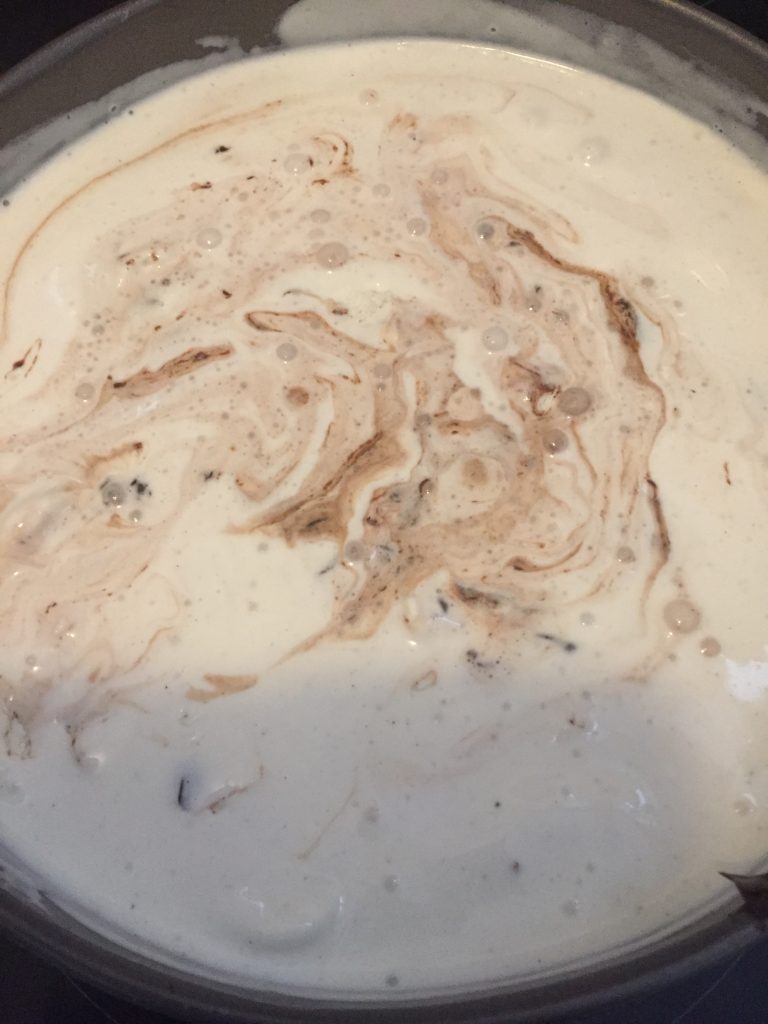
Spread the softened ice cream evenly over the crust and swirl in a jar of fudge sauce. I had to slightly heat the fudge sauce to make it workable. Freeze until thoroughly set.
Once your ice cream layer is frozen, make the marshmallow topping by adding all the ingredients to a mixing bowl and beating everything together until the mixture is smooth and creamy. Spread it evenly over the ice cream layer and freeze until solid.
When you’re ready to decorate it, take a washcloth dipped in hot water and run it around the edges of the pan a few times. The outside should pop right off. Place the cake on parchment or wax paper and do some drizzles with your magic shell. Try to quickly add the toppings before the magic shell sets. Drizzle the other direction and add some more toppings. Keep up the process until you’ve got it where you want it. Keep frozen until ready to serve.
Leave a Reply
You must be logged in to post a comment.