I was at it again! After my first successful attempt at toaster pastries, I decided to do a new flavor to take to a friends bake sale. I did a double batch and wow! It definitely takes awhile to roll, assemble, and bake 18 toaster pastries, but it was worth it. They all sold and I even go to try one for myself. I definitely got big s’mores flavor out of them and they were a million times better than the store bought s’mores flavor, which I personally never thought tasted like s’mores to begin with.
For the purposes of this blog post, I’m going to break the recipe down to one batch, which will be about 9 pastries. For most things, 9 pastries is plenty! Next month, I am going to take a friends advice and make a giant slab pie pastry! I have a feeling that will be much less time consuming than this!
A big challenge is how to get that authentic s’mores flavor. The pie crust doesn’t have a graham cracker taste and I didn’t know about using graham cracker crumbs to replace part of the flour. It’s a cool idea in theory, but I didn’t have time to test it out this time around. I got a brilliant idea and decided to use cookie butter. I used it to make a frosting for my famous banana wedding cupcakes and it tastes like graham crackers, only better. Of course marshmallow cream was a no brainer, but now I had to find out how to add the chocolate flavor.
When adding chocolate, there are so many options. I had considered adding chocolate chips, but I didn’t want them to harden and be unpleasant to bite into. I also considered a ganache, but I didn’t want them to need refrigeration immediately since they were going to a bake sale. Fortunately, the 2 ingredient chocolate fudge was there to save the day! It makes an awesome hardening topping and it holds any decorations quite well as long as you apply them before the fudge sets.
I had my ideas in place and I was ready to go with my 7up pie crust. Once I got that crust rolled out, I was really struggling to cut it into to long uniform sheets that could be folded over to form the pastry. Last time, it worked pretty well for me, but this time, I just didn’t have it. I took a piece of paper, cut it to pop tart size (roughly 4 1/2 X 4in.) and I rolled and cut, rolled and cut, until I had 37 pieces. The 37th piece became its own mini sample pop tart since it didn’t have a partner. I actually liked this method better than the long strips! Remember, you’ll probably only have about 18 pieces if you just do one batch. This is way more manageable and it should go fairly quick. I also decided to cut all the pieces before assembly and baking. I placed them on a cookie sheet and divided the layers of cut out pieces with waxed paper, which is pretty inexpensive.
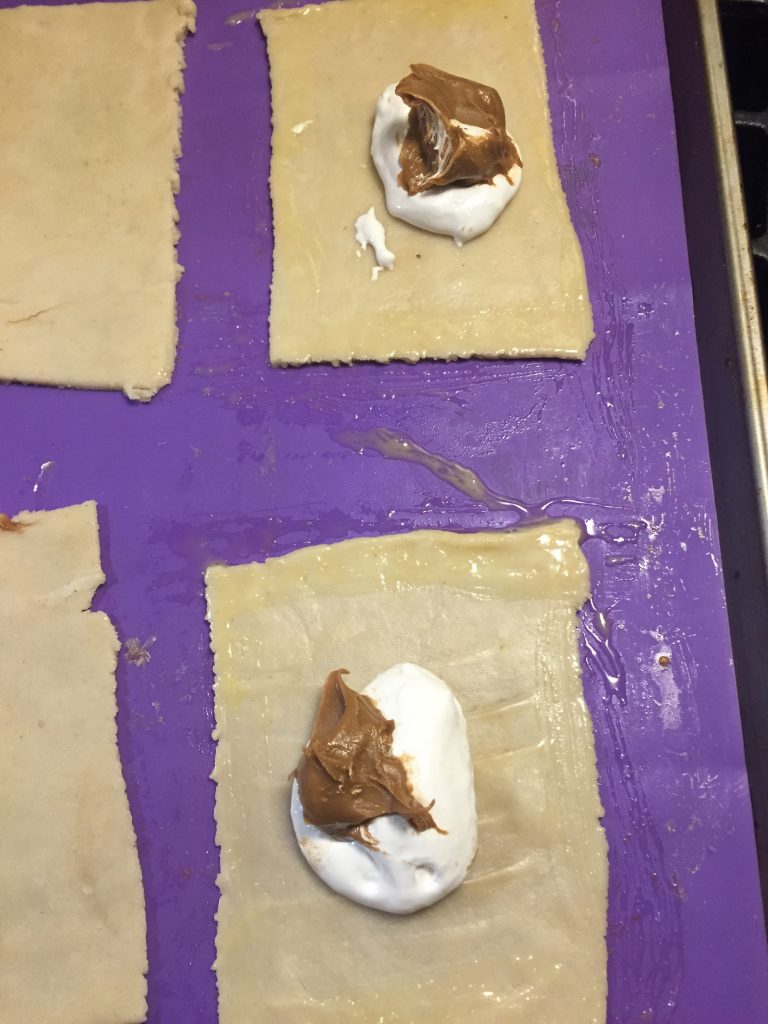
Once I had all the pieces cut, I went to town with assembly. I also learned a valuable lesson right off the bat to impart to my readers: don’t use too much marshmallow cream! Maybe that sounds captain obvious, but I was slightly surprised at how much was “too much.” I 1/2 tablespoons made the pastry explode! 1 tablespoon was plenty. It puffed up, but not enough to make the pastry explode. Do yourself a favor and stick to less is more with the marshmallow cream.
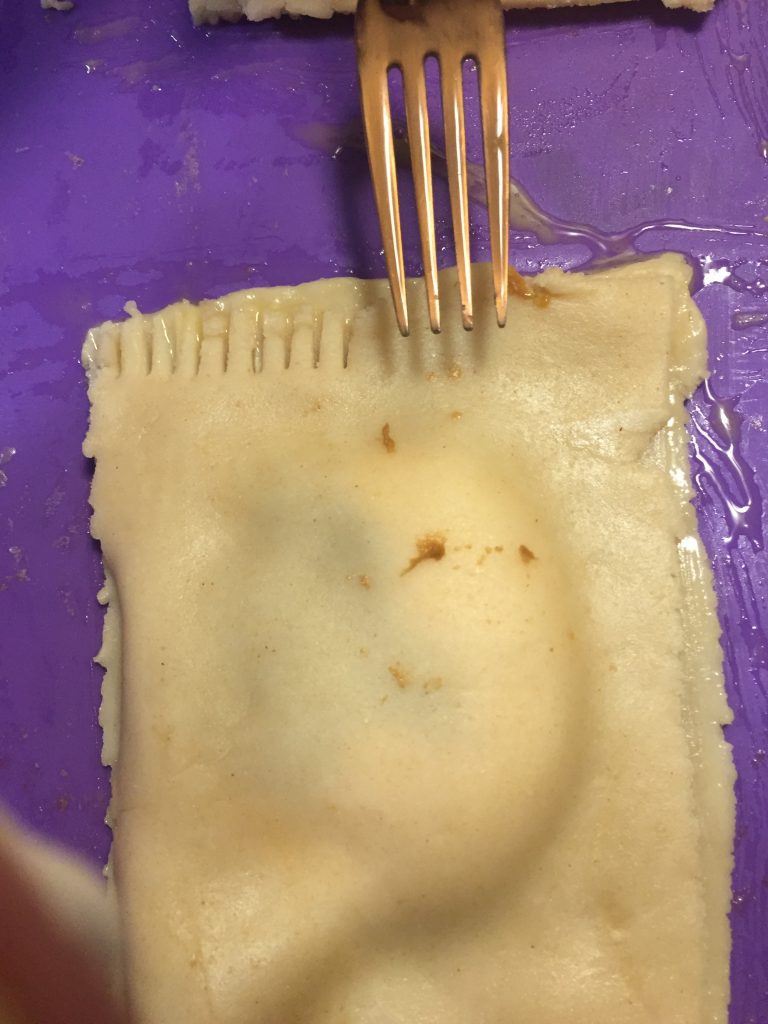
Another thing I realized was that you have to poke lots of holes in these. You can thank the marshmallow cream for that too. I only used the fork 2-3 times on the peanut butter and jelly ones I made, but for these, I had to poke a multitude of holes in them for them to bake up properly. When you use the fork to poke holes in the top of each pastry, you’ll want to do it about 8 times per pastry. I know that sounds completely excessive, but I trust me, you’ll be glad you did!
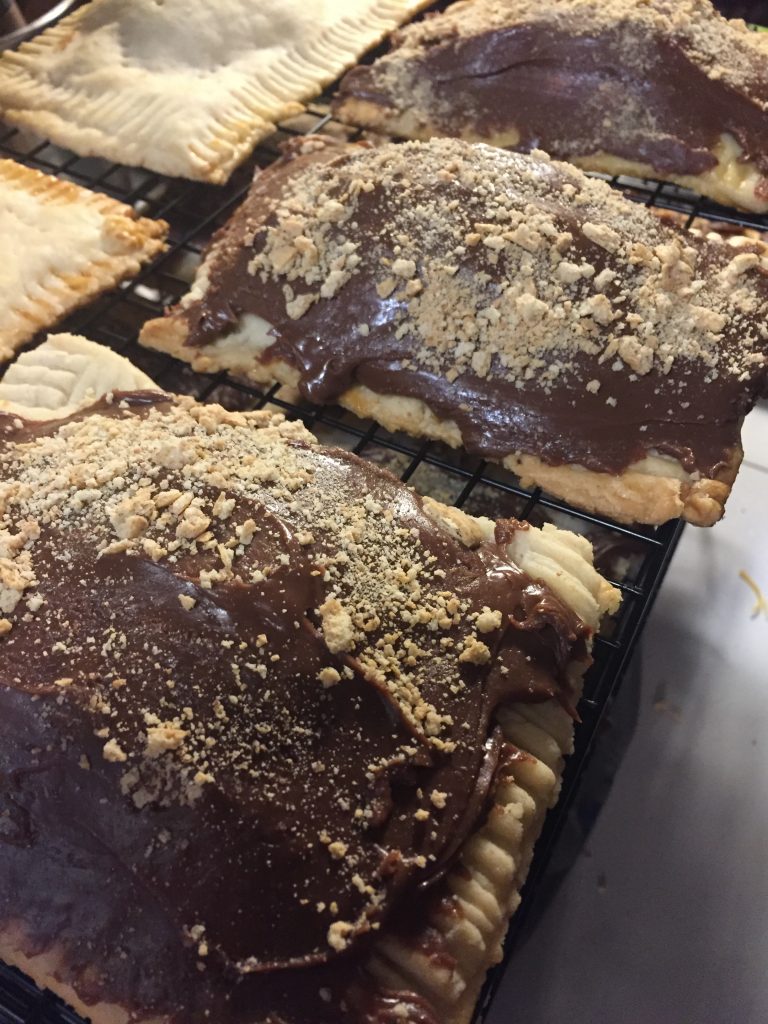
I was a bit lost for decorations. Putting copious amounts of sprinkles on everything brings me immense joy, but I wanted these to scream “I’m s’mores flavored!” since they were at a bake sale and I couldn’t tell everyone what they were and people mostly buy by sight instead of taking the time to read each bag, or at least that’s how I buy at bake sales. After all this thought, I just did crushed graham crackers on the top. I think it put on the touch I was looking for.
You wanna know something funny? Out of the three things I took to the bake sale, one of them were “Sissy’s Favorite’s” applesauce and peanut butter dog treats. I was afraid they wouldn’t sell. There were 8 bags with about 30 treats per bag, and I was just hoping that at least most of them would sell. I found out from a friend that she went to the bake sale an hour and a half in, and all the dog treats had already sold! She was told that they were gone right away. I was so shocked and surprised! If there is another bake sale, I intend to just donate dog treats only since there were more people treats than they could handle anyway. It’s the best feeling in the world to me when you can help good people and good pups at the same time.
S’mores Toaster Pastry Recipe
- 2 refrigerated pie crusts (or your favorite homemade recipe)
- flour for rolling out/dusting
- 1 small jar of cookie butter (found by the peanut butter)
- 1 small jar of marshmallow cream
- egg wash
- 1 package of chocolate chips
- 1 can of sweetened condensed milk
- crushed graham crackers for topping (optional)
Yield: about 8-9 pastries
On a lightly floured surface, roll out your first pie crust. You can either cut 3 long 9in. by 4in. strips, or 6 pieces measuring 4 1/2in. by 4in- whichever is easier for you. You can use a piece of paper cut to dimensions as a guide to make things super simple and uniform. Set aside the scraps and roll and cut the other pie crust the same way. Once both pie crusts are cut, combine these scraps with ones you set aside and get as many pieces as you can out of them.
If you need a place to set all your pieces while you’re cutting more out, you can set them on a cookie sheet and use wax paper to separate the layers as you add more pieces.
Once you have all your pieces cut, preheat you oven to 350 and make an egg wash.
Now it’s time to assemble the pastries. If you used long strips, put 2 tsp. of cookie butter and 1 T. of marshmallow cream in the center of one side, brush the outside edges with egg wash, and fold the other side evenly over before crimping the edges with a fork. If you did the smaller pieces, put one piece down, fill it the same way, brush the outside edges with egg wash, and place another piece evenly over it before crimping the edges with a fork. Whichever method you use, it won’t make the pastries any different. Only you will know!
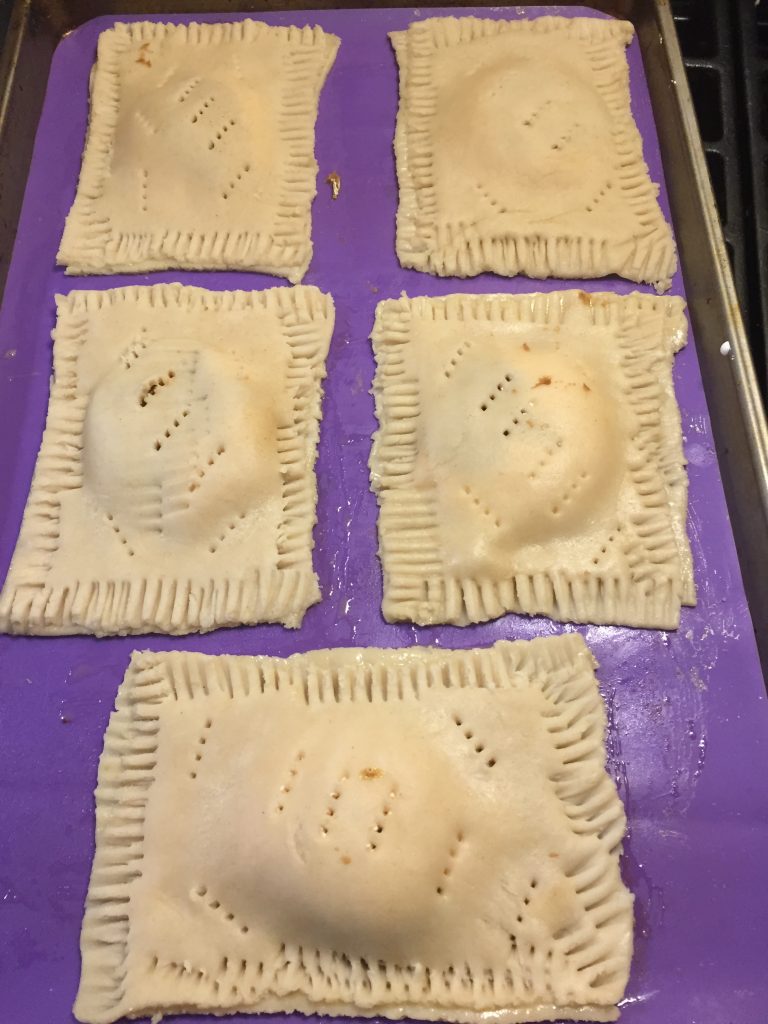
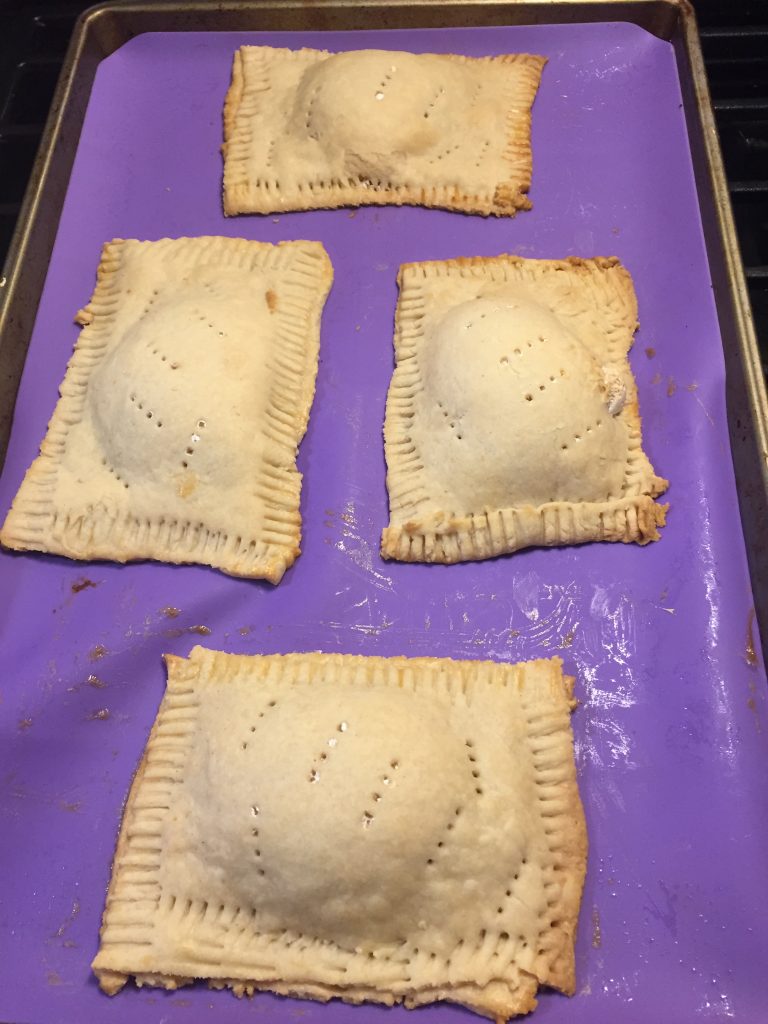
Place 4-5 pastries on a cookie sheet that has been lined with parchment paper or a silicone baking mat and poke holes in the top of each pastry with a fork. Do this about 8 times per pastry. I know it sounds excessive, but the marshmallow cream definitely needs a bit more ventilation. Bake for 22-25 minutes, until the edges start to get golden.
Let them cool on the mat for a couple of minutes before using a large spatula to transfer them to a cooling rack. Repeat for the next batch and allow all the completed pastries to cool before frosting.
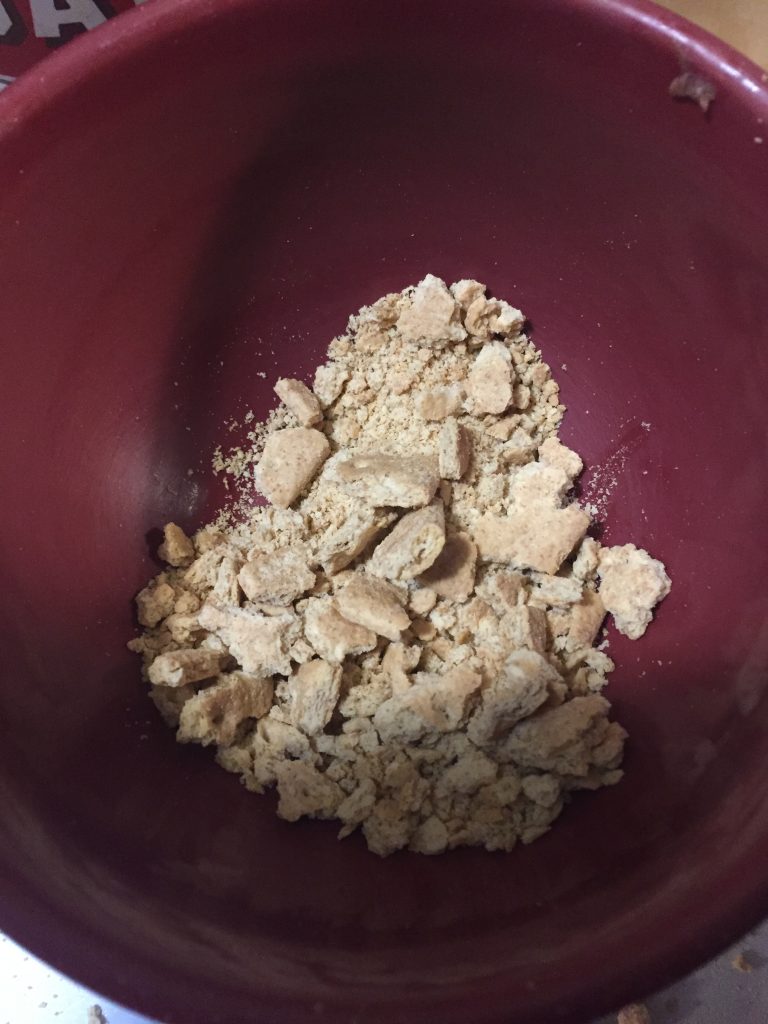
Before you frost them, get your decorations ready. I just crushed up some graham cracker crumbs for these. You’re going to want to put your decorations on each pastry right after you frost it since the frosting sets up pretty quickly.
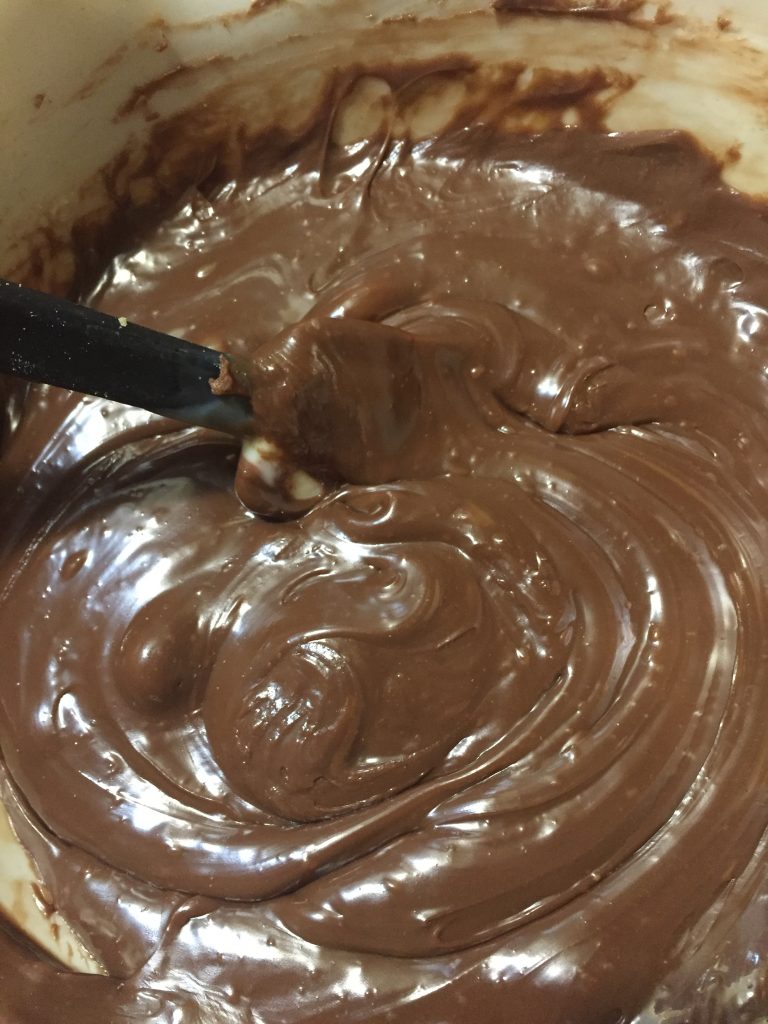
In a medium microwave safe bowl, pour in the pack of chocolate chips and the can of sweetened condensed milk. Stir together and microwave it for 1 minute. Stir and microwave for 30 second intervals until all the chocolate chips melt after stirring. This should take about a minute and a half to two minutes at most.
Once the frosting is all smooth, use a small spatula to frost a pastry and then sprinkle the decorations on before setting it back on the wire rack to let the frosting harden all the way.
Once all the pastries are frosted and the frosting has had time to set, you can put them in an airtight container and refrigerate them. They’re best served warm or microwaved for about 45 seconds.
Leave a Reply
You must be logged in to post a comment.