A little over a decade ago, I remember my mom coming home with a ziploc bag of what appeared to be batter in her hand. She showed it to me along with the instruction sheet that came with it, and I realized this was more than just batter- this was something different than I had ever baked with at the young age of 16. This was a starter, and it was used for making something called Amish Friendship Bread.
I don’t know how familiar you are with this, but there are two major things about it that stick out. The first thing is, it’s delicious! The second thing is, you get 3-4 new cups of starter to give away every 10 days, this is why it’s called friendship bread. For someone who had a small circle, it was challenging to find roughly 10 people a month that wanted to commit to this.
Because of this, I tried to bake as much of it as I could since people were way more willing to accept the bread than the starter. It never occurred to me to just throw a cup away. Finally, I got the brilliant idea to simply add less milk, flour and sugar on the days where you add something. This was NOT a brilliant idea and I will explain why soon.
Because of my improper care and feeding of the starter, it eventually went bad and I can’t say that I was too sad. Baking sweet bread every 10 days kind of controls your life.
I’m not sure exactly what it was that jogged my memory, but I found myself thinking of this delicious cake-like bread recently and I couldn’t get it out of my head. With the recent yeast shortage, I heard a lot of talk about people working with “starters” and this lead me to look and see if there is anything else you can do with the Friendship bread starter. That’s how I stumbled upon the Friendship Bread Kitchen. It’s a website and online community started by a friendship bread expert who even has cook books about it!
Not only did I find a ton of things- both sweet and savory- that you can make with your starter, but I also found a complete guide to the caring and feeding of starter and how it works. As we discussed before, the chemistry of baking is immensely important, and it’s a game changer in your personal kitchen.
I also found out how to properly keep less starter and how to change your baking schedule to fit your needs. With all this newfound knowledge, I decided to get myself a starter. I put it out on Facebook that I was wanting a starter if anyone had one going, since it is almost universally agreed upon that a starter that has been going for awhile will taste much better, but nobody had one to give. Therefore, I went back to the section on the site about starting your own starter and I decided to give it a shot.
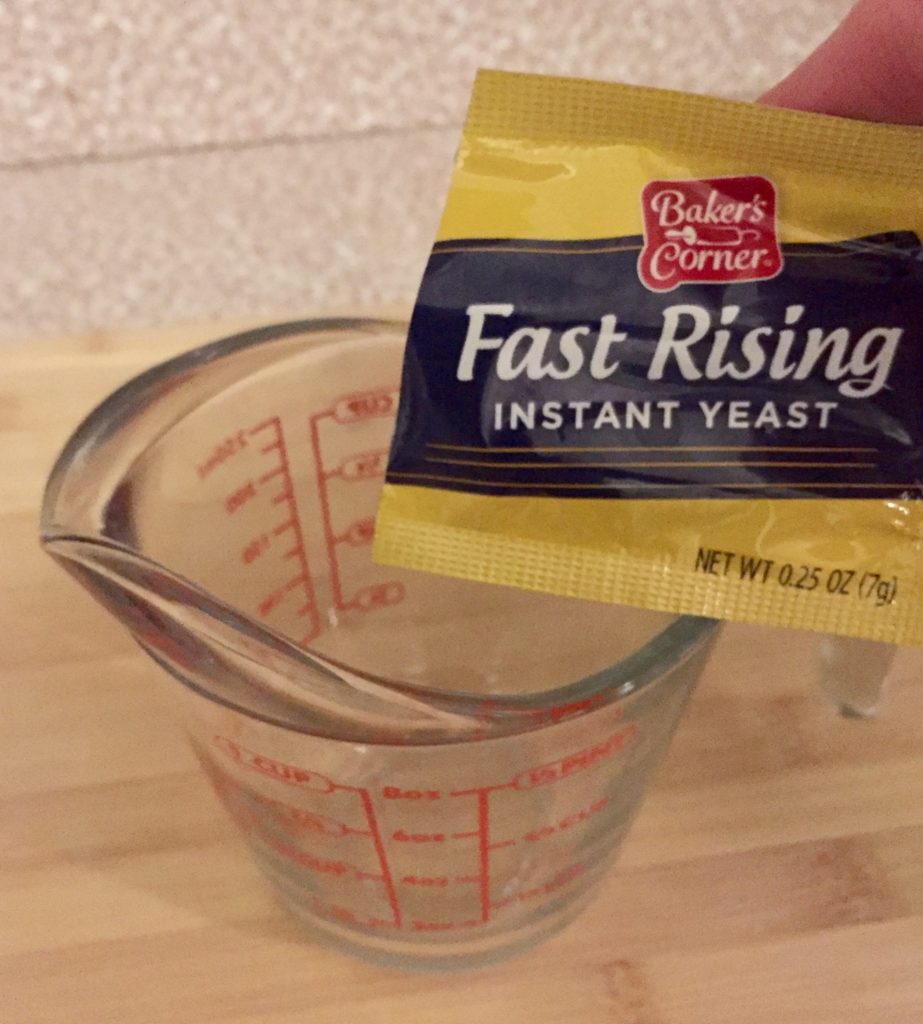
The only real bummer about starting your own starter is that it requires yeast, and I had a checkered past with yeast. Some people say it’s tricky, others disagree, but for me personally, it’s pretty tricky. However, my husband had a brilliant idea and I am still amazed why more people don’t do this.
My one successful time with yeast involved a bowl of water, a microwave, and a candy thermometer that was tough to read. My husband would stand at the ready with the thermometer, and the second it got within the 5 degree temperature window, I hastily added the yeast and sugar. It worked beautifully and we had amazing homemade beignets.
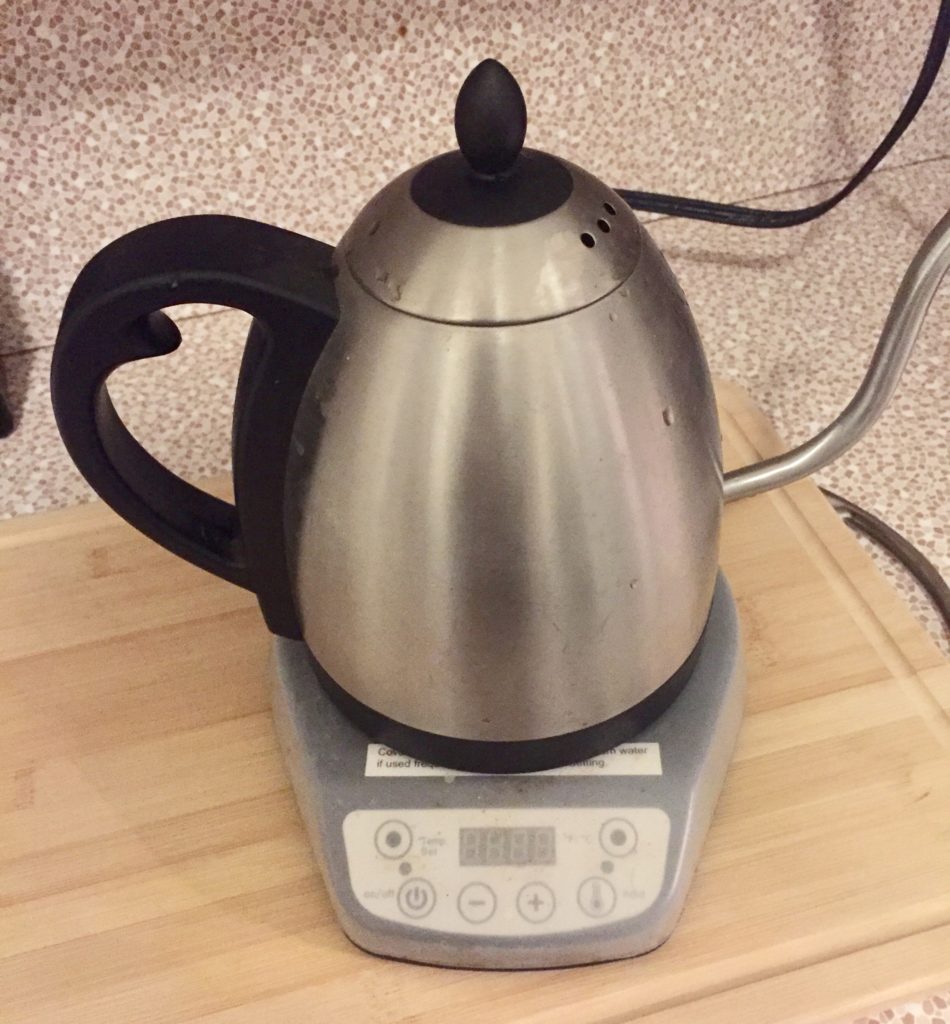
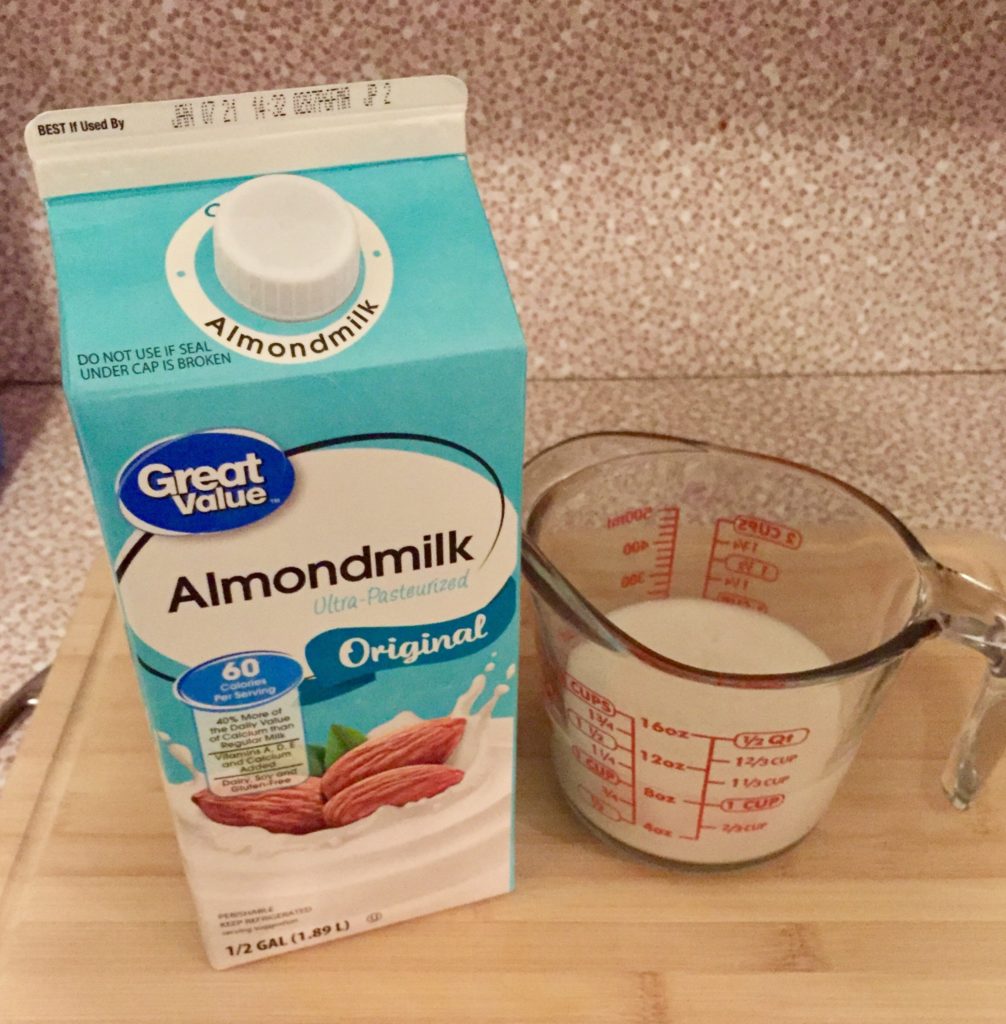
This time though, he suggested I just put the water in my electric kettle and wait until it reads 110. When I explained that it didn’t have an actual setting that low, he reminded me that it shows you the temperature of the water as it’s climbing, so I can simply take the kettle off at 110. He’s my genius!
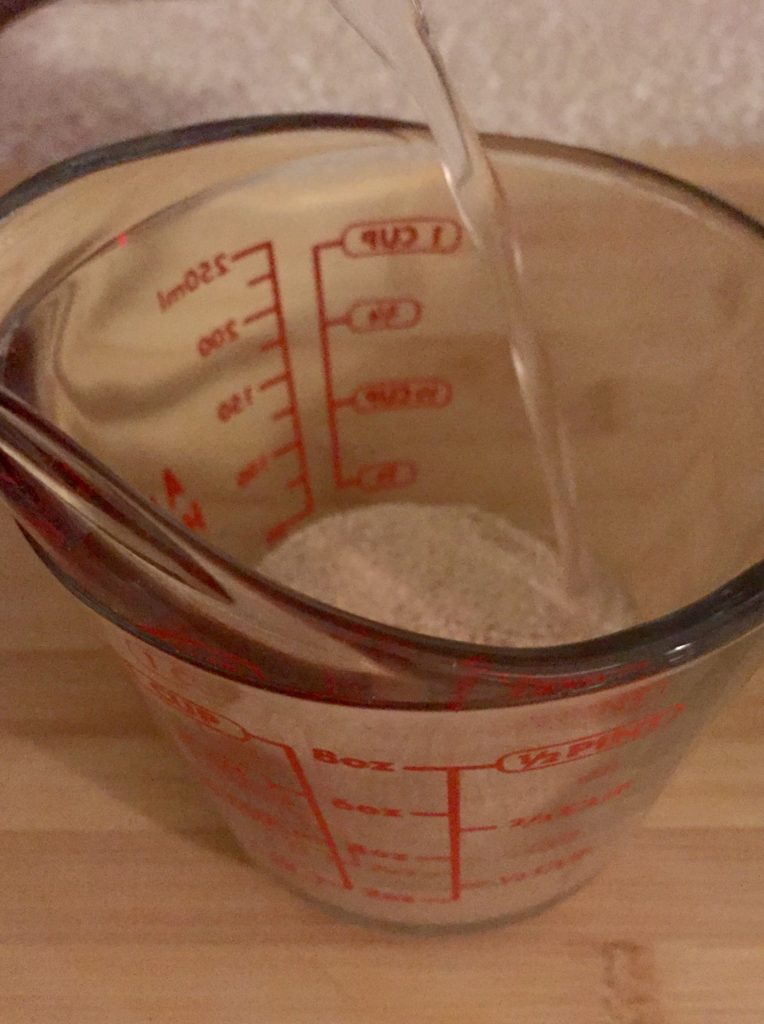
The trick worked beautifully and pouring it directly into a glass measuring cup worked really well. I dissolved it like she said and then I waited…..and it all seemed kind of anti-climactic. The yeast seemed…quiet. I was almost sure it hadn’t worked, but I decided that I would follow through with the recipe and see what happened.
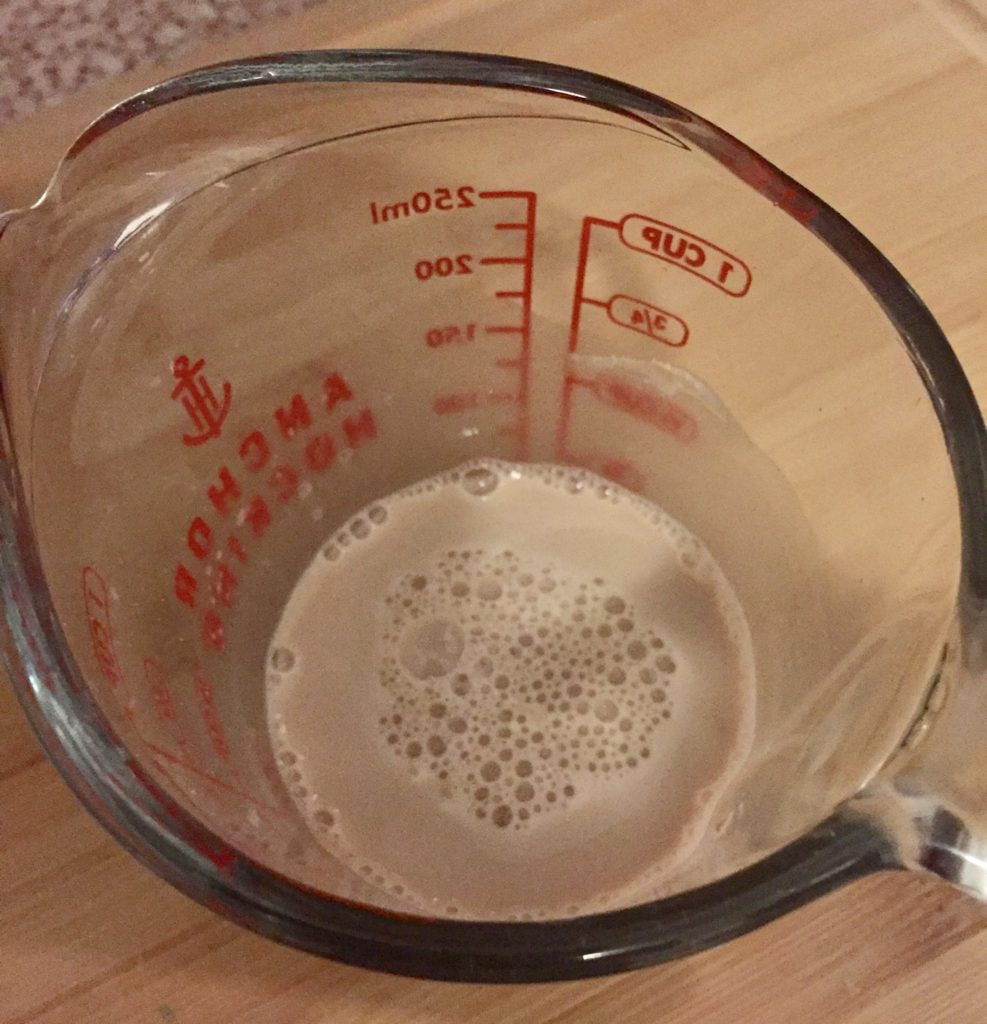
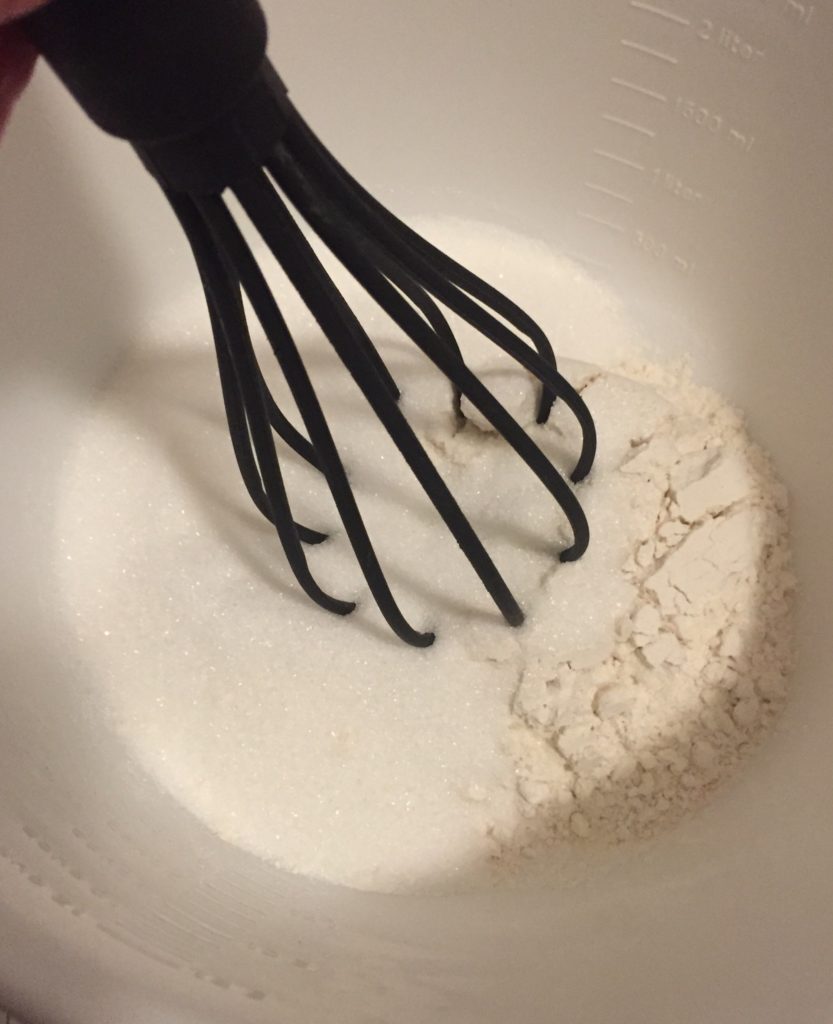
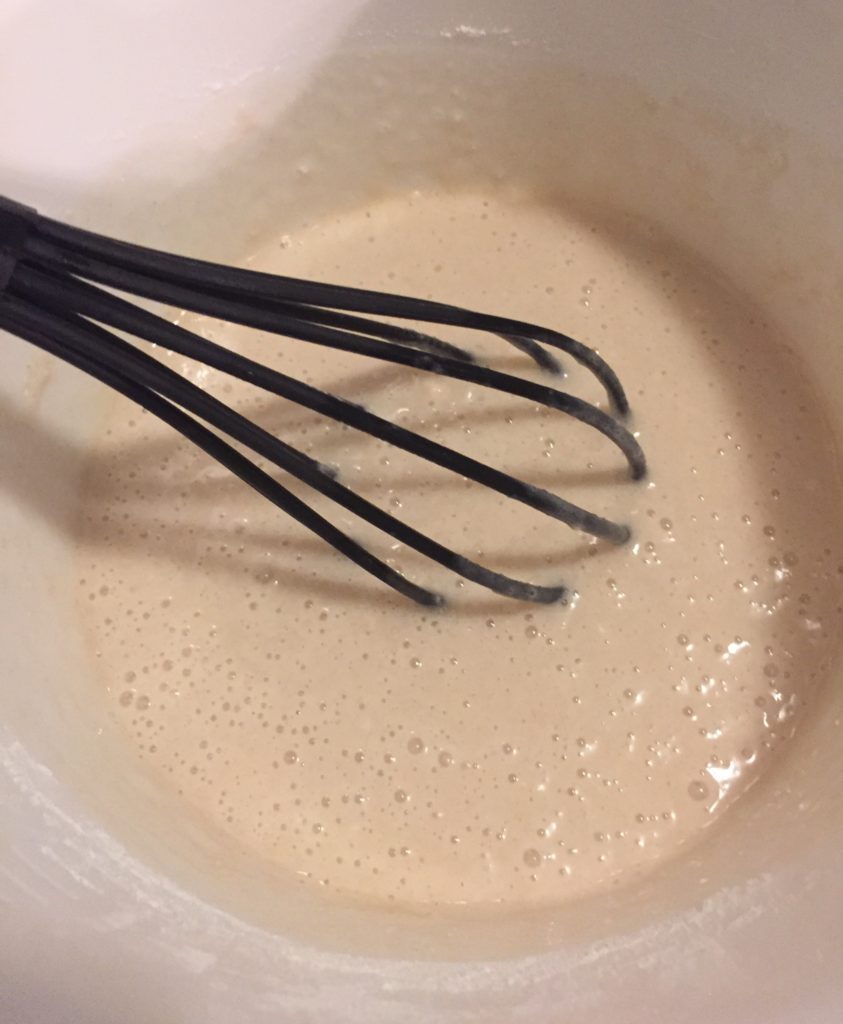
When it was combined, there were bubbles and this was heartening. Not a lot, but they were definitely there. I covered it like it said and I checked it a lot that night, expecting to see it rise, but I kept being disappointed. I determined to just wait and see.
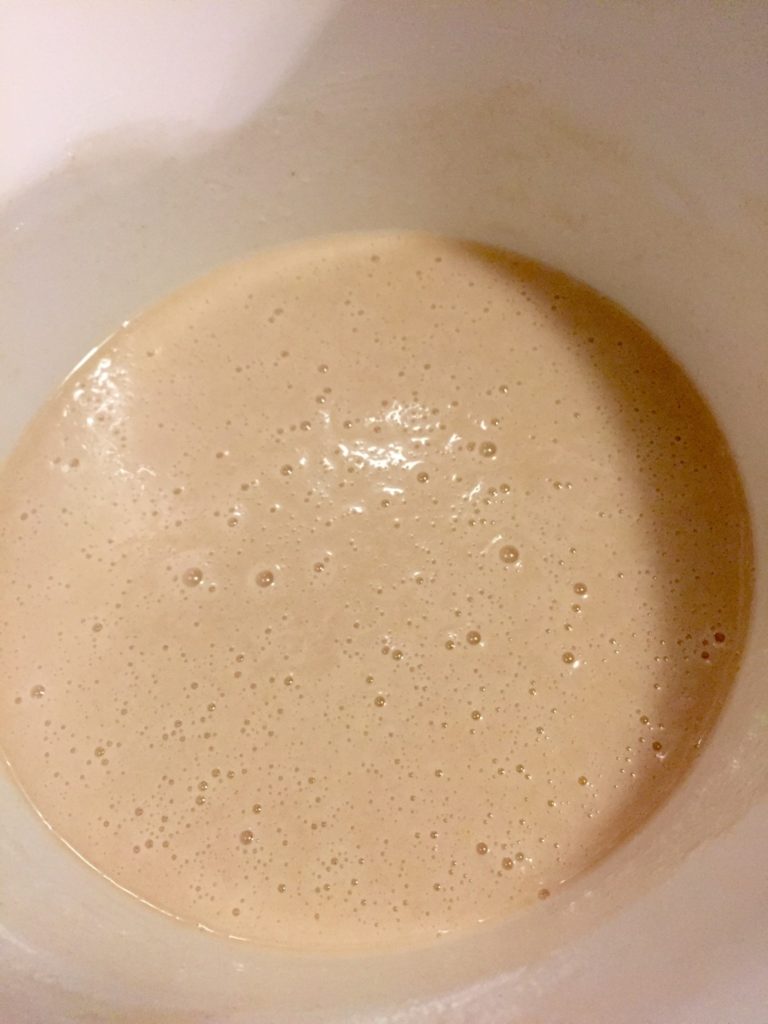
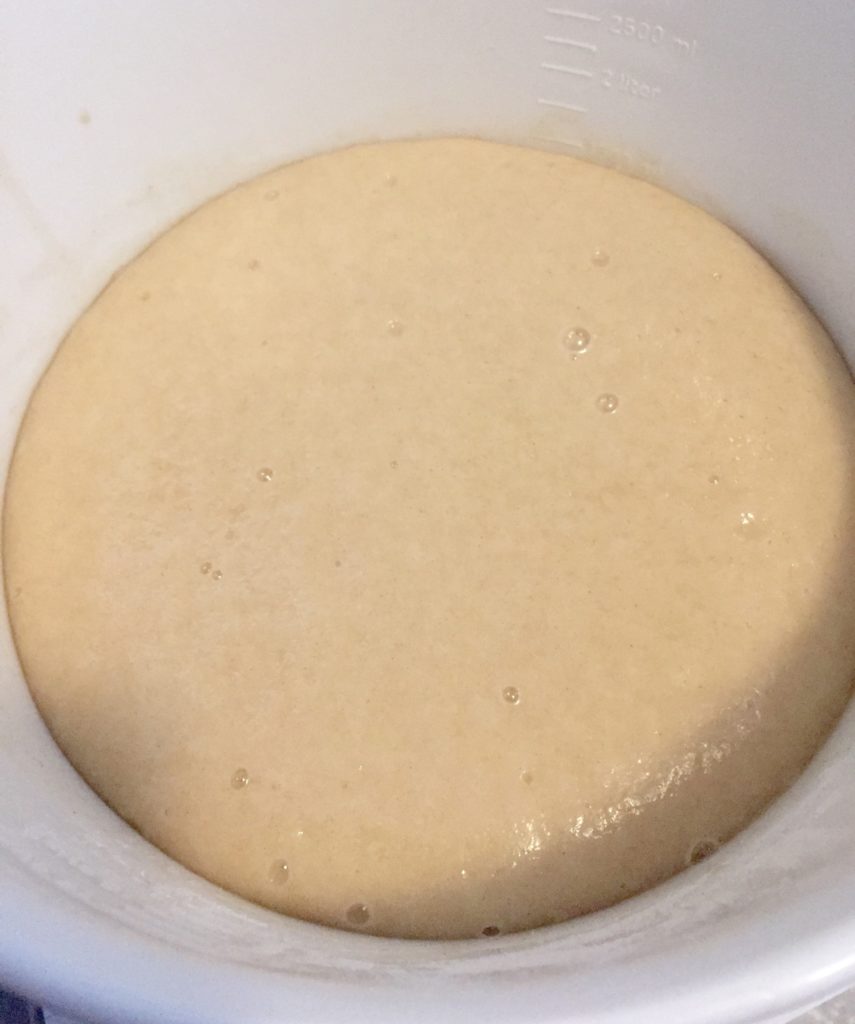
This morning, I was a bit happier when I peeked at my starter. It had doubled in size.
Most people agree that you should do the traditional 10 day cycle when you first start your starter, but I think I’m going to try my own variation on the 7 day cycle, while making sure to feed my starter enough. Maybe it will absolutely fail, but maybe it won’t. I have learned that the worse that can really happen, is that you learn something new.
Maybe in a couple months, this will be a tutorial and I will have a starter to be proud of. I sure hope so! With all the holidays coming up, Friendship Bread would be a perfect gift for sure. For now, I just can’t wait to learn and have fun with something new and then share the adventures, and misadventures, with all of you.
Have a wonderful Thanksgiving my friends, and if you should decide to start your own starter, check out this amazing website: http://friendshipbreadkitchen.com
Leave a Reply
You must be logged in to post a comment.