I knew when I started this blog that I would need a “random” tab for all of my miscellaneous projects that I work on and I’m surprised it took me this long to use it! After seeing the grass farms in texas , a fairy garden is one of those things that I’ve admired from afar but never thought I would attempt. This all changed when I found out my town was having a fairy garden contest as part of our growing Fairy Door Trail- which is a super cute idea! I loved the idea and I wanted to support it so off I went to the wonderful world of Pinterest and books for ideas.
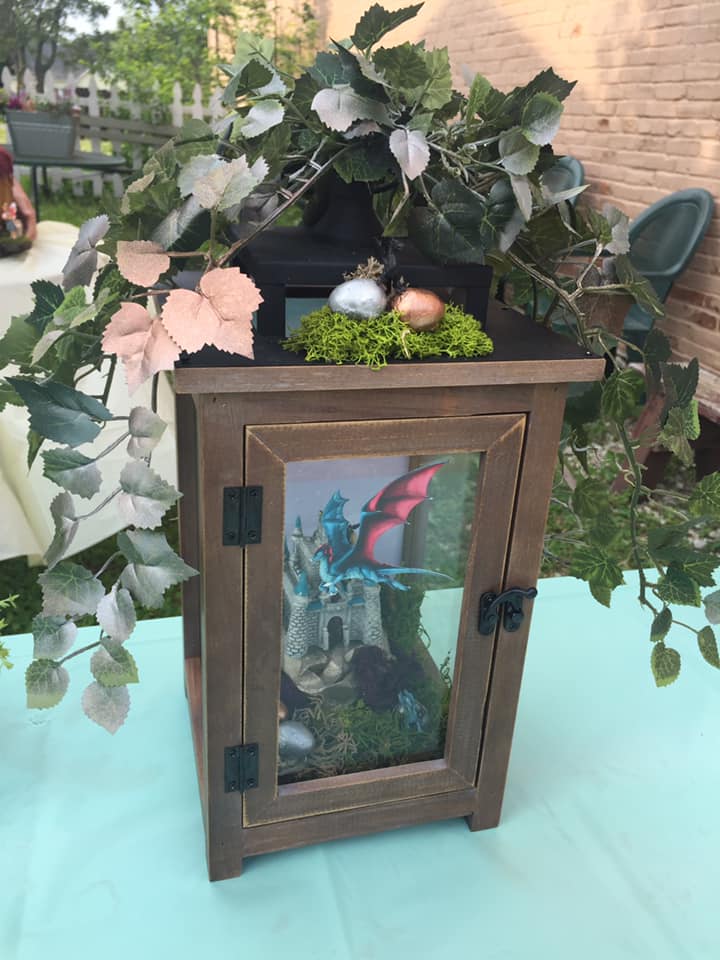
The starting point for every great fairy garden is the container. It’s astounding how many different things can house a fairy garden, and I wanted to stand out, so I knew right off the bat that I would try and choose something outside the “norm” for my garden. One of my personal favorite ideas is an old bird bath, but for the purposes of this contest, I was limited to 1 cubic foot, so the bird bath was out by default. Another thing I have always loved are lanterns. Whether they house flowers or maybe a candle, I just adore the look of a hanging lantern so I decided that this would be my chosen house for my fairy garden.
Finding the right one was a challenge but I eventually just found this at Wal-Mart at a great price. Being that most lantern designs are taller rather than wider, I had to think of a way to use the height to my decorating advantage. Luckily, I love dragons and I had an idea to make a “flying” dragon for my garden and the height would be perfect!
I honestly have to say that the hardest part of this was finding the pieces. Ideas come easily to me, but finding the products I need to fulfill them can be quite the challenge. And because of the challenge of scale, it’s more challenging to shop online and commit to a piece when you don’t know how it will fit in against the rest of your items and your container. Don’t get me wrong here, I love to shop in stores and I try to as much as I can, but I live in a smaller area so even when I drive up to an hour away from home, I often come home not having found what I’m looking for.
This project was no exception. I was fortunate enough to find the moss at a local craft store and the starry sky background I use is just a piece of scrapbook paper I found there also. The castle I found at our local dollar store and the ivy on top, the “dragon eggs,” and the tiny dragons, came from yet another craft store.
However, most of these things didn’t come as they were. I am fortunate enough to have a very crafty and smart mom who has spray paint in just about every color. She’s cool enough to be a graffiti artist but instead, she refinishes furniture and she let me use all of her neat tools and paints to make mundane objects into treasures worthy of a dragon.
After painting the eggs metallic and spray painting the homemade castle base, we started with the background, which is just the scrapbook paper cut to fit the back panel. The straight lines on the cut are courtesy of mom. I blame my inability to use scissors into adulthood on my being left handed. So far, it’s believable.
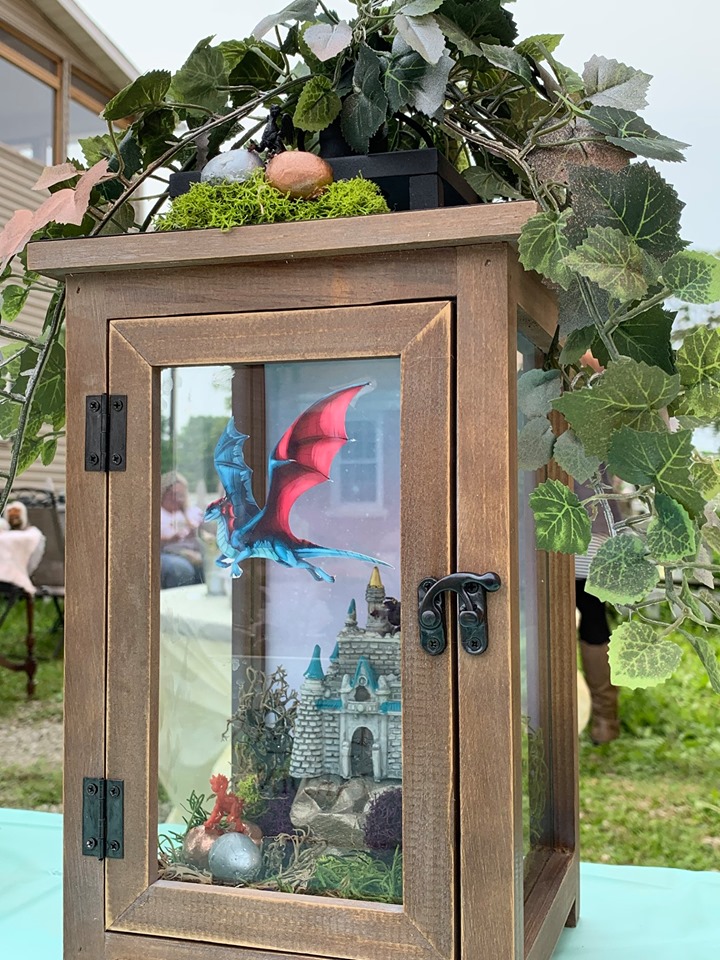
Next, we laid down the castle and the base. Because this lantern would be transported and jostled for the contest, I thought it would be a good idea to glue it down. Using a super cool battery powered glue gun, we secured to base and the castle on top of it. I wanted the castle to be far back so it would look as though it were in the background on a hill and the mama dragon would be flying over it watching over her nest.
Now is probably a good time to mention that I never found a dragon to “fly over.” I cannot emphasize just how hard and at how many places I looked. I went an hour away to fairy garden shop and I also looked everywhere in between and there was no dragon anywhere near the size I needed. Once again, my very smart mom saved the day! She had the brilliant idea of printing a picture of a dragon onto a special acrylic paper and just cutting it out. It looked awesome but we didn’t quite have the ability to make make mama dragon “fly over” like I wanted so we instead taped her to the glass. I was pretty pleased with the result.
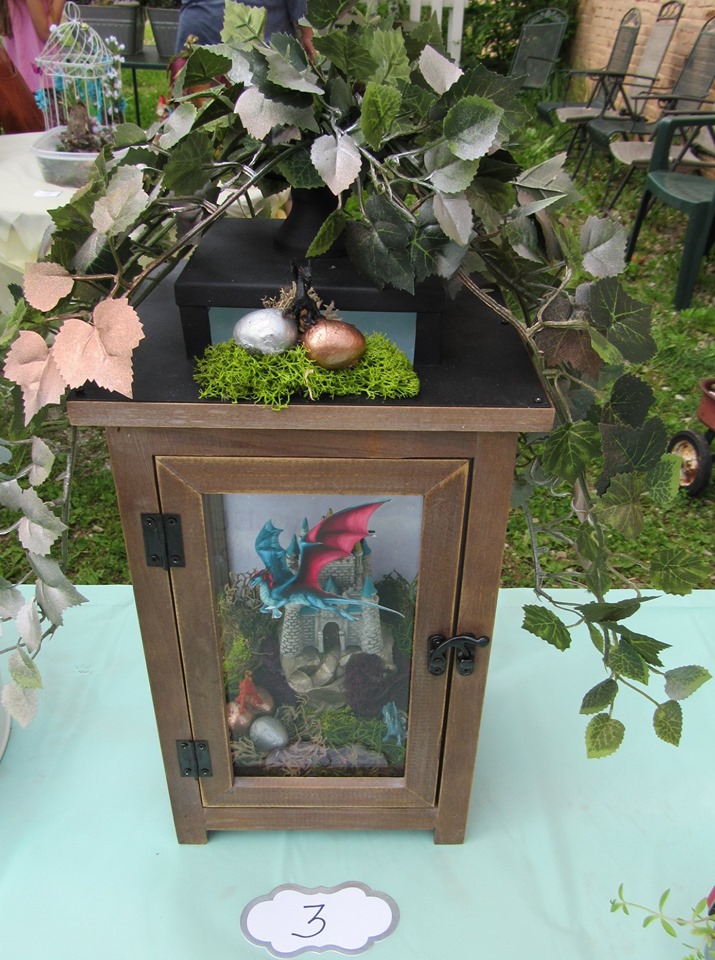
After adding in the moss, which was not real because I have zero gardening ability, we filled it in with eggs and baby dragons galore. It looked adorable inside but it still needed a little something on the outside so I went ahead and put the ivy on top along with a couple more eggs and another tiny dragon front and center.
It isn’t the biggest or most impressive fairy garden, but I’m pretty proud of the neat ideas we came up with and the adorable result. It was also pretty “economical” to build. I wish I could throw caution to the wind and make an all out one, but this was perfect for the tiny budget I had. The best part is that you can hang it anywhere! It makes an adorable decoration indoors or outdoors and it would even be a great gift for someone who loves the whimsical.
If you’ve ever done a fairy garden, please comment with photos of your tiny masterpiece!
Leave a Reply
You must be logged in to post a comment.