It almost seems like such an injustice that dogs, the most pure creatures on this earth, can’t have chocolate. I had heard that they could have carob, but I only found carob dog treats in higher end pet stores and I didn’t see carob powder on the shelves at many stores close by. Since I got into making my own treats, I decided I wanted to track down some carob and a recipe and give it a try.
I tracked down a recipe and I got the ingredients. The ingredients seemed a little odd to me, but it was a vet approved recipe as well so I went with it. Big mistake. The treats turned out pretty bad all the way around. The dough was awful to work with, and by the time I got it workable, I basically had a giant clump of wheat flour. Out of the salvageable treats, the girls didn’t really care for them. I had wanted to make my own recipe anyway so now was the perfect time. My girls were going to get to enjoy the sweet chocolatey taste of carob one way or another.
So how do you make chocolate/carob better? With peanut butter of course! But you already knew I was going to say that. Also, add in some banana and you have a trifecta for any baked goods. Bonus: us humans can have carob too, so you can use carob in your own people treats if it’s all you have on hand or if you’re just feeling a bit adventurous.
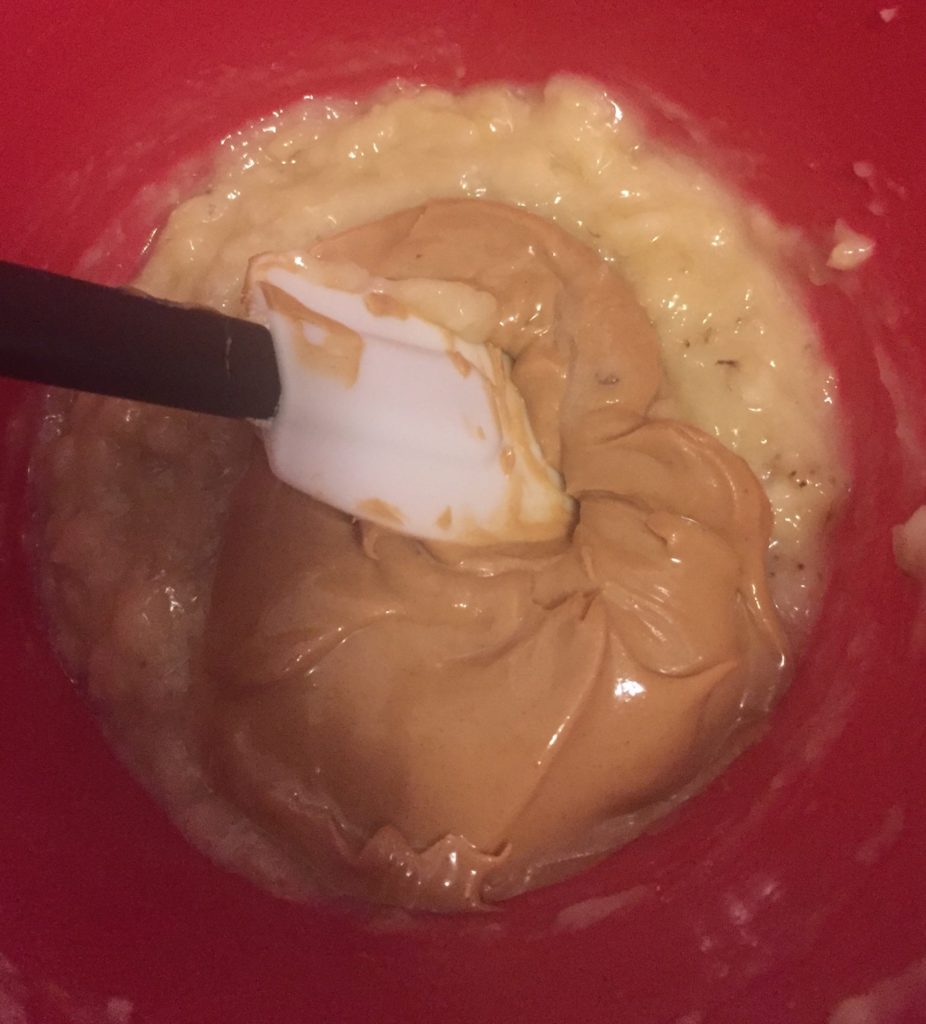
Like most recipes, start with the liquid ingredients. Mash up a large overripe banana with a fork and then add your natural peanut butter and mix them together.
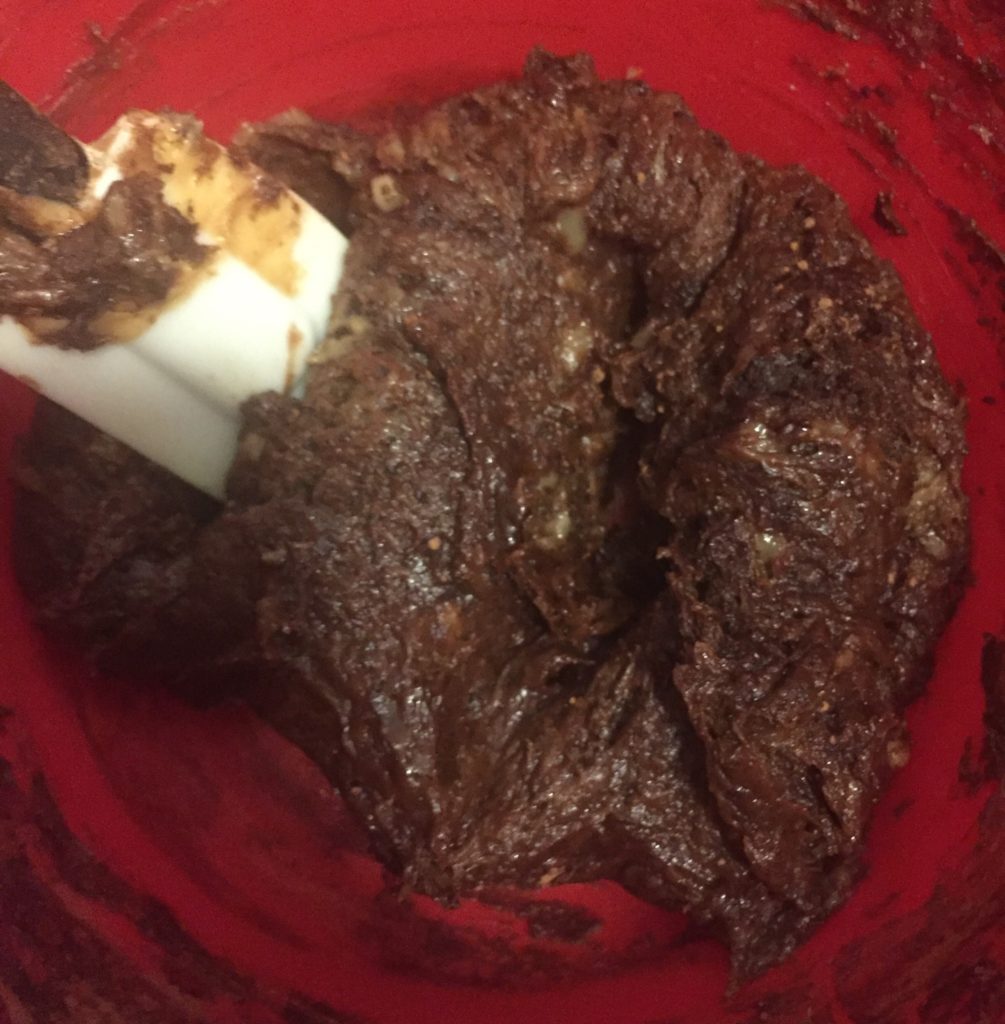
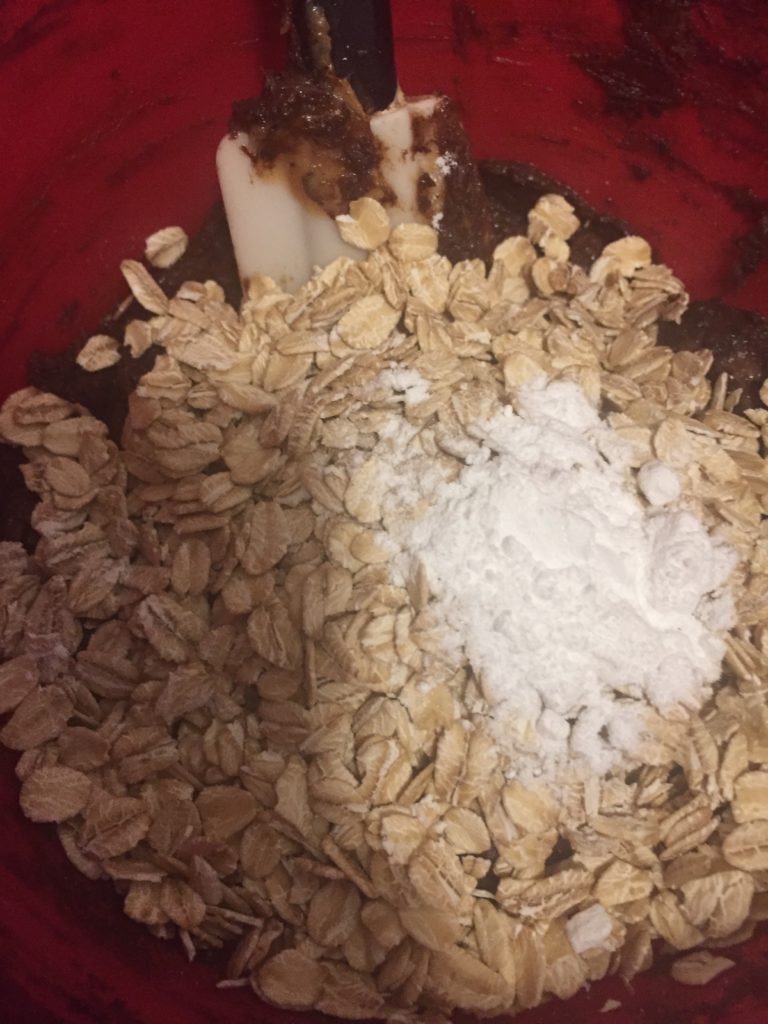
Next, mix in the carob powder until its thoroughly combined. The smell is wonderful at this point! Mix in your baking powder and oats next and you’re ready for the flour.
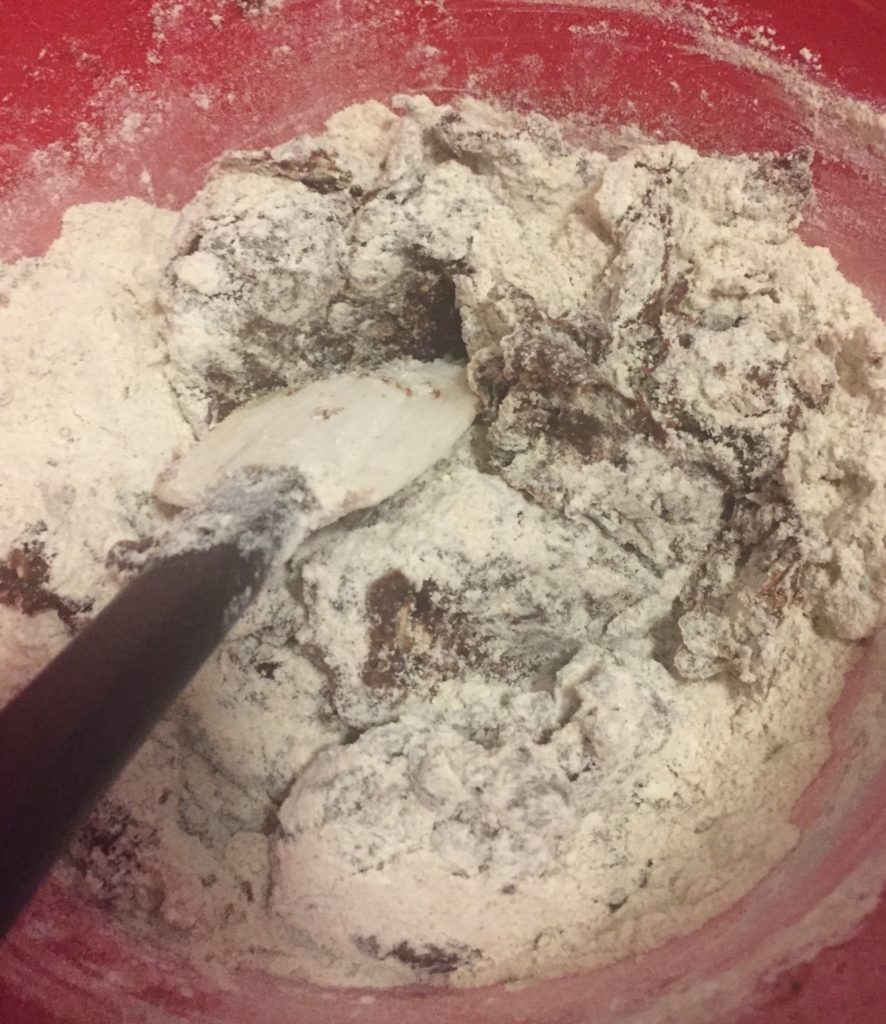
I know, this looks like it’s going to be a clump of flour too, but I promise it’s not. Once you have the flour worked in (this will take a little bit) you can add water until the dough is workable. The most water I’ve had to add is 1 1/2 tablespoons. You want the dough fairly stiff.
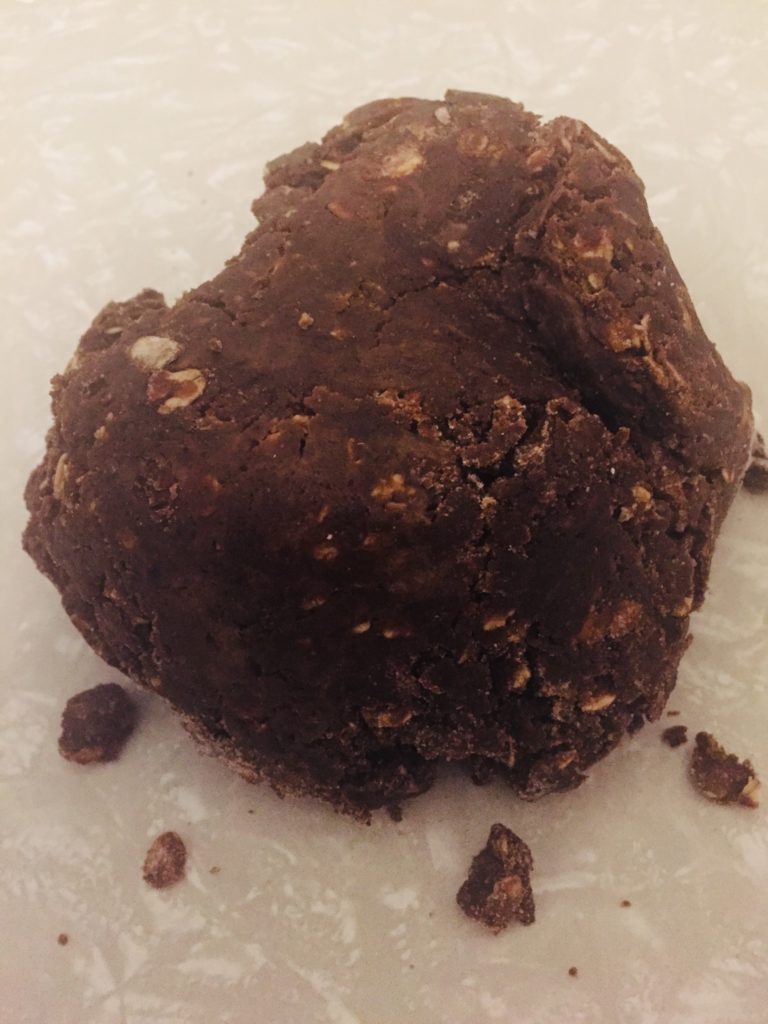
Knead the dough a few times on your countertop until it sticks together. Now comes the fun part! We’re gonna roll it out to about 1/4in. thick and cut it out like sugar cookies. You could make it into small pucks with your hands like you can do with most of these rollout recipes, but that would take the fun out of it. I have come to absolutely love doing doggy rollout treats.
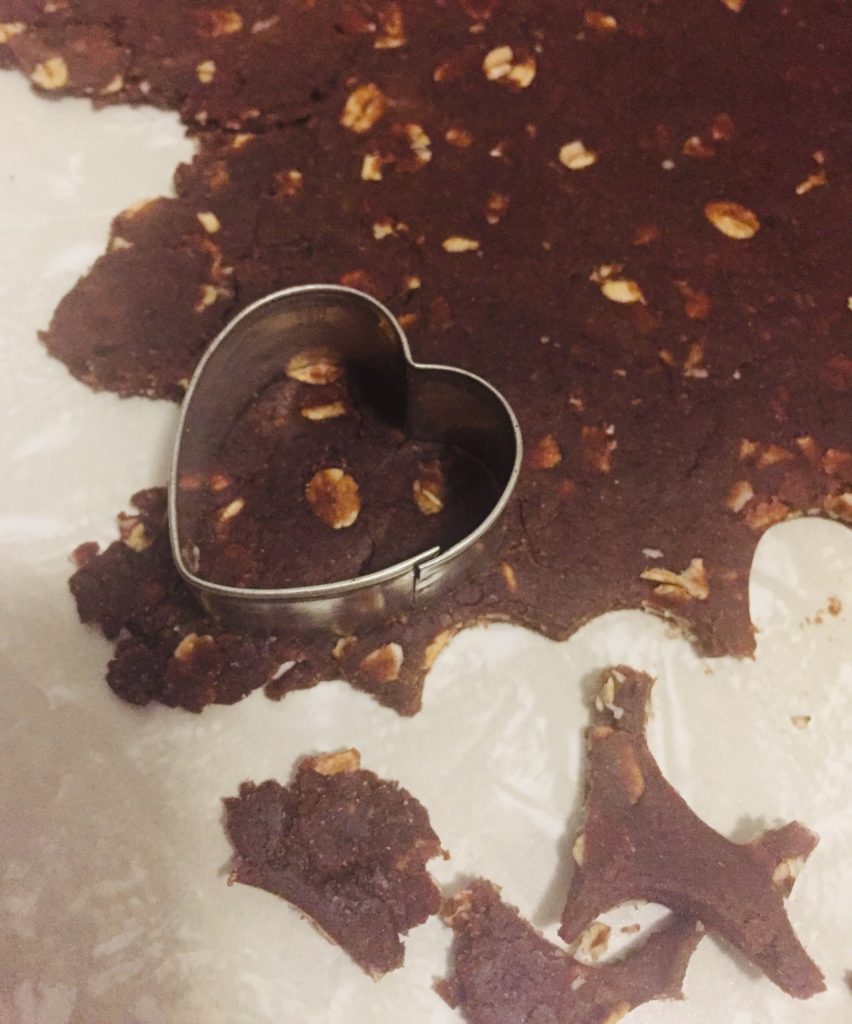
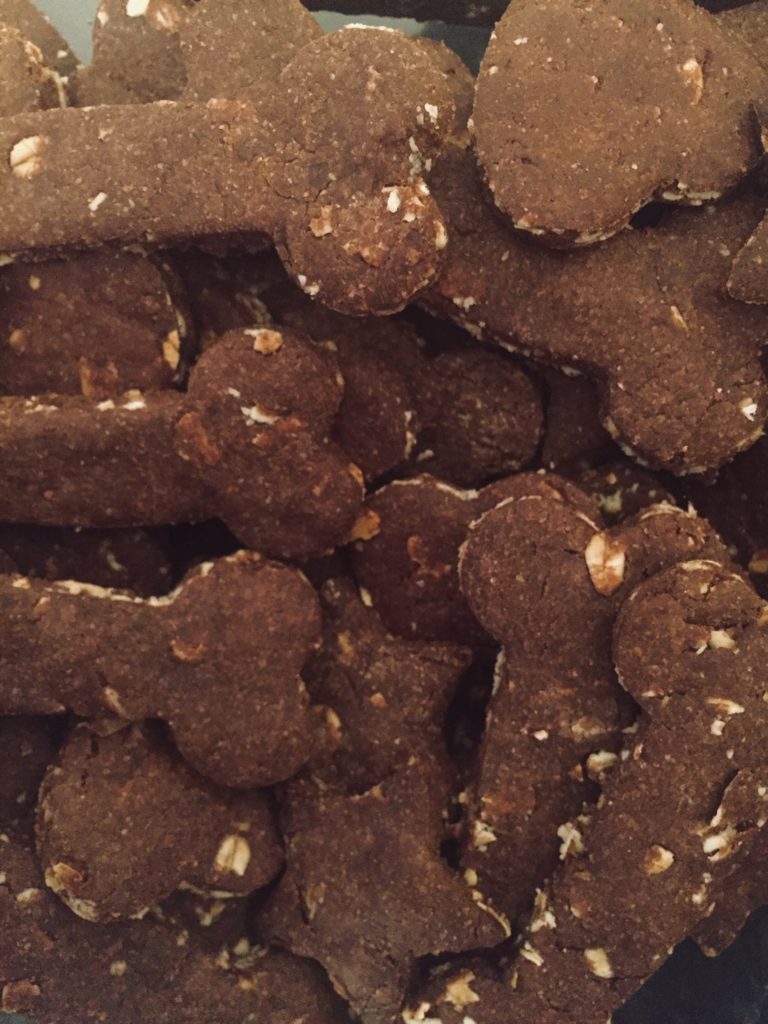
I have my three personal favorite cookie cutters to use and those would be the bone, the star, and the heart. I’ve used others, but there’s just something about these ones. Our pups truly could not care less and I know this, but it’s still fun!
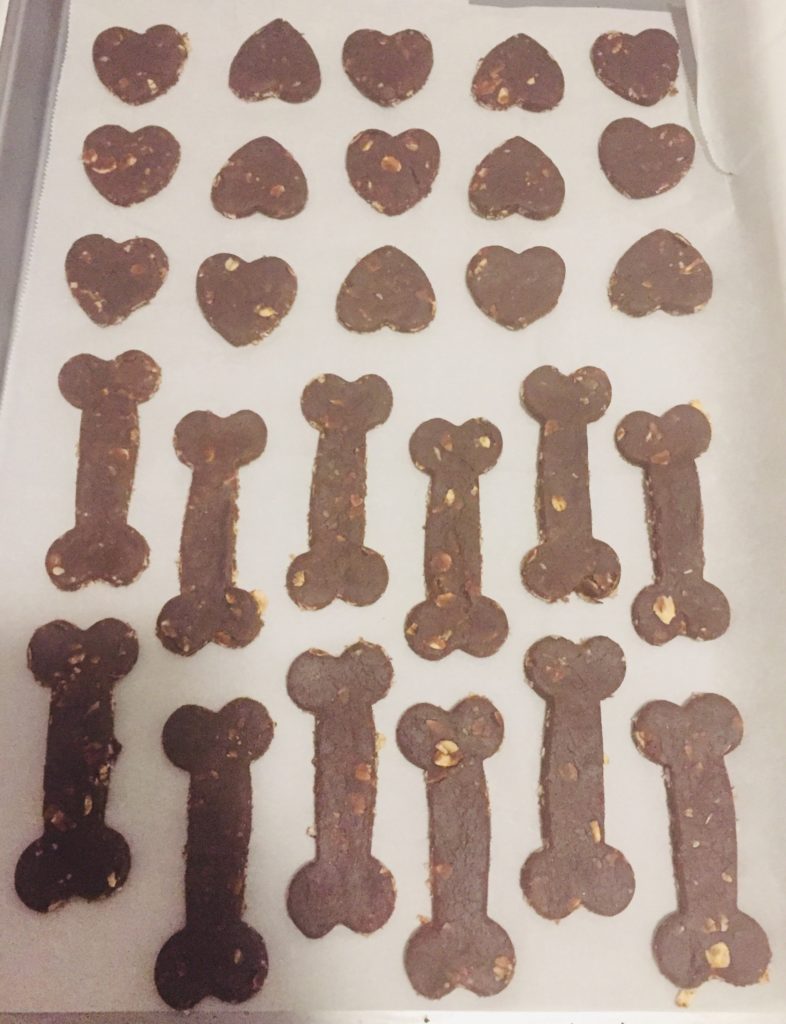
Before baking 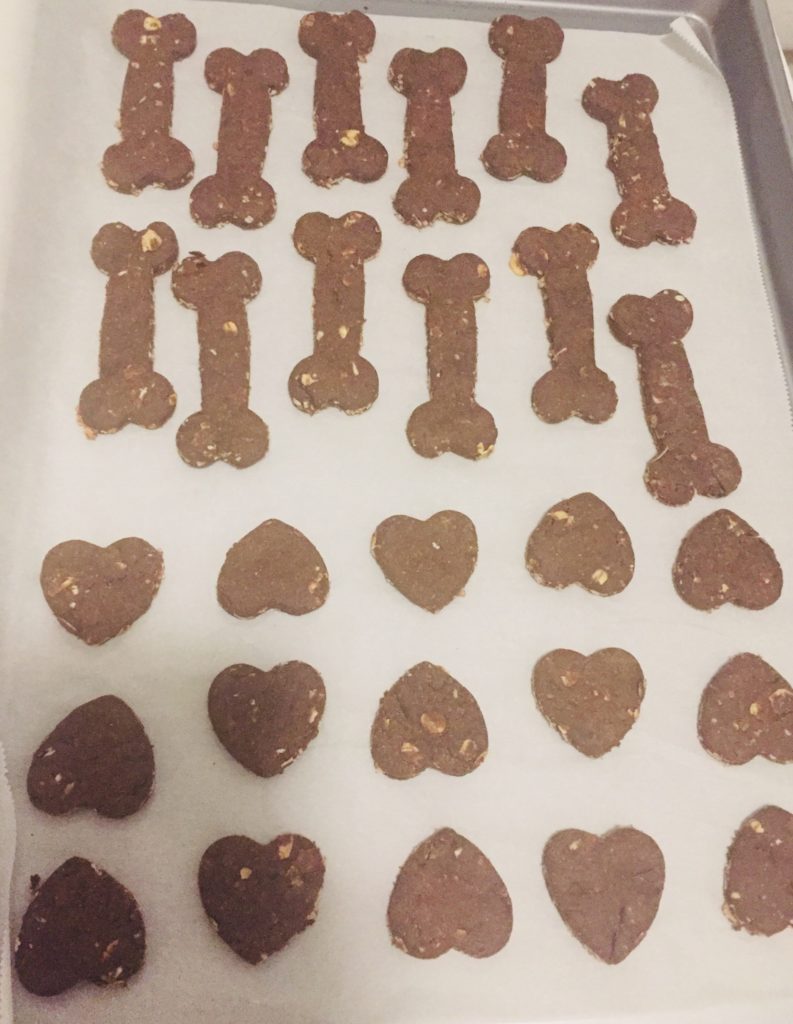
After baking
I didn’t even need to use extra flour! The dough was so simple to work and it baked up nicely. They also smell incredible while baking. When they finally cooled down, they were a hit with our three ladies. This recipe is definitely going in the rotation, along with the peanut butter applesauce ones that I blogged about last week.
For this being my first original dog treat recipe, I have to say that I am really proud of myself. I can’t wait to make more dog safe recipes and continue to share them with you all. If you make your own dog treats too, please share your favorite recipe or a link to it!
Carob, Peanut Butter, and Banana Dog Treats
Ingredients
- 1 large overripe banana, mashed
- 1/2c. natural peanut butter (make sure it’s natural and doesn’t contain sweeteners like Xylitol, which can be harmful to dogs)
- 1/3c. carob powder
- 1 tsp. baking powder
- 1/2c. old fashioned oats (you can blend them up a bit to make them a little smaller but this is totally optional)
- 1c. whole wheat flour
- water (1- 1 1/2 tablespoons is all I’ve ever had to use)
Preheat your oven to 350.
In a medium mixing bowl, mix the mashed banana and peanut butter together. Add in the carob powder and stir until it is thoroughly combined. Next, mix in the baking powder and old fashioned oats. Slowly add in the cup of flour and mix together as well as you can. You will most likely have to add a small amount of water at this point. You want the dough stiff, but able to be worked with without crumbling. Kneading the dough on the counter is even better than hand mixing it and will let you know if you need to add anymore water.
You can make individual small pucks with the dough and bake them like that, or you can roll the dough to 1/4in. thickness and cut out small shapes. I find this to be the most fun method, but I promise your dog won’t judge you either way.
Line your baking sheet with parchment paper and place the treats on the baking sheet so they aren’t touching. They don’t really spread out much as you can see from the photos so you can fit quite a few on the sheet.
Bake for about 15 minutes and allow to cool completely before storing in an airtight container in the fridge. Makes approx. 70 treats.
Leave a Reply
You must be logged in to post a comment.