I honestly never thought I would be sharing a scone recipe. It was always my goal, but I never thought it would be a reality. I debated doing a whole post on my quest for the perfect scone, but I decided against it.
At a nearby bakery, I had the most perfect scone I had ever tasted. It was crunchy on the outside yet soft and buttery on the inside. I have had dry scones, good scones, and very few great scones. I have personally made all three of these categories too. I now present to you the hard won recipe and technique I used to get a scone I can be proud of.
So first things first, the ingredients are only half of the recipe. Many recipes are simple. You can mix the ingredients slightly out of order or mix all the ingredients in one bowl. Sure it might turn out a little better if you had done it separately, but the final product will still be good. Scones are not that way. They are the most unforgiving thing I have ever baked. EVER!!
Don’t let this scare you though- I have worked (and unfortunately overworked) so many recipes that I can hopefully save you from my failures.
Mixing the ingredients separately is super important. You want the wet and dry thoroughly combined in their separate bowls, because once you combine them, you want to mix them as little as possible. You know how people used the say the secret ingredient is love? I used to think that meant mixing the living daylights out of all of your batter and dough. This is definitely not the case! Sometimes, you really can love your dough too much.
It’s hard to say exactly what the “most important” thing about scone making is, but I would almost have to say the temperature of your butter. The colder the butter, the better. I learned quite a bit about technique and keeping your butter ice cold from a scone baking article on the King Arthur Flour website. It was one of the most helpful things I ever read and I feel like it was a huge turning point in my scone success. I will include a link to the article at the end of this post. Do yourself a favor and click on it before you attempt scone making!
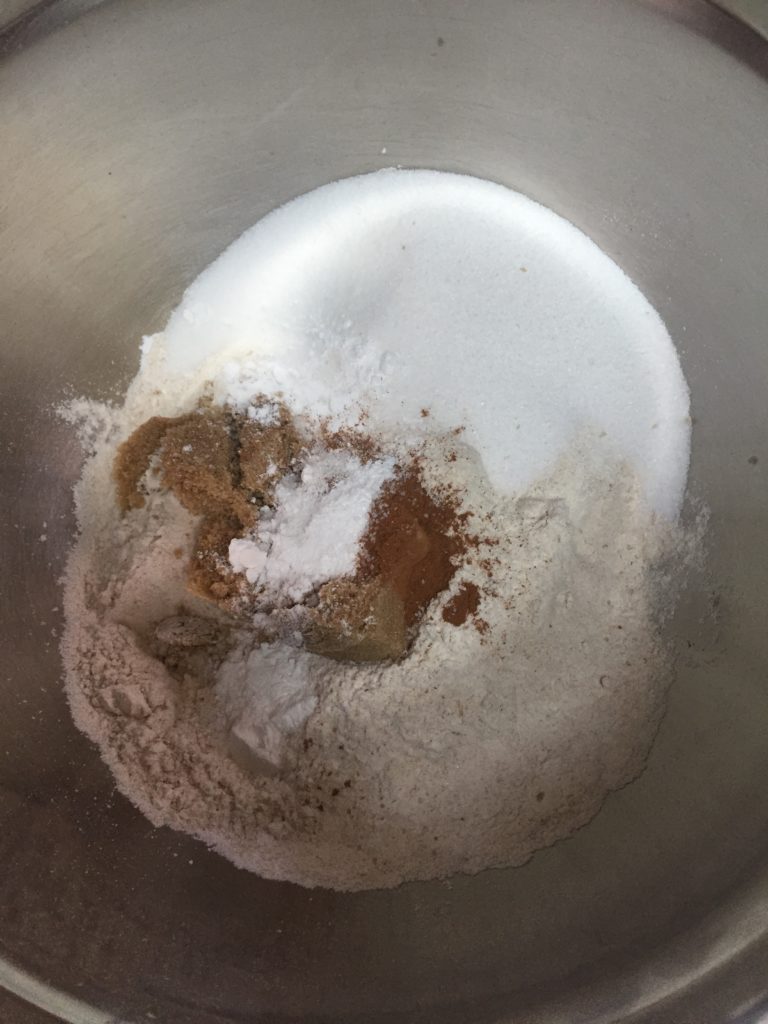
The Beginning 
Make sure to stop partway and mix in those tiny butter flakes before they get melty 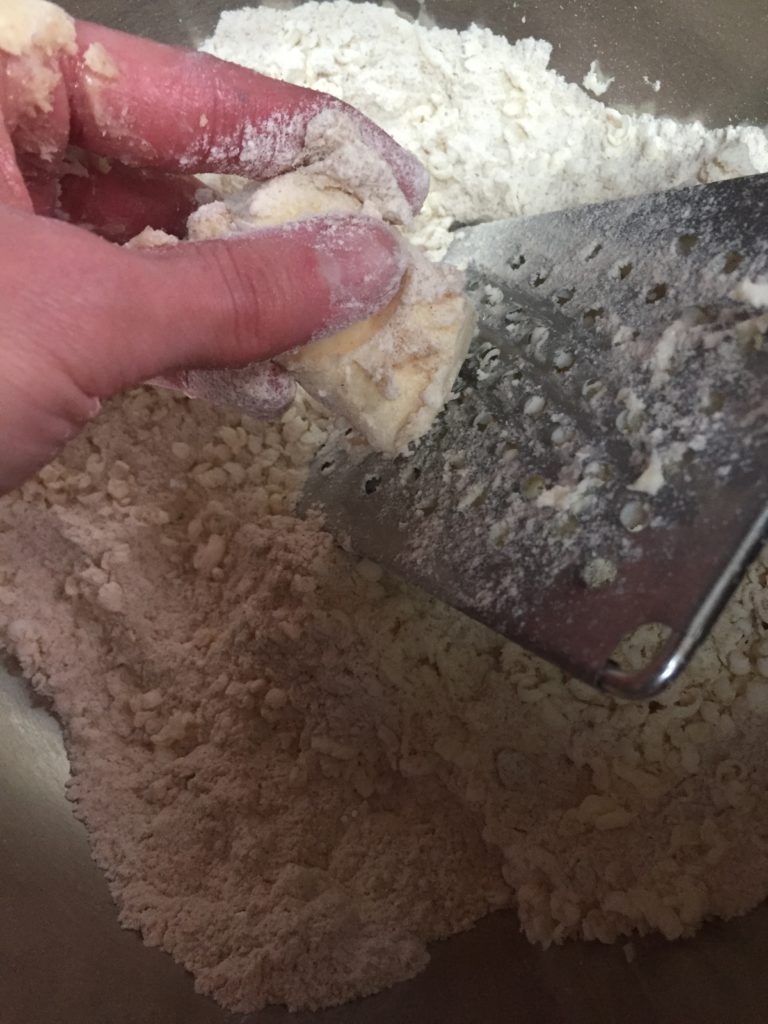
So messy! But so worth it

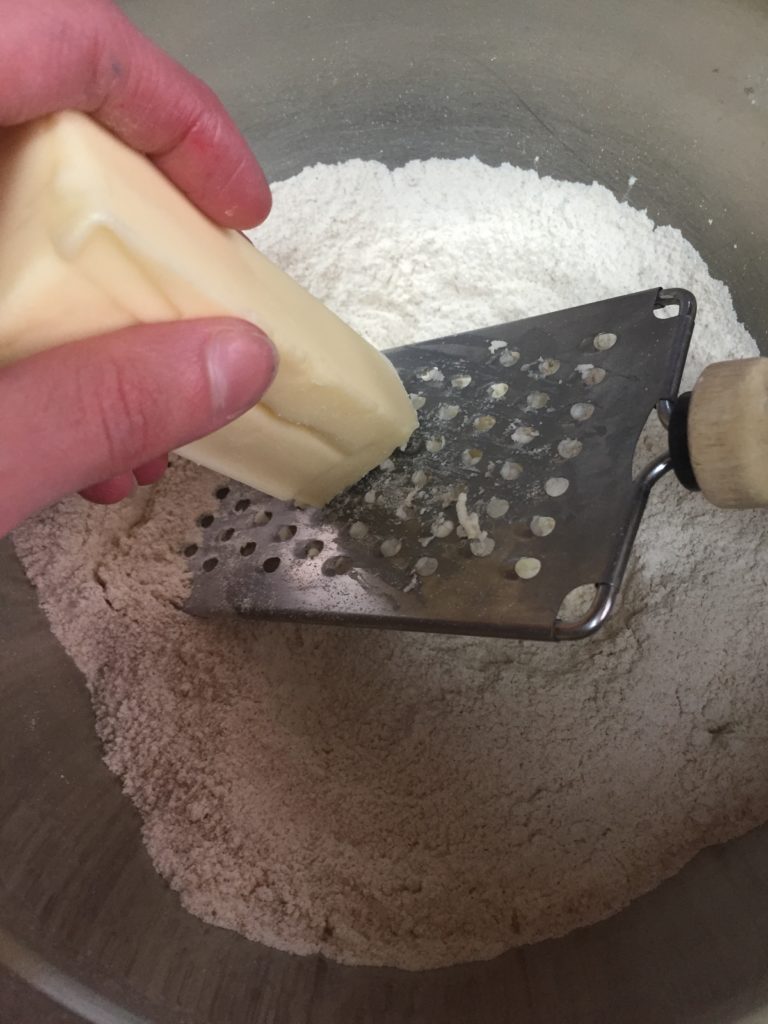
Most places recommend cutting in cold butter, but I saw something during a commercial break while watching the Food Network where the chef grated frozen butter with a cheese grater. I knew I had to try this the next time I made scones. Sure enough, it worked amazingly! When my fingers started to melt the butter a bit and it got slippery, I just dusted it and my fingers in the dry flour mixture I was grating it into. I got the whole stick grated in and incorporated nicely.
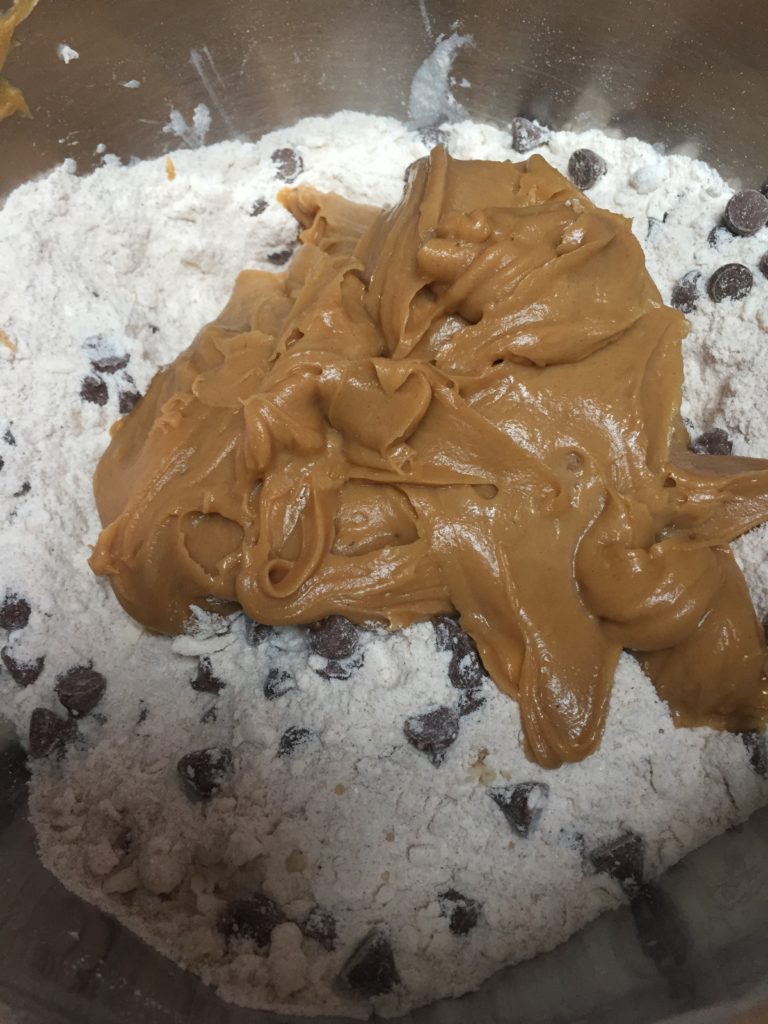
As for my order of operations, I like to mix the dry ingredients together and then grate the frozen butter in. Once the butter is gently incorporated into the dry ingredients, set that bowl in the freezer while you mix the wet ingredients. Once you have the wet ingredients mixed, take the dry ingredient bowl out of the freezer and pour the wet ingredients in. With a wooden spoon, gently fold to combine. The mixture will still be super crumbly so don’t worry.
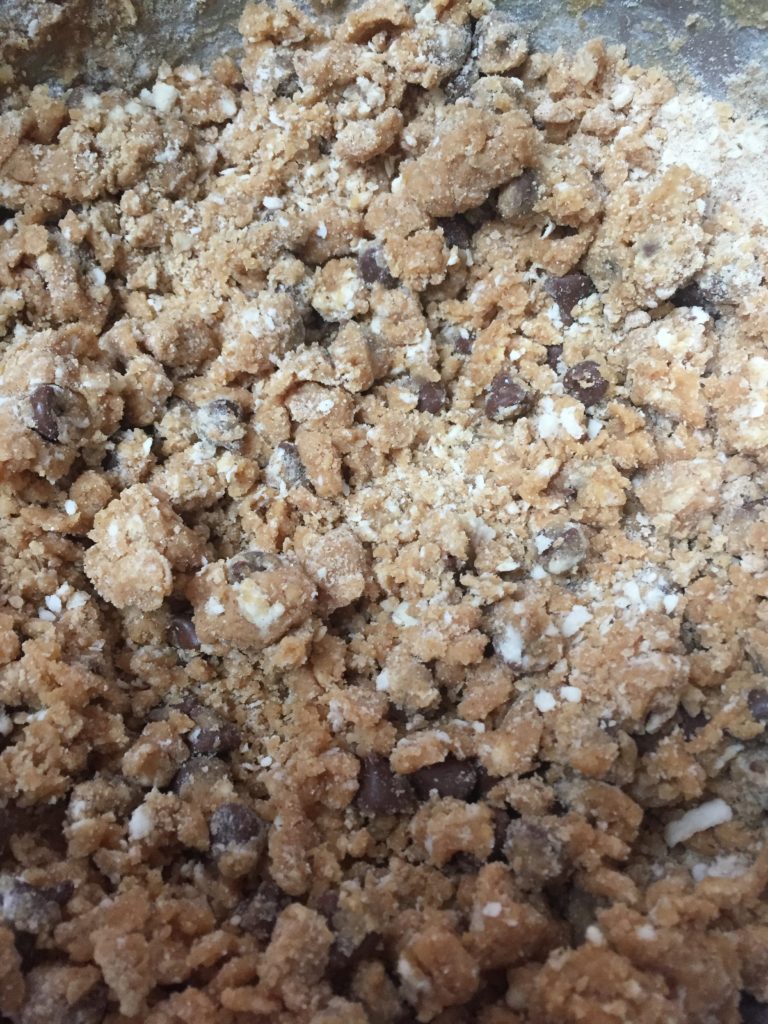
Some people will suggest kneading the dough a few times, but this is extra messy and the dough is so easy to overwork that I personally don’t go this route. I have before and it didn’t work overly well for me.
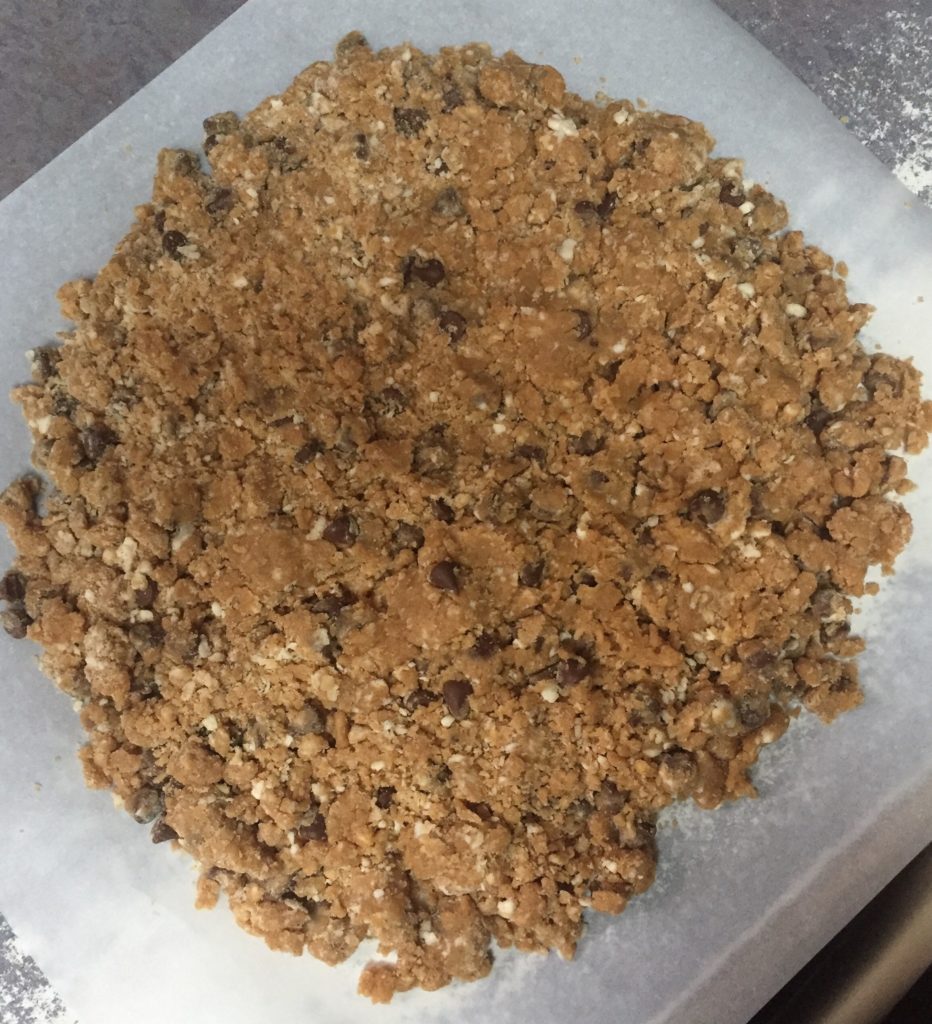
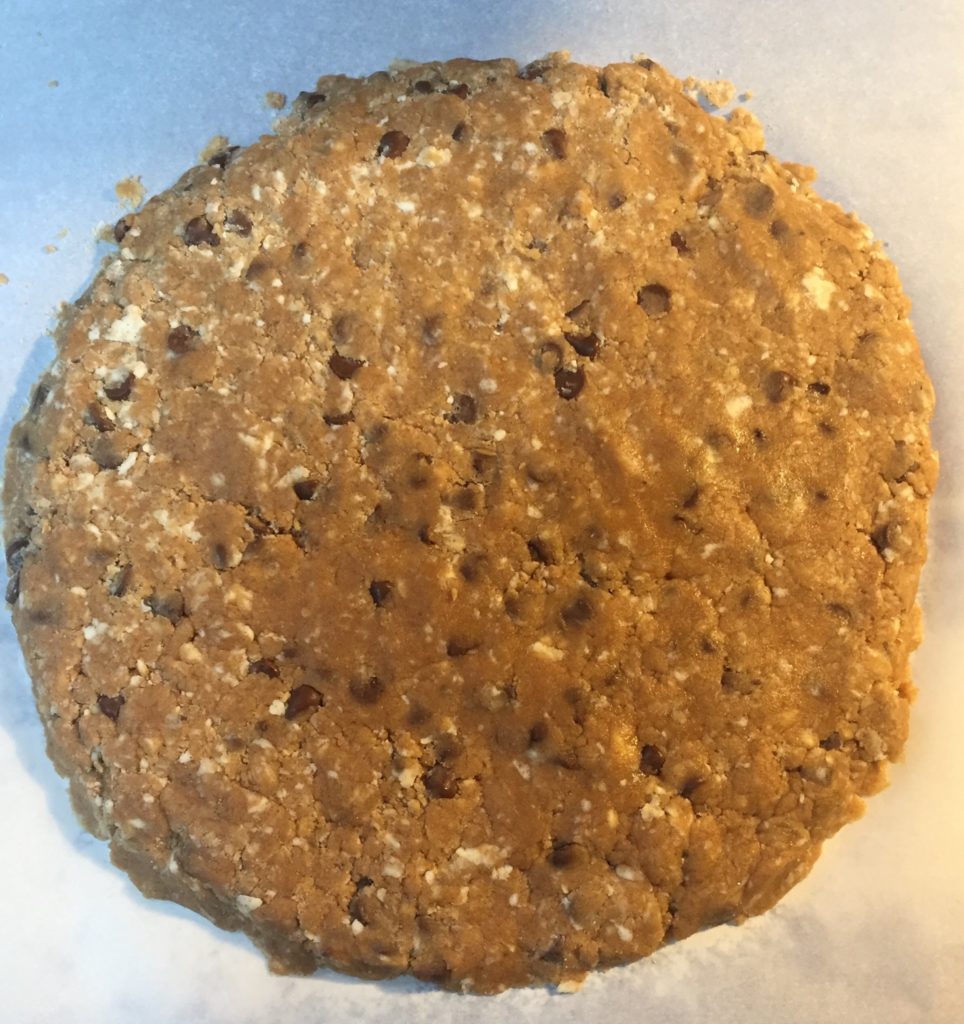
To avoid further mess, turn the dough out onto parchment paper. Gently pat the loose dough into a large circle (or two small ones if you prefer) until it sticks together. I decided to leave it about 1 inch thick since scones don’t rise a ton while baking and I wanted them to have plenty of soft center.
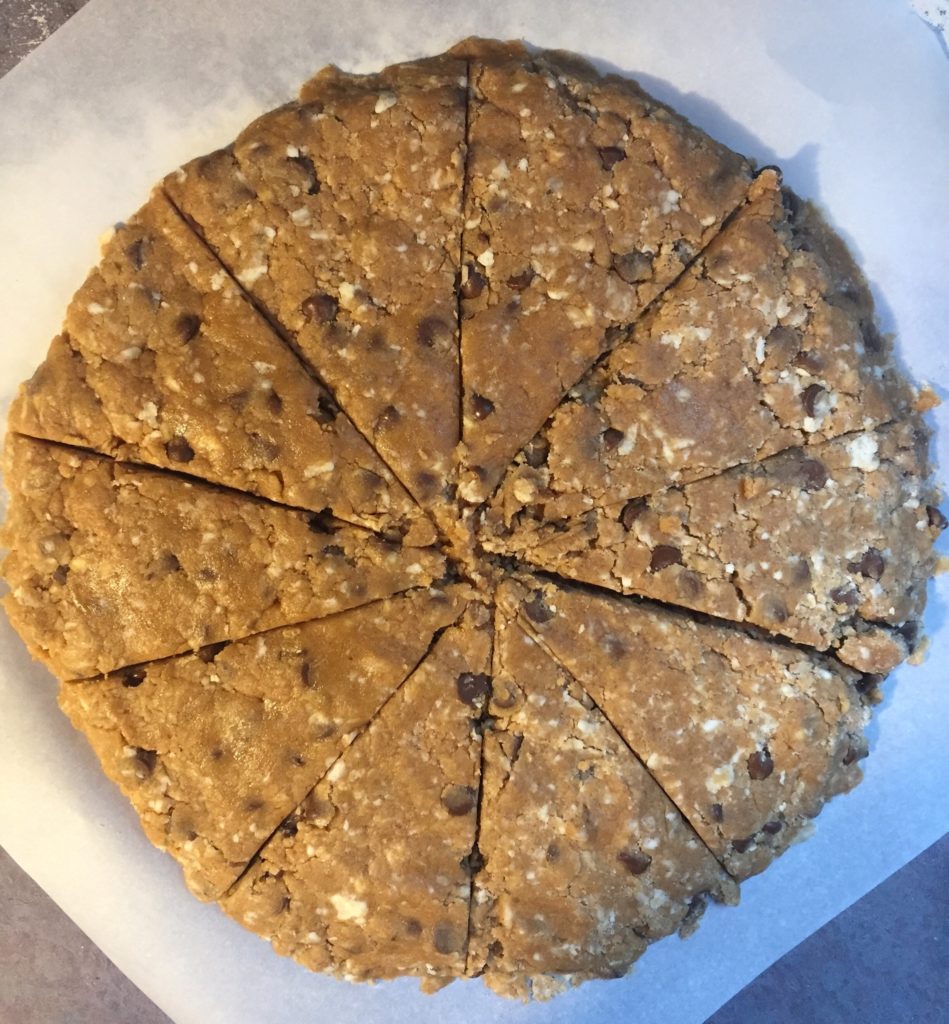
Cut them into wedges of your desired size and carefully move them onto your baking sheet. Pro tips: line your baking sheet with parchment paper too, and make sure to move your scones from the counter to the sheet using a pie server so they don’t fall apart in “transport.”
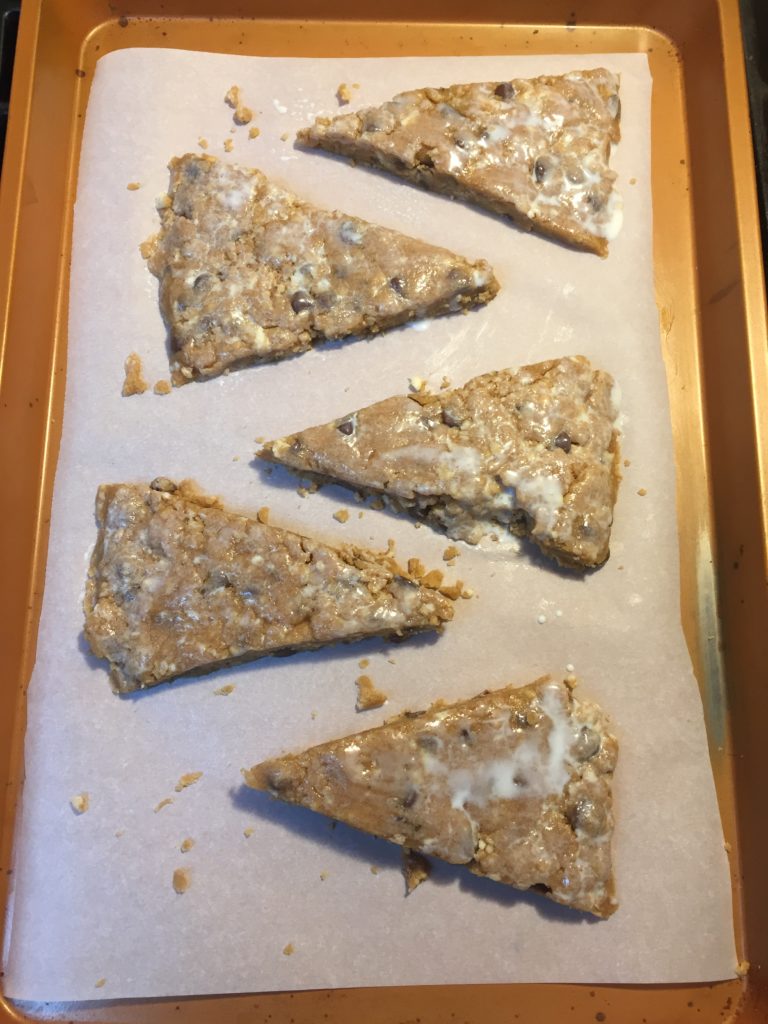
Leave plenty of space in between them and brush your scones with buttermilk or half and half. This will help give the outsides that awesome crunch. You can also add coarse sugar if you have any on hand but this definitely isn’t necessary.
While you wait for your oven to preheat, pop those scones in the freezer. A few minutes in the freezer allows the butter to solidify after we worked with the dough. Also, I have heard that letting dough rest will help your baked goods turn out more tender.
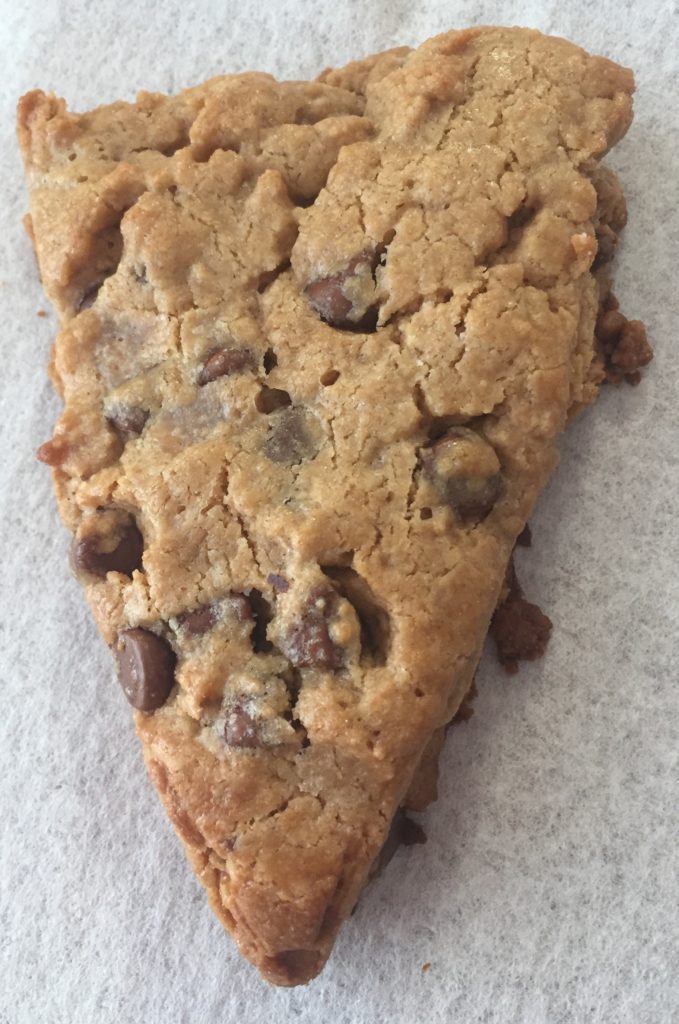
Another pro tip: DON”T over bake them! I made this mistake last time and it turned out less than perfect. They were good, but they weren’t great and blog-worthy. When they are barely browned around the edges, you’re all good to go. It’s easy to forget that your baked goods will bake a little on the sheet after you take them out of the oven.
I am so thrilled that I was able to make these and I am really proud to be sharing it with all of you. I would love to hear your scone making experiences and also your advice. Feedback on this recipe would be greatly appreciated! I am always looking to improve my baking skills and hopefully help others along the way. Happy scone making!
King Arthur Flour Scone Making Guide: https://www.kingarthurflour.com/learn/guides/scone
Chocolate Chip Peanut Butter Scones
Ingredients:
Dry:
- 2 1/2c. all purpose flour
- 1/2c. sugar
- 1/4c. brown sugar
- 2 tsp. baking powder
- 1/4 tsp. salt
- 1 tsp. cinnamon
- 1 stick butter, frozen
- 1 c. chocolate chips
Wet:
- 1/3c. buttermilk
- 2 eggs
- 1c. peanut butter
- 1 tsp. vanilla
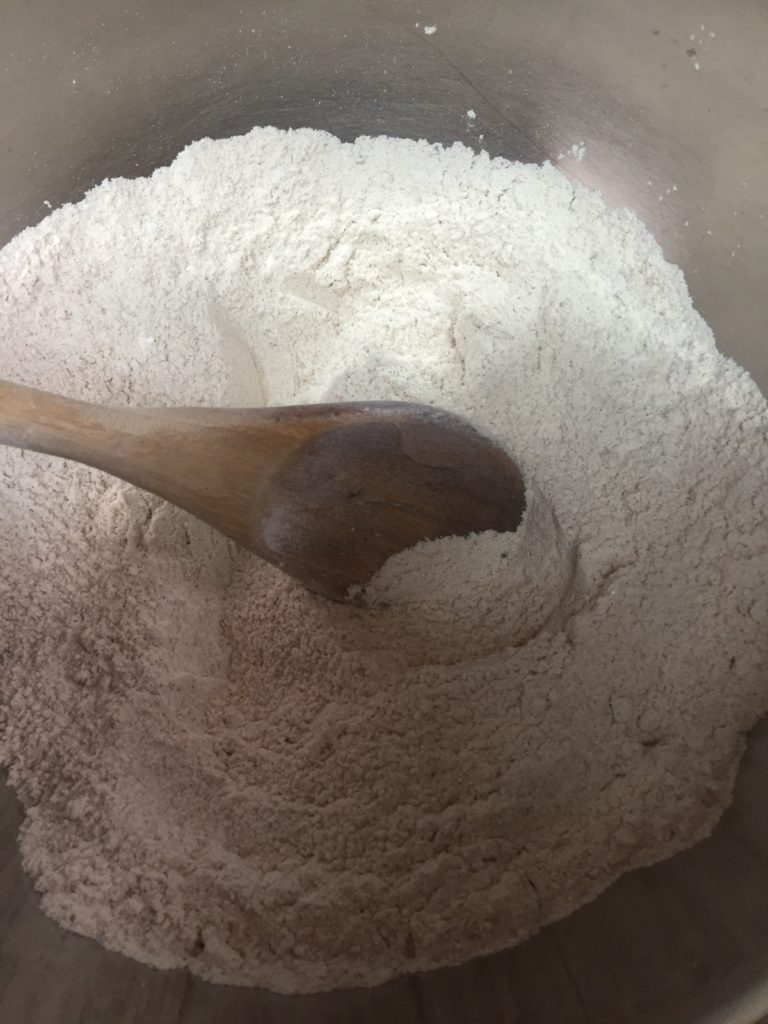
In a large mixing bowl, combine the first 6 dry ingredients. Once they are thoroughly combined, use a cheese grater to grate the stick of frozen butter into the dry ingredients, stopping every once in a while to mix the small pieces of butter in. Once the whole stick has been grated in and the butter flakes are mixed into the dry ingredients, add in the chocolate chips and give it a light stir. Place bowl in the freezer.
Note: If you struggle to keep a hold on the butter while you’re grating it, dip your fingers and the part of the stick that you’re holding into the dry flour mixture for a better grip.
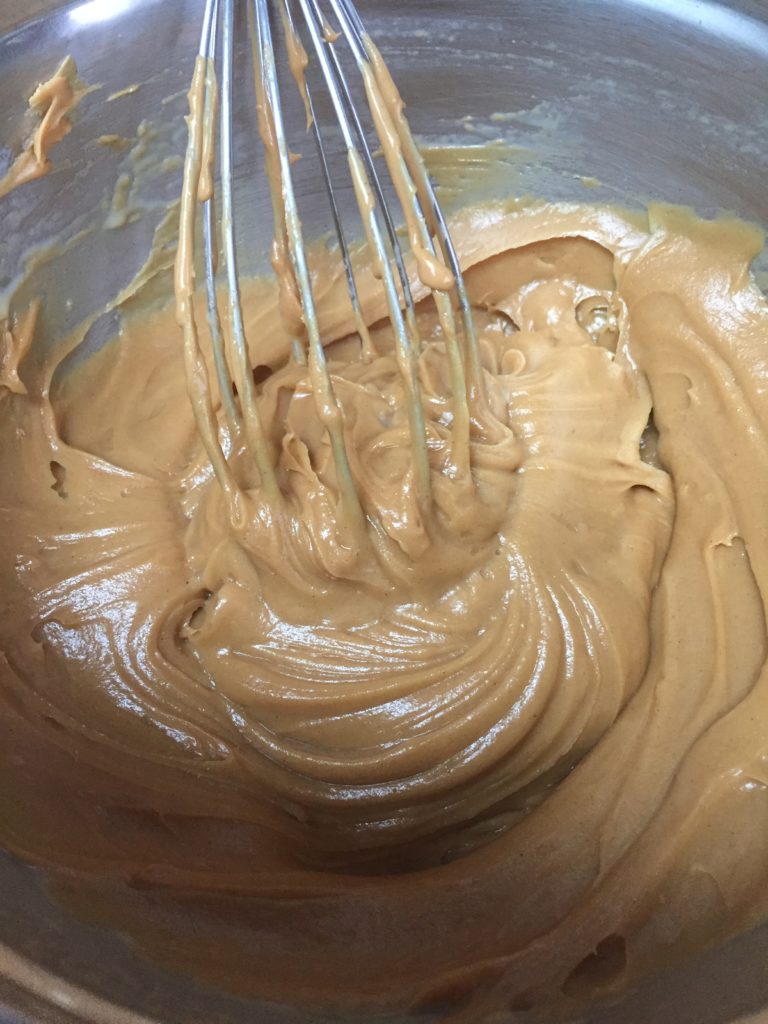
In a medium mixing bowl, combine all the wet ingredients and mix well.
Remove the bowl of dry ingredients from the freezer and fold in the wet ingredient mixture just until combined. The dough should be crumbly. Turn your crumbly dough onto parchment paper and form it into one large circle or two small ones, approximately 1 inch in thickness. Cut them into wedges of desired size and use a pie server to transfer the scones onto two parchment lined baking sheets about 1 inch apart. Brush the tops with buttermilk and put the scones in the freezer while you preheat your oven to 400F.
Bake them for 15 minutes, being very careful not to over bake. As soon as the edges brown, it’s time to remove them from the oven.
Scones are best served warm. If you have leftovers, save them in an airtight container and reheat them in the microwave wrapped in a damp paper towel for 20 seconds. Serve plain or jazz it up with some strawberry jam.
Leave a Reply
You must be logged in to post a comment.