I am so proud of this pastry, but I almost didn’t share it here. For one thing, I wouldn’t call it easy, and I like to tend towards simple to intermediate recipes. For another, I’m not really sure how I did it. Describing the process is a bit of a challenge since I kind of did my own thing and made it all up as I went. Either way, it turned out and I took a mountain of photos! Hopefully they’ll all be worth that famous thousand words and they’ll explain the process better than the words I came up with.
There was zero pie crust wasted in this recipe. Instead of rolling it out and cutting off the ends, I rolled it out as much as I could, and then I used my fingers to press it into the corners of my pan for the top and bottom. I also realized afterwards that I complicated this recipe in about a million ways and I intend to share the easy way with you guys.
I also found out that homemade pie crust is a little easier for this than store bought. The homemade version makes a bit more dough for bigger crusts, plus, you can roll it out in a rectangular shape, rather than it coming already rolled out round. I’m sure you could make it work, but I think I’m going to stick with my homemade recipe. I can’t promise I won’t cheat when I make the small ones though!
If you’ve done a slab pie before, this may be a breeze for you. However, I have never done a slab pie. As you might already know from my previous posts, I haven’t done very much with pie at all since pie is just “meh” and toaster pastries are life.

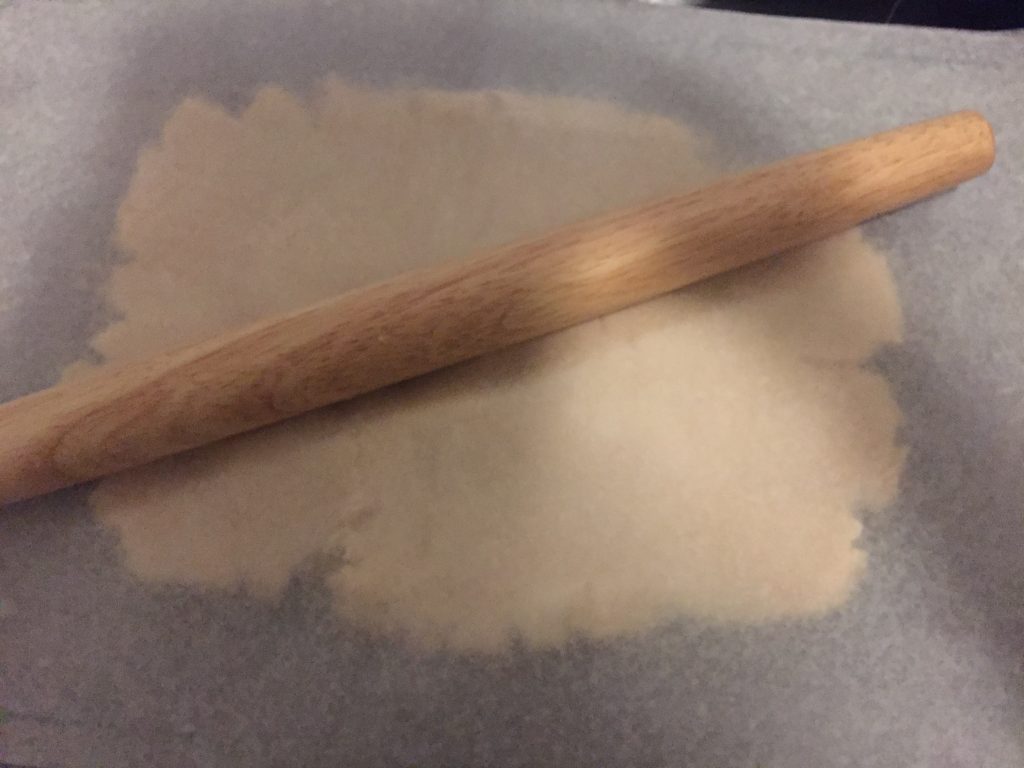
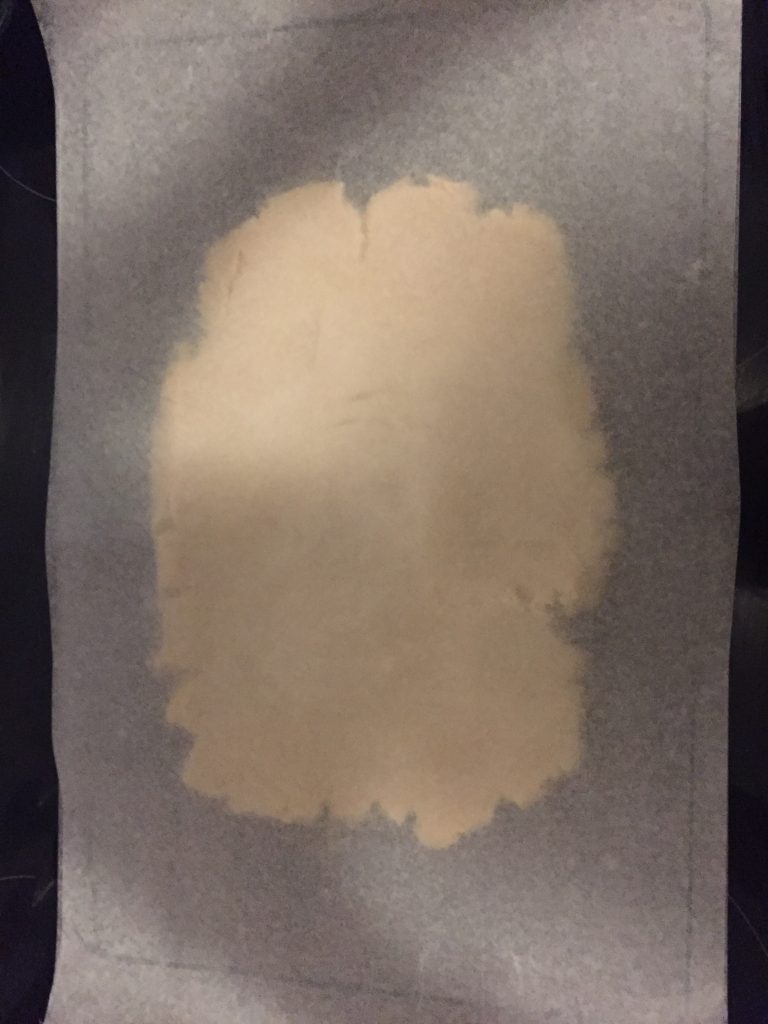
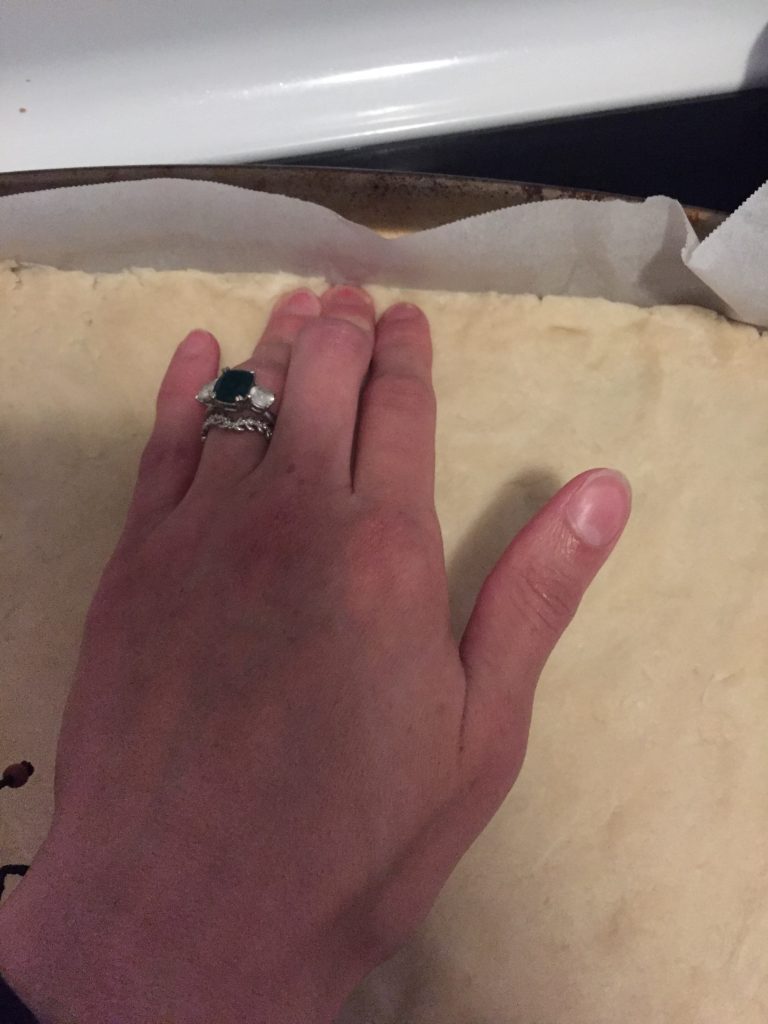
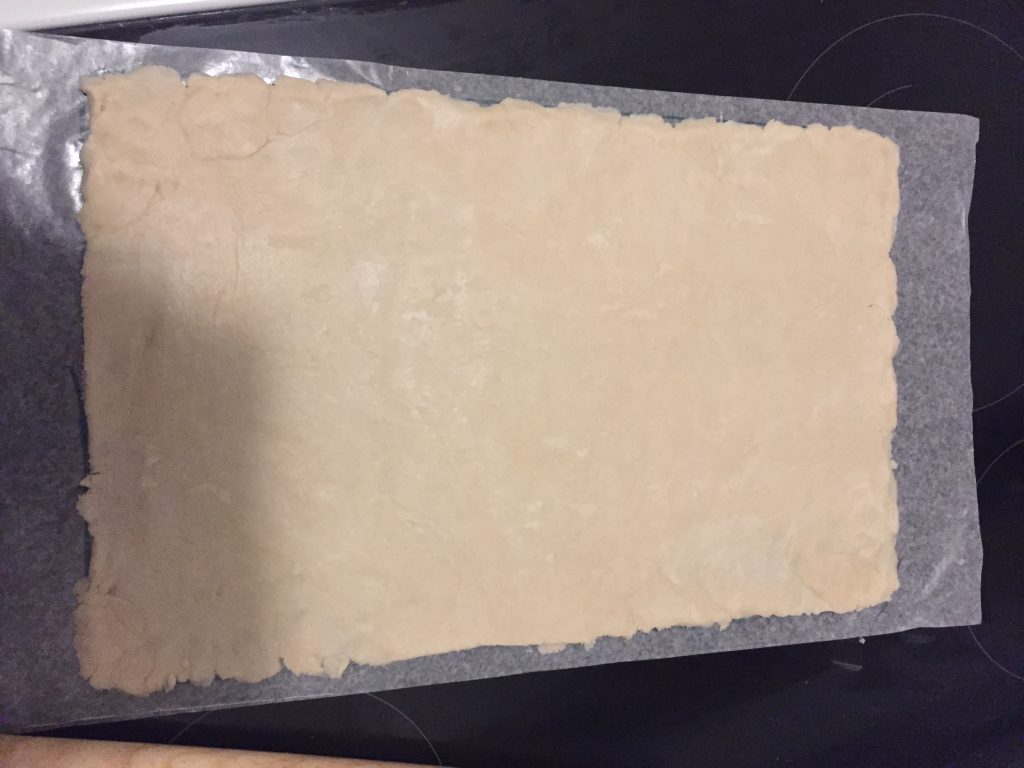
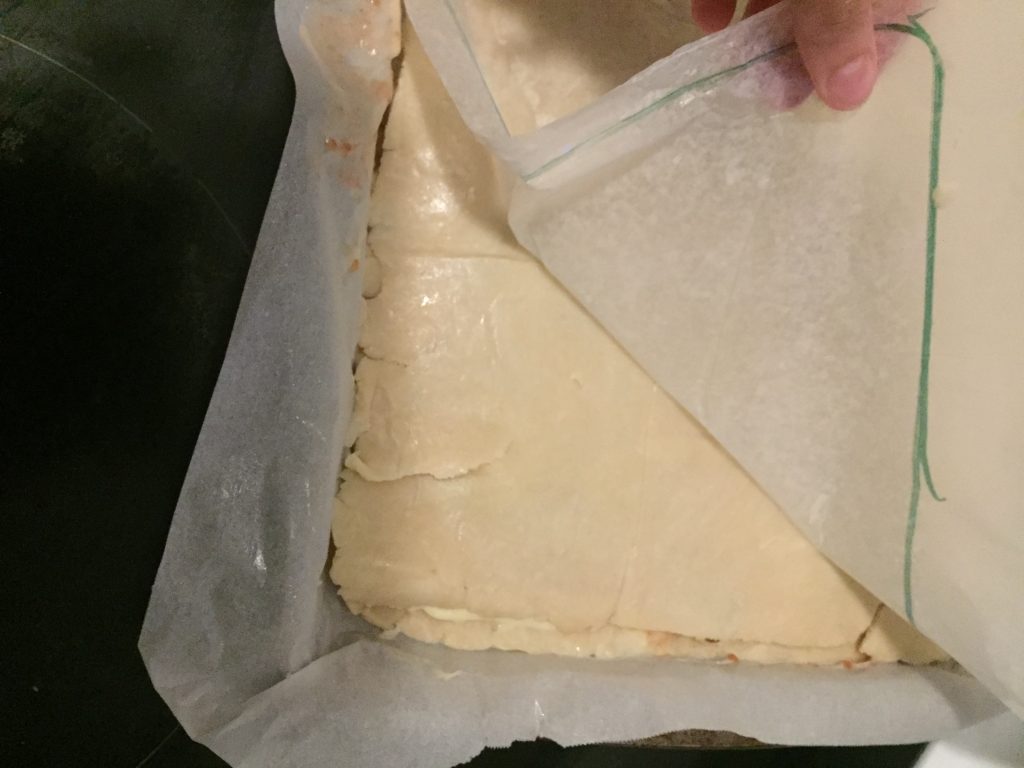
It works best if you have two jelly roll pans, which is a fancy term for a 9×15 cookie sheet with raised edges. Get some wax paper and parchment paper and cut one of each large enough to cover the cookie sheet and go over all the edges a bit. Once you have papers for both cookie sheets, roll the dough out onto the wax paper, trying to eyeball it and keep it in the rough shape/size of your jelly roll pan. Once it’s rolled out as much as you can, slide the wax paper with the rolled out dough onto the pan. Use your fingers to finish pressing the dough out so that it reaches all edges and corners of the pan. Put the first pressed out crust into the fridge so it can set up while you press out the other crust on parchment paper the same way and refrigerate it too while you make your fillings. Why one wax paper and one parchment paper? Because you’re going to bake the pastry on parchment paper, so that one will be the bottom crust. The one on wax paper will go on the top and the wax paper will get peeled off before baking.
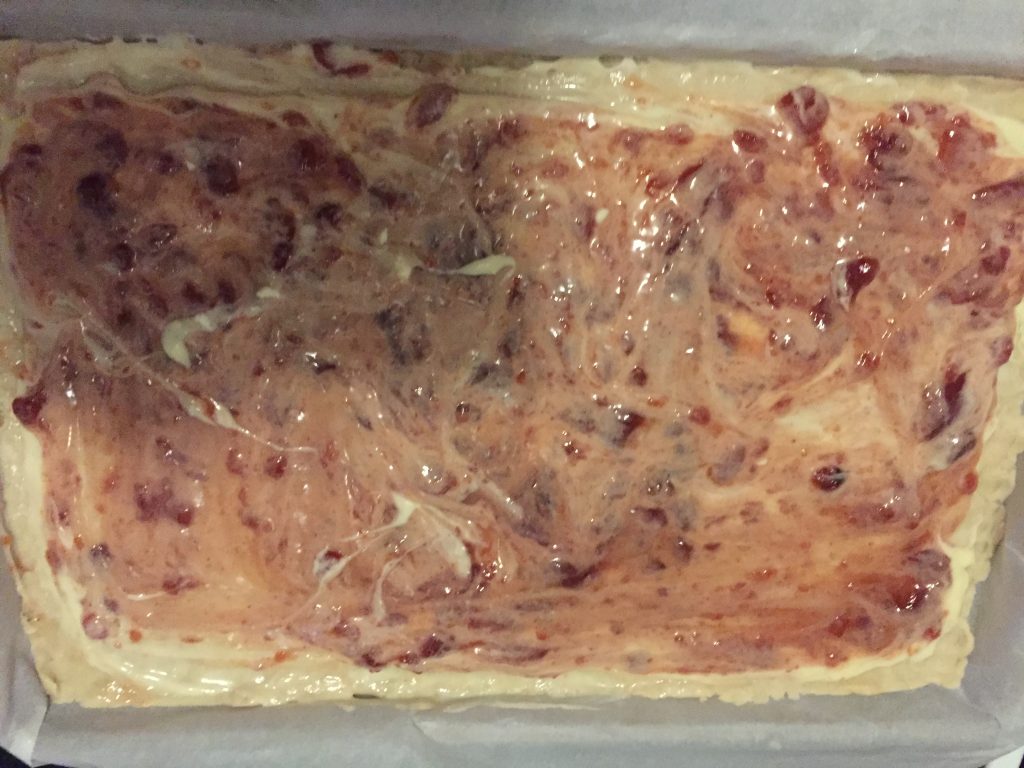
Filling can be anything! I wanted to make a strawberry pastry, but it seemed so plain for something like this, so I decided to make it strawberry cream cheese instead. I decided on strawberry jam instead of pie filling since jam seems more true to what I’m making.
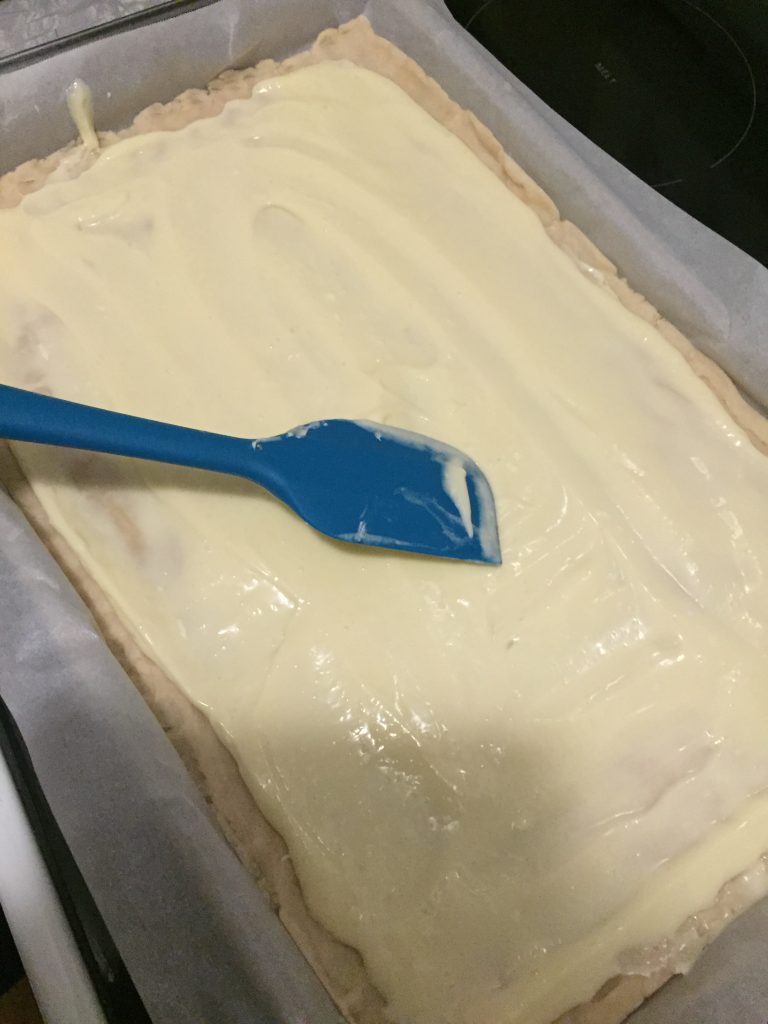
Filling it was super simple. Just make sure you’re using the crust on the parchment paper as your bottom. I think the hardest part was not eating all the filling! It was a delicious combination and I couldn’t wait to try it after it was cooked and frosted.
The pie crust was the most challenging part, but with practice, I think it will go much smoother next time now that I learned what not to do. I took a seriously long way around by tracing the pan onto wax paper and pressing the crust out that way, and then trying to roll it up around a rolling pin, thinking it would be easier to “unroll” the crust over the pastry. This didn’t work at all. Rolling out both crusts on pans the same size, and then simply turning the top over onto the pastry and peeling the wax paper off the back was what worked best and easiest.
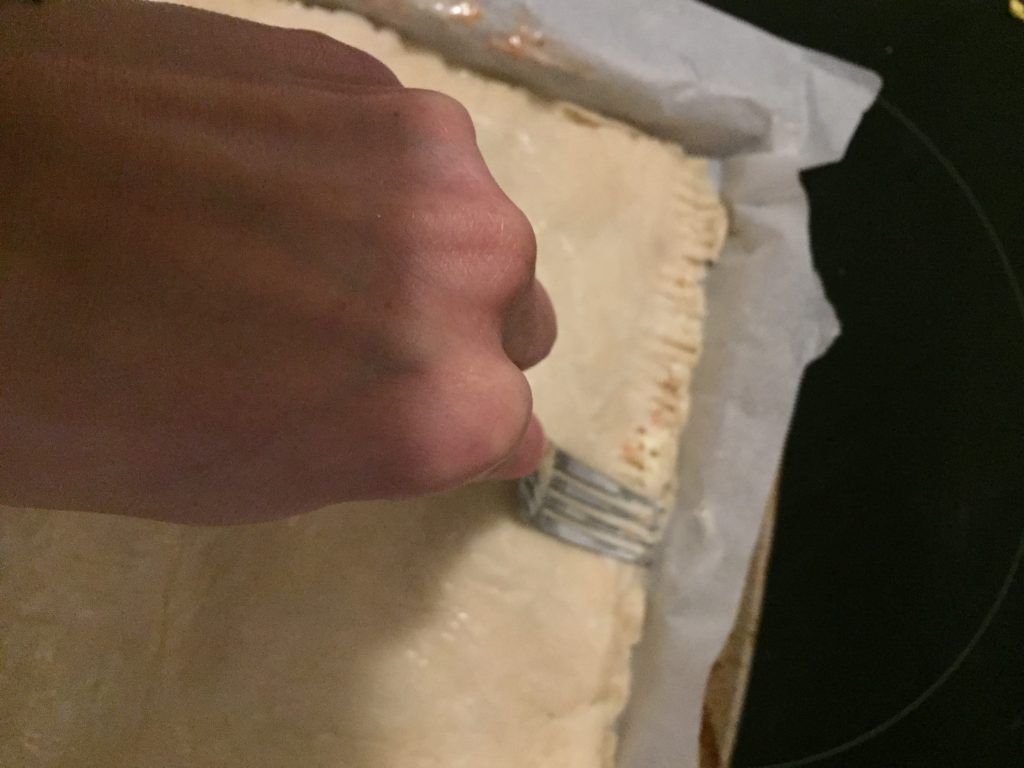
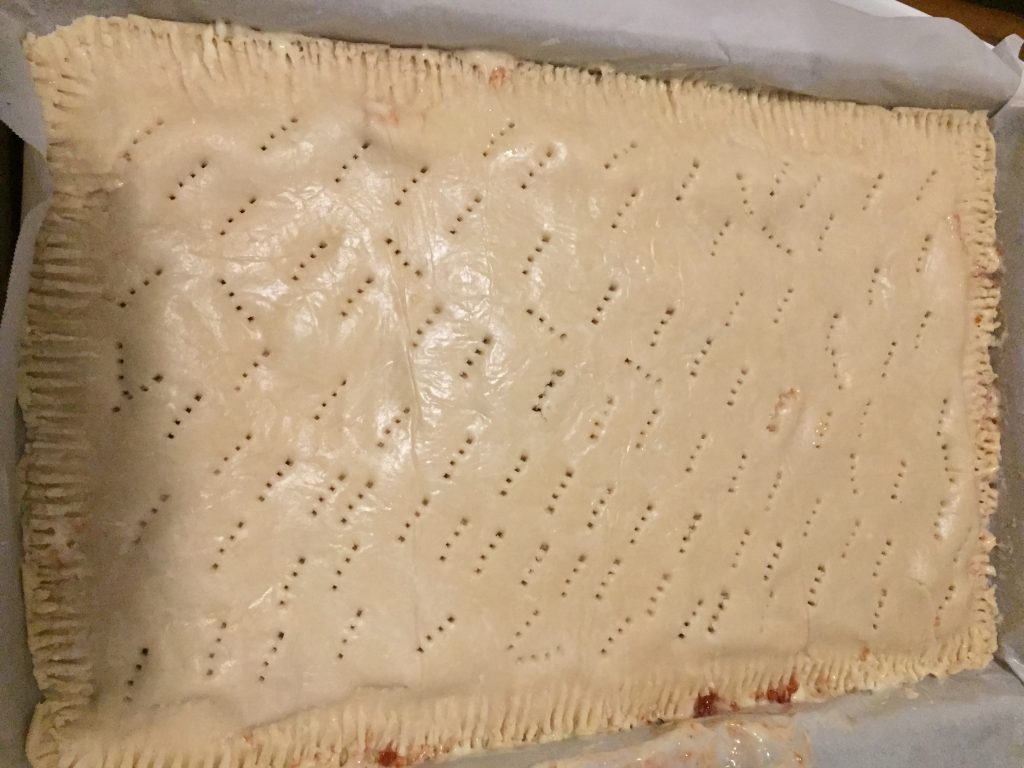
Once the top crust is on, I did my usual method of using a fork to crimp the edges, and then poking a bunch of holes in the top before baking on parchment paper.
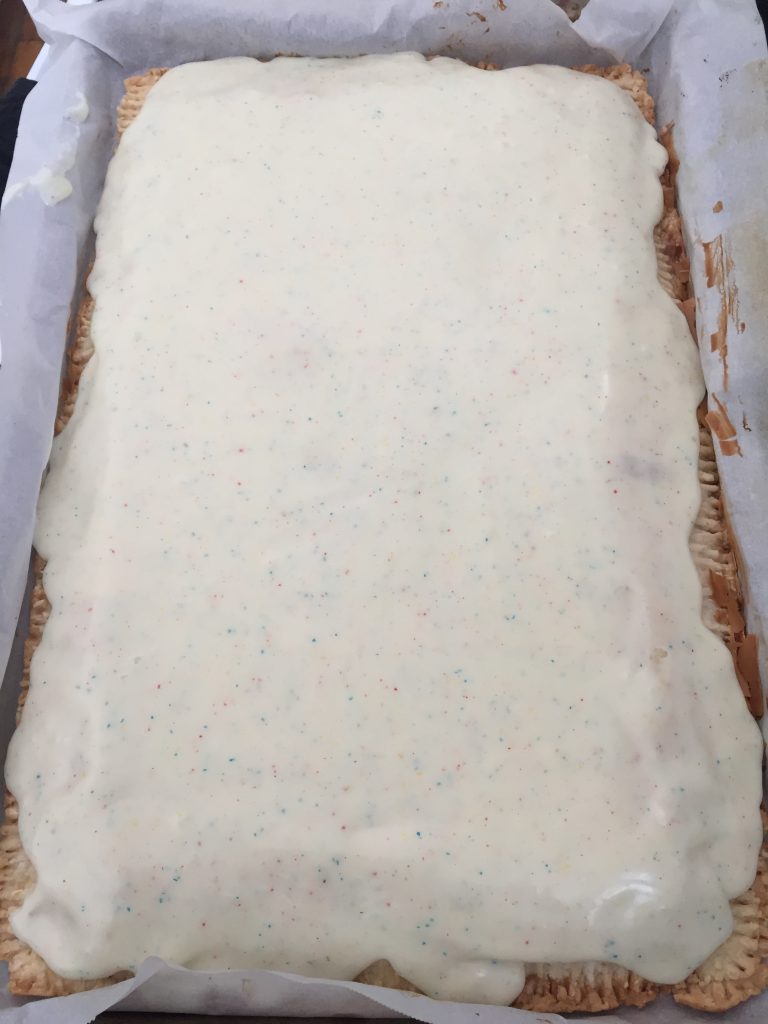
Once it cooled, I had a frosting I was dying to make! I remember when I would have the classic strawberry pop tarts as a kid and there was that white frosting with the sprinkles. But they weren’t just any sprinkles. Pop tart sprinkles are somehow different and I can’t seem to find them anywhere. However, I had an idea to make something similar in looks, and hopefully even better in taste and texture.
I know my husband teases me, in good nature of course, about my obsession with buying nearly everything in store brand only, but Walmart’s store brand, Great Value, makes Confetti Baking Chips, which are totally epic! I have used them for baking, and looking at the confetti, I thought they could be the main ingredient in my frosting.
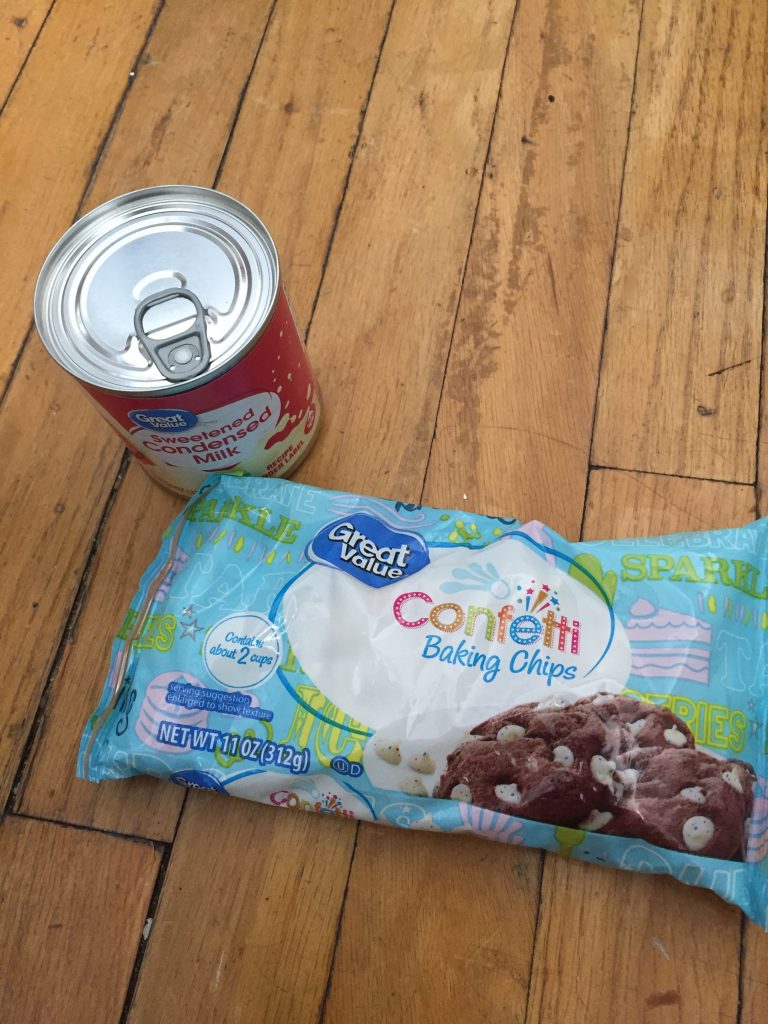
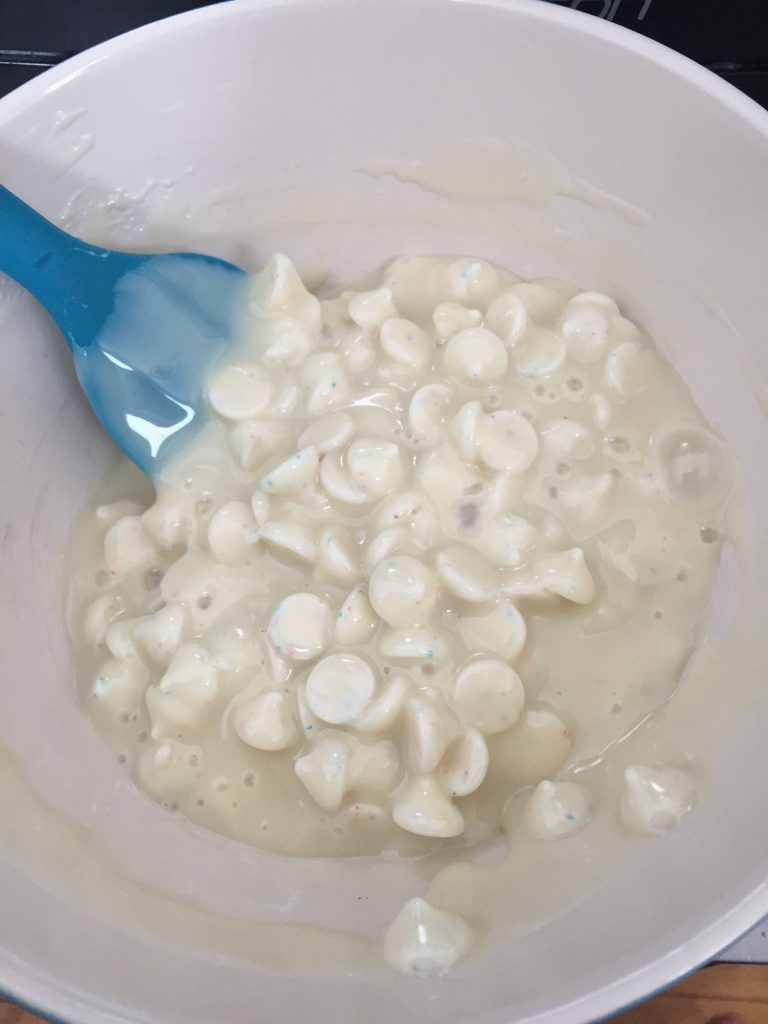
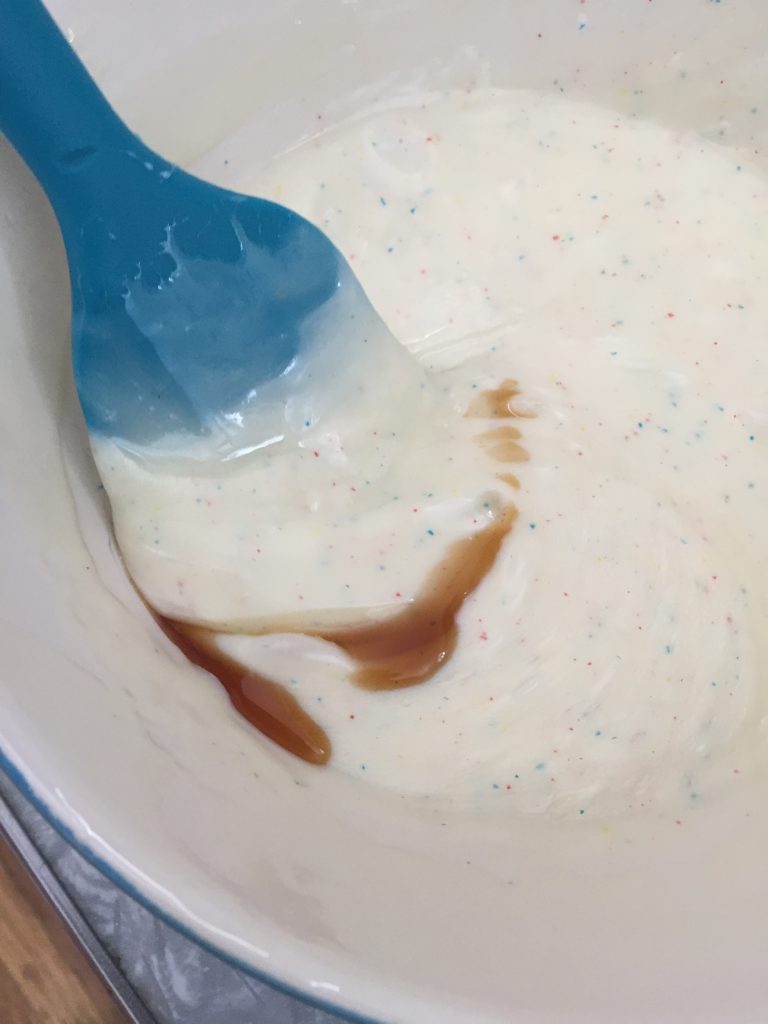
Like the other times I made toaster pastries, I decided to do the fudge hack where I melt sweetened condensed milk with baking chips. This time, I used the Confetti chips. A dash of vanilla kicked up that birthday cake flavor and it was all ready to go on the pastry.
It was beautiful. I feel bad tooting my own horn, but I was seriously proud of it. My husband was also quite proud of me and he absolutely loved the one piece he got. It went fast and I enjoyed my one piece also. I had a lot of fun making it and it truly was a learning experience. I honestly can’t wait to try another giant pastry and I have all kinds of flavor ideas!
Giant Toaster Pastry Recipe
7up pie crust, originally found on crazyforcrust.com
- 4 c. all purpose flour
- 1 tsp. salt
- 3/4 c. butter, cold
- 3/4 c. shortening, cold
- 3/4 c. 7up
Mix the flour and salt together in a large mixing bowl and cut in the cold butter and shortening until the mixture resembles fine crumbles. Pour in the 7 up and gently mix until the dough comes together. You may need to mix with your hands.
Divide the dough into two rounds (or squares, depending on the shape of your pie or pastry) and wrap in plastic wrap. Refrigerate for at least 30 minutes before rolling out.
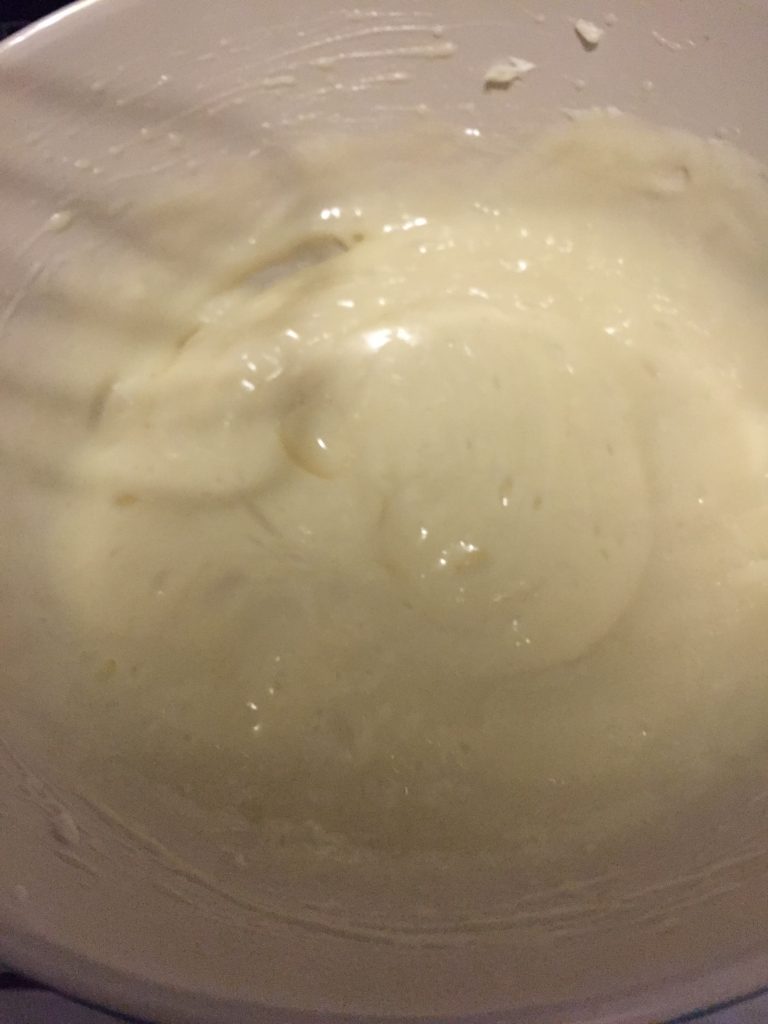
Cream Cheese Filling:
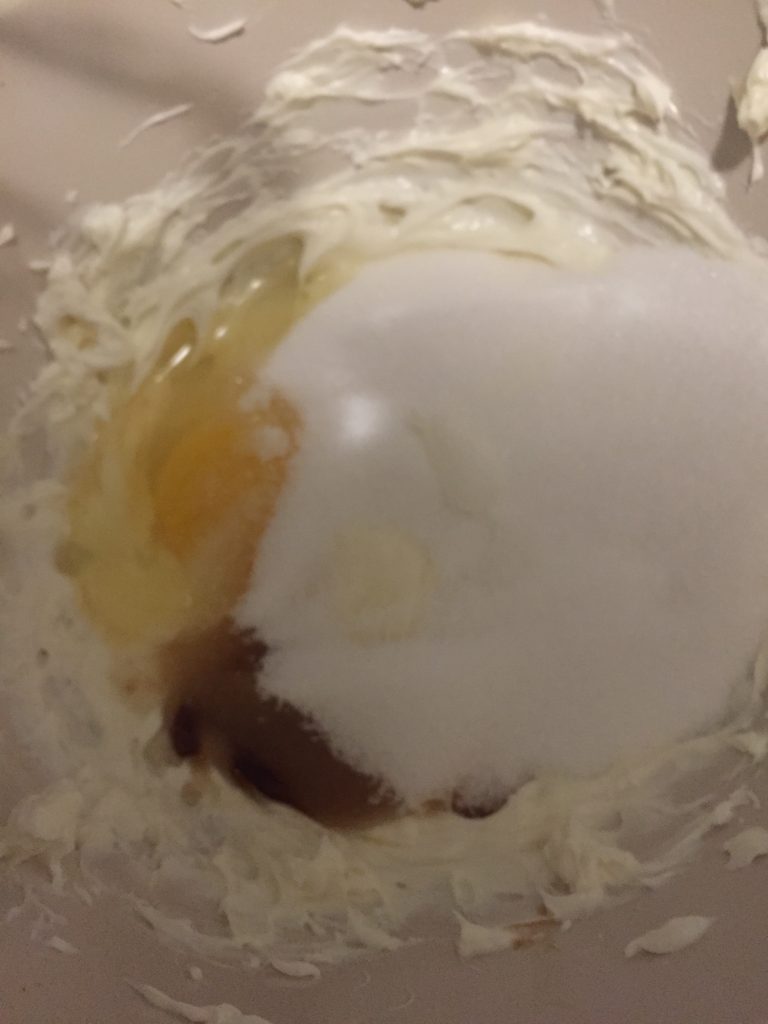
- 1 (8oz.) block cream cheese, softened
- 1 egg
- 1/2 c. granulated sugar
- 1 tsp. vanilla
Beat all ingredients together in a medium mixing bowl until thoroughly combined.
Other Ingredients:
- Strawberry jam
Assembly Instructions:
Take two jelly roll pans of the same size (preferably 9×15) and cut one piece of wax paper and one piece of parchment paper, both large enough to cover the pan and come up the sides of the pan on all sides.
Lay the pie crust out on the paper and roll it out, trying to keep roughly within the shape and size of your pan. Once it’s rolled out as much as you can, transfer the paper with the crust on it to the jelly roll pan and use your clean fingers to press the dough out to the very edges and corners of the pan. Chill and repeat with the other crust.
Once your crusts are rolled out, take the one that has the parchment paper lining and use it as your bottom. Spread out the cream cheese filling, doing your best to stay about 1/2 in. away from the edges. Swirl on the desired amount of strawberry jam on top.
Now, you’re ready to put the top on. Take the crust on the wax paper out of the fridge and gently slide it off the jelly roll pan. It should stay on the wax paper well enough that you can carefully yet easily turn it over and onto the filled bottom part. Once it’s face down and evenly over the pastry, carefully and gently peel off the wax paper.
Crimp the edges together with a fork, and use the same fork to poke quite a few holes in the top of the pastry. You don’t want it to puff up, so ventilation is important.
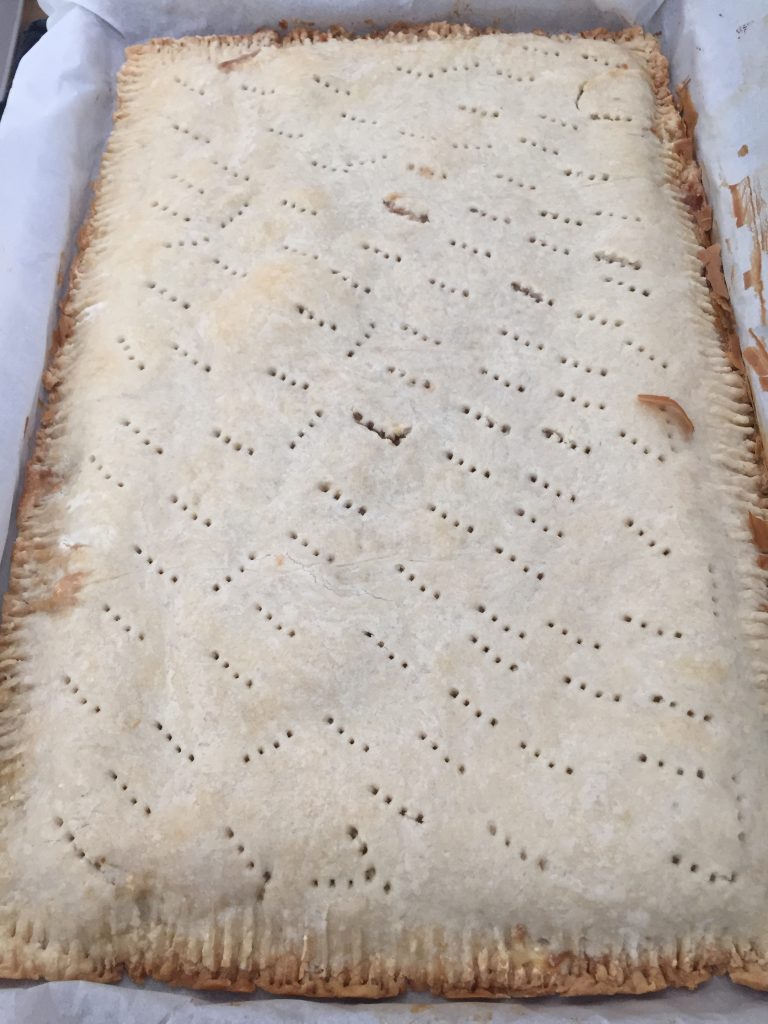
Bake at 350 for 30-35 minutes until the edges start to get golden.
Once it has completely cooled, you can choose to frost it if you would like.
Easy Confetti Frosting:
- 1 bag Great Value Confetti Baking Chips
- 1 can sweetened condensed milk
- 1 tsp. vanilla
In a microwave safe bowl, stir together the can of condensed milk and the baking chips. Microwave for about a minute and stir. If there are lumps left after stirring, microwave it for another 15 seconds and stir again until there are no lumps. Stir in the vanilla and spread it on your dessert immediately since it sets up very quickly.
Keep the dessert refrigerated and cut into squares to serve.
Leave a Reply
You must be logged in to post a comment.