As I said in an earlier blog post, this is the month of red velvet! With Valentine’s Day and mom’s birthday, I end up making all kinds of red heart shaped treats. The following recipe was her birthday treat and it was a huge hit!
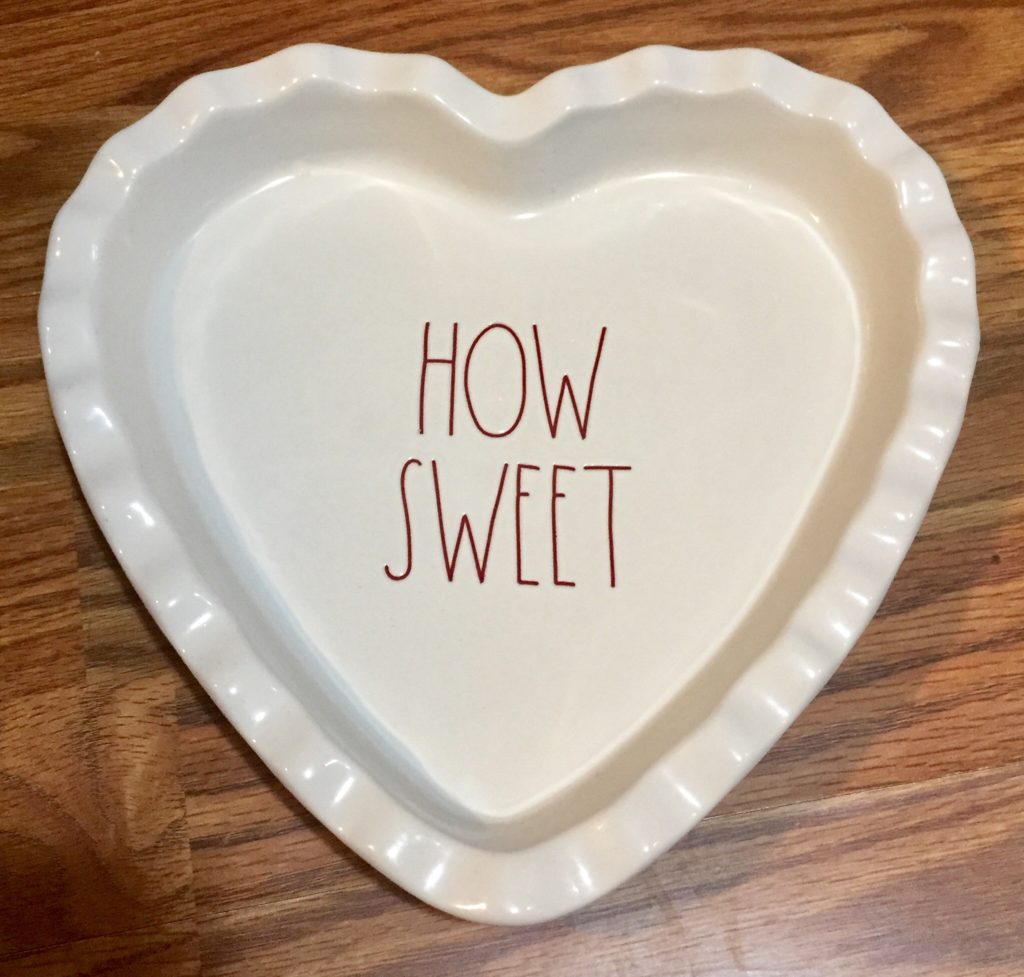
Before I dive into the recipe, I have a picture confession. I finally broke and bought a Rae Dunn piece. While this particular home ware artist was gaining popularity, I was a bit underwhelmed. I had no use or particular desire for a plate that said “EAT” or a glass that said “DRINK.” However, on my most recent trip to a Marshall’s store, I stumbled upon this lovely pie dish. I thought “HOW SWEET” was a pretty cute saying as opposed to “HEART” and it was well made…..and on sale. All I got was the pie dish, but I saw some cute mugs with cute sayings on them, none of which were “DRINK.” I admit, I may have judged this line a bit too harshly and you might just see a Rae Dunn mug pop up on one of my coffee recipe posts one of these days.
I got part of this recipe from another blog, which I will link to, but I decided to do my own thing with most of the cake, crust included. There are some great crust recipes out there, but it is incredibly hard to top a brownie. Brownies are insanely magical in flavor and texture and one of the few foods that taste great out of a box as well as homemade. I did my signature trick here and spiffed up a regular old box of brownie mix to get a “red velvet” brownie.
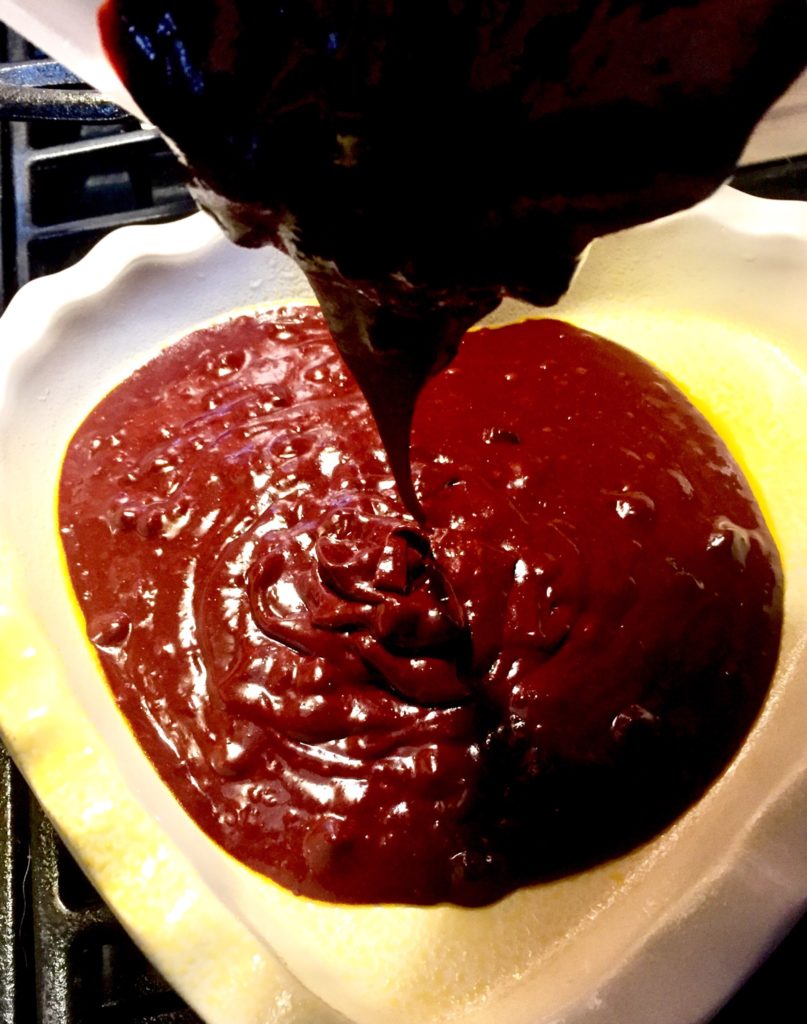
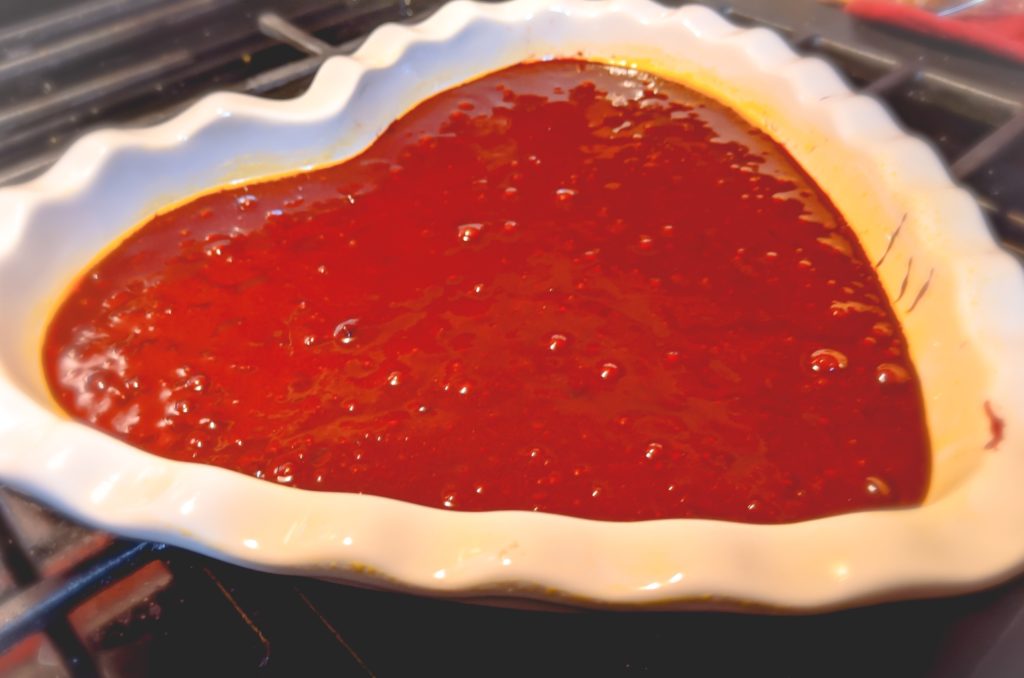
For a red velvet brownie, simply buy a box of your favorite brownie mix and make it according to the package directions. Add in 1 1/2 tablespoons of red velvet emulsion, and be wowed at the elegant color of your batter as you pour it into your baking dish.
If it wasn’t for my mom, I would have no idea what an “emulsion” is. It’s definitely not an extract. It’s way thicker and it mixes in beautifully. You can find it at specialty stores like Hobby Lobby or JoAnn Fabrics, but some Wal-Marts also carry it in their specialty decorating aisle.
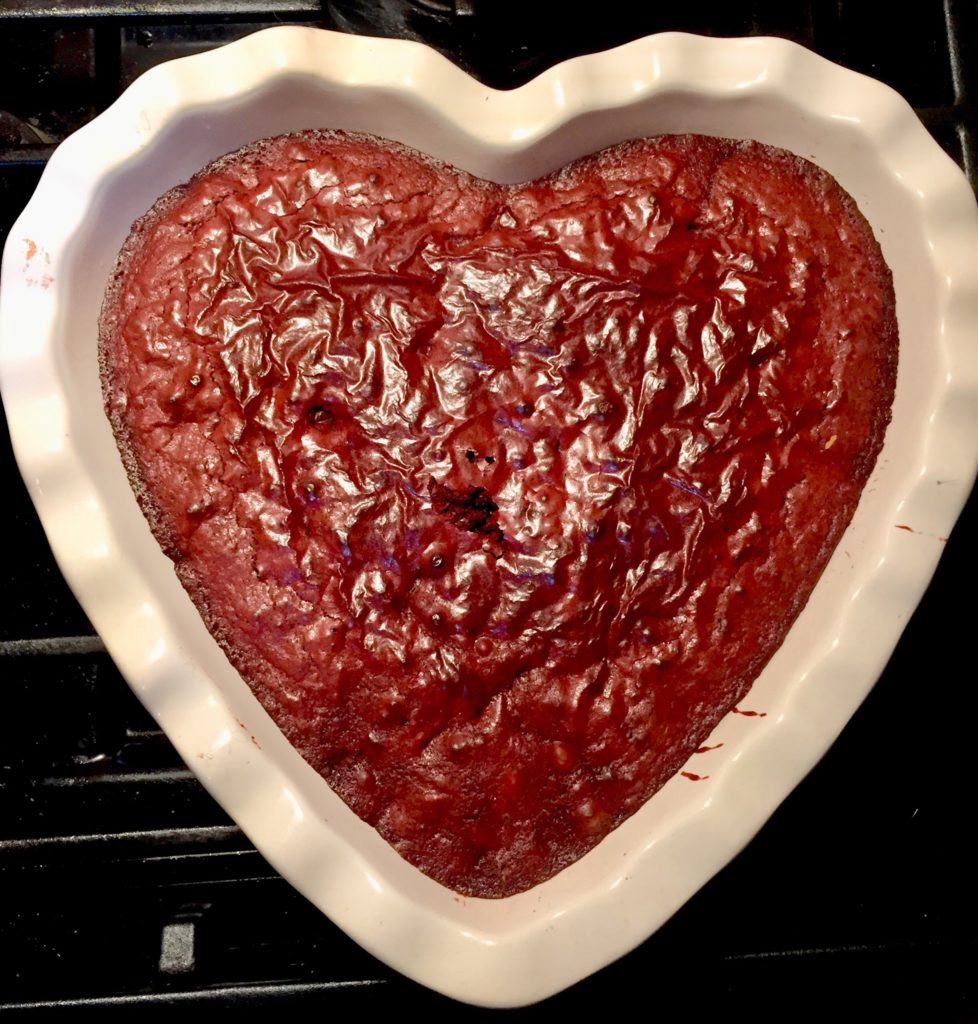
Bake the brownie according to package directions until a toothpick comes out clean. It’s best to bake it the night before because it has to cool COMPLETELY before we come to the cheesecake part. So go to bed and dream of this gorgeous brownie and then come back for a glorious cheesecake day dream!
For the filling, I got the recipe from https://yummiestfood.com/no-bake-white-chocolate-raspberry-cheesecake-recipe/. While I loved the flavor, I wish it would have been a little thicker. In my own recipe at the bottom of the post, I will include my modifications, which are to omit the raspberries and use 1/2 cup less of heavy whipping cream.
It is super important that you melt the chocolate first! While you get everything else ready, the chocolate has time to cool so it will react well with the other cold ingredients when you add it.
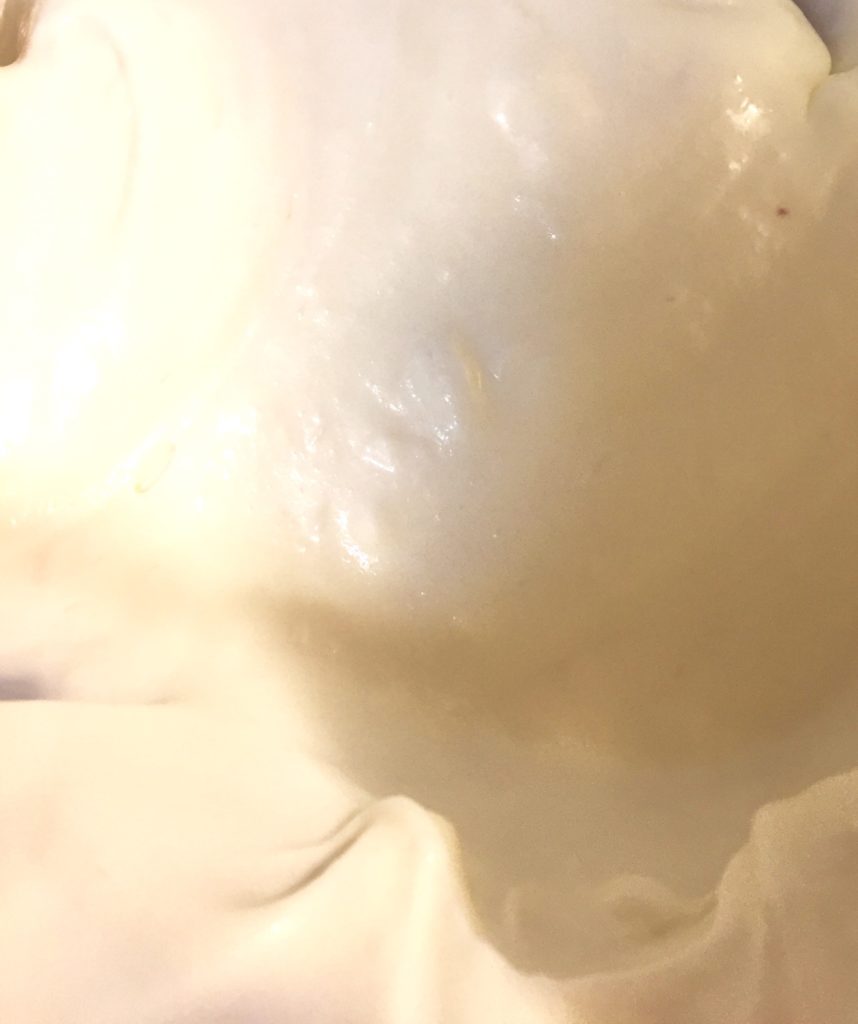
With an electric mixer, beat the heavy whipping cream and vanilla extract until it is thick and holds its shape. In another bowl, beat the softened cream cheese and powdered sugar together until they are thoroughly combined.
To complete the filling, drop the cream cheese mixture into the heavy cream mixture and mix on low just until they combine decently. Lastly, add in the melted white chocolate and beat on low until thoroughly combined. The white chocolate really helps it solidify after it chills.
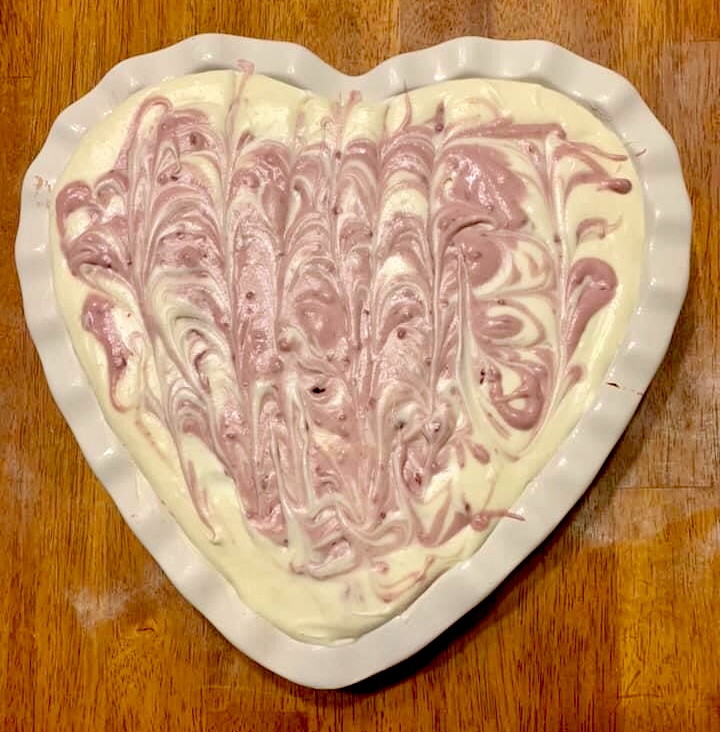
Reserve about 1/2 cup of the cream cheese filling and pour the rest evenly onto the cake. Don’t worry about smoothing it out perfectly because we’re going to swirl the top.
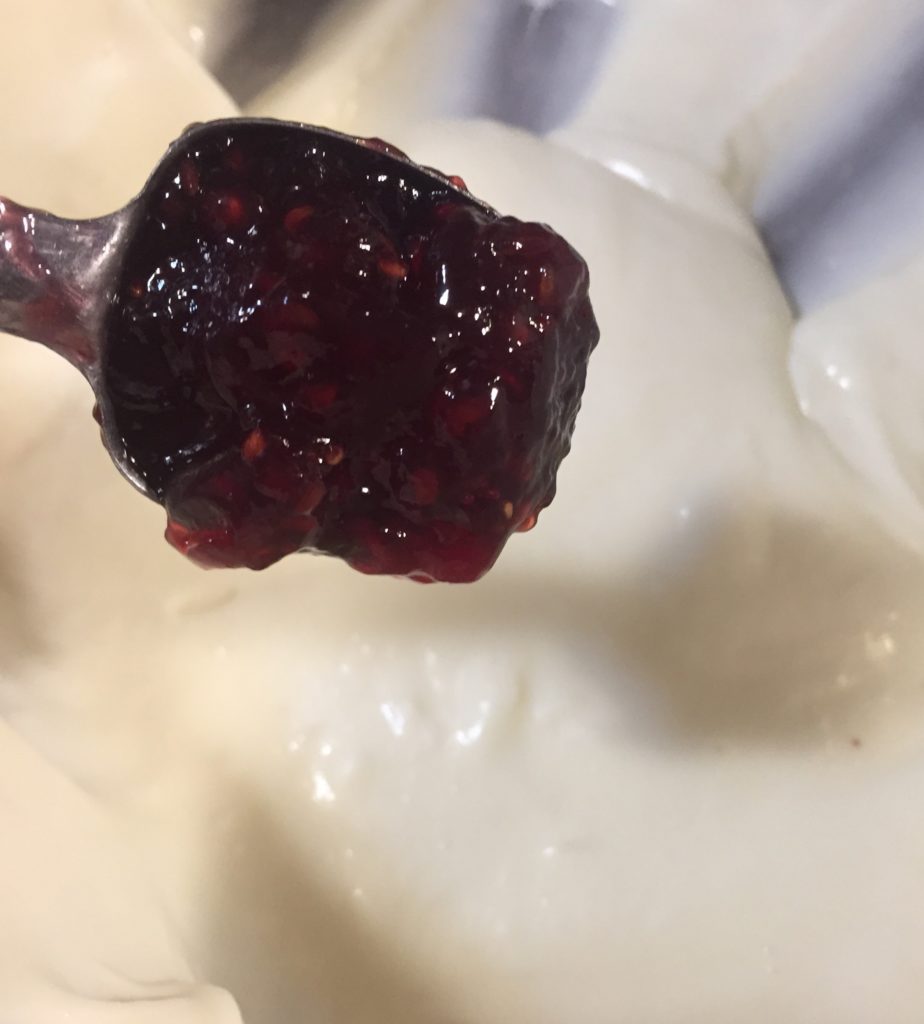
For an easy raspberry swirl, toss about a tablespoon of raspberry jam into the remaining 1/2 cup of filling and beat with your electric mixer until it’s a lovely shade of pink. Then, drop it onto the cake in spoonfulls and use a butter knife to swirl it in. Let the finished product sit at least 6 hours before serving and make sure you’re hungry! This whole cake was gone the next day.
No Bake White Chocolate Raspberry Cheesecake with Red Velvet Brownie Crust
Brownie:
- 1 box brownie mix, prepared according to package directions
- 1 1/2 T. Red Velvet emulsion
White Chocolate Cheesecake Filling (adapted from https://yummiestfood.com/no-bake-white-chocolate-raspberry-cheesecake-recipe/)
- 2 8oz. blocks cream cheese, softened
- 1 c. powdered sugar
- 1 1/2c. heavy whipping cream
- 1 tsp. vanilla extract
- 1 bag white chocolate chips
- 1 T. raspberry jam (to be used in a separate step)
Preheat oven to 350 F.
NOTE: The standard size pie dish I used was way to small for this! I highly recommend using an 8×11, or simply a much deeper pan for this.
In a large mixing bowl, prepare your favorite brownie mix according to the package directions and add in the red velvet emulsion. Once it’s all mixed together, bake according to package directions, until a toothpick inserted in the center comes out clean. Allow to cool COMPLETELY before continuing to the next step.
To begin the filling, melt the chocolate in a microwave safe bowl. Start with 60 seconds and stir. Continue to melt and stir in 30 second intervals until it is completely smooth. Set aside.
While the white chocolate is cooling, beat the heavy whipping cream and vanilla together in a large mixing bowl until it is firm and easily holds its shape.
In a small mixing bowl, beat the softened cream cheese and powdered sugar until thoroughly combined.
Spoon the cream cheese mixture into the whipped cream and beat on low just until combined. Then, add in the white chocolate and beat on low until combined.
Reserve 1/2c. of the cream cheese filling and spoon the rest evenly onto the brownie.
Mix in the raspberry jam with the remaining 1/2c. of filling to make a lovely pink filling. Swirl it onto the cake with a butter knife and refrigerate the whole cake for at least 6 hours before serving.
Leave a Reply
You must be logged in to post a comment.