This is more than a recipe, this is a journey. Sound a bit dramatic? By the end of this post, you’ll totally understand why. Red velvet is tricky. Sure, there’s box mixes, but I was born to a red velvet connoisseur. My mom LOVES red velvet and she has as long as I can remember. She graciously endured the boxed mixes when I was learning to bake, but when it came to my wedding, I always knew I would have a red velvet tier on my cake for mom. What I didn’t know is that I would be making my own wedding desserts. I was determined that I would learn to make the best red velvet known to man (or just my mom).
To begin with, I decided to use the red velvet recipe of a famous baker whom I really admire. In the recipe, the baker explained what red velvet really is and what sets it apart from just a chocolate cake, which is something I’ve always wondered. It’s supposed to have a light yet distinct chocolatey flavor with a hint of bitterness to it. I regret to say, I was disappointed in the way the cupcakes turned out. I followed the recipe and we all loved the texture, but we wanted them to be a bit denser and the flavor was almost non existent. The frosting really carried them, but I was wanting something truly out of this world. We all agreed that the flavor factor needed to be worked on.
Instead of cocoa powder, I decided to use real melted baker’s cocoa for that true chocolate flavor and also to add some density. After making my own recipe for the first time, we all loved the flavor, but the texture still wasn’t quite right. This time, they were dry. Fortunately, my study of the chemistry of baking helped me troubleshoot and I swapped a couple ingredients, changed mixing order and technique a bit, and I hoped that old adage about the third time being a charm would ring true for me.
Luckily, it did. The third try was amazing. Mom declared them the best red velvet she had ever had and I breathed a huge sigh of relief. That was the final recipe we needed to perfect. Now I could stress about the rest of the wedding planning that I had neglected because cake is always my number one priority! Bless my dear groom for realizing this and not saying a word as he taste tested cupcakes before we even had a minister lined up to marry us.
I am really proud of myself for this particular recipe because I was able to make my own recipe from a flavor and texture goal and I was able to troubleshot until I got what I was wanting. I feel like this is a right of passage as a baker and I am so thrilled to be able to serve these to our loved ones.
I must warn you that this red velvet recipe looks a bit different from most of the ones I have seen, but don’t let that scare you away. The cupcakes have their own distinct flavor. You can taste the tanginess and the chocolate at once without one overpowering the other, and the texture is wonderfully moist. There is also no white vinegar in this recipe, which may surprise some red velvet bakers. Just give this a shot and see what you think.
If you do try this recipe, please leave me a review along with your opinion of the outcome. If you have an even better red velvet recipe, please don’t be shy! I would love to keep experimenting with cupcakes even after the wedding.
Red Velvet Cupcakes with Cream Cheese Frosting Recipe
Red Velvet Cupcake ingredients:
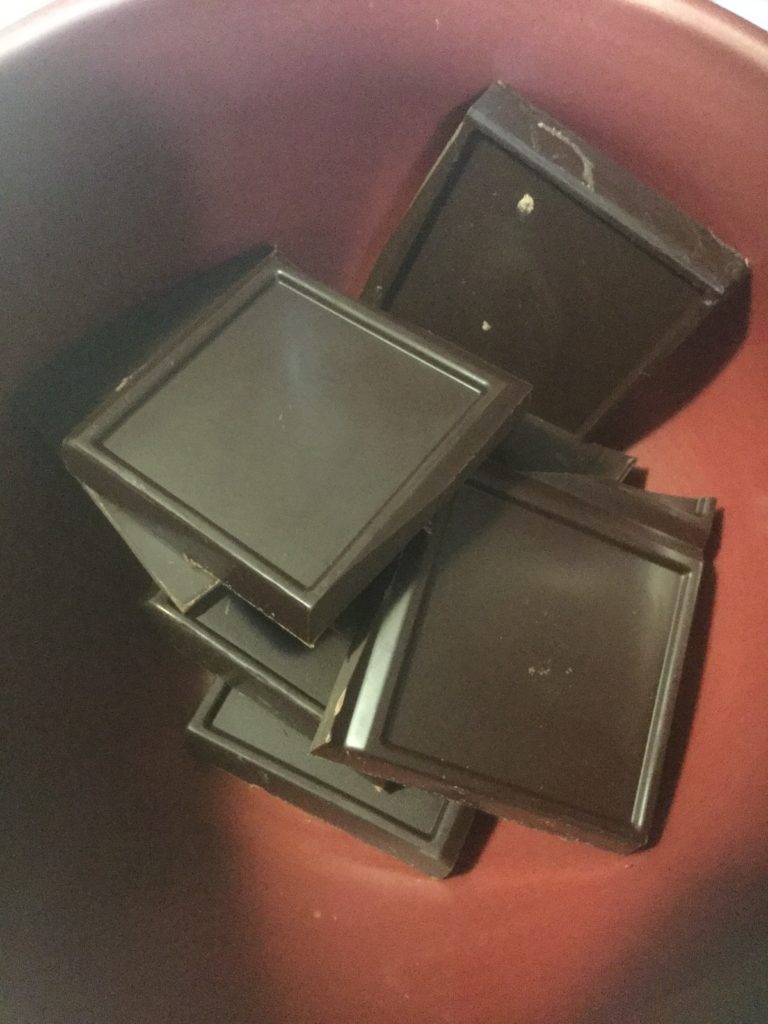
- 4 oz. unsweetened baker’s chocolate, melted and cooled
- 1/3 c. buttermilk, room temperature
- 2 T. Red Velvet emulsion
- 1 c. sour cream
- 3 eggs
- 1/2 c. vegetable oil
- 1 3/4 c. sugar
- 1/2 tsp. salt
- 1 1/2 tsp. baking powder
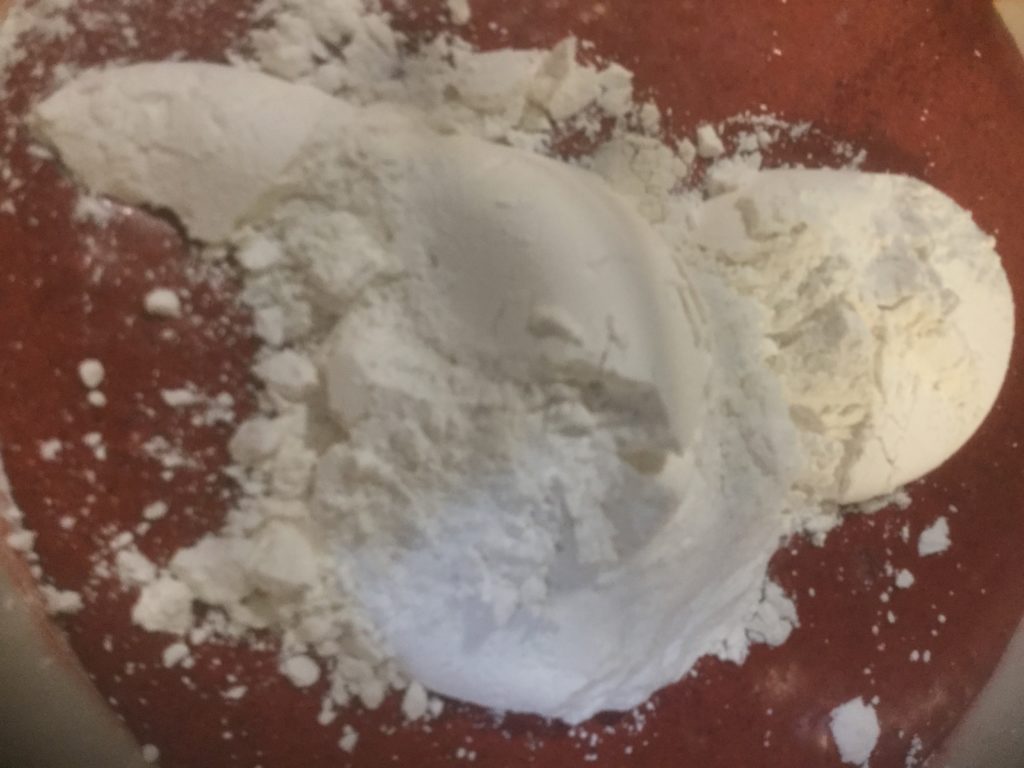
- 1 c. all purpose flour
- 2/3 c. cake flour
Cream Cheese Frosting ingredients:
- 1 block (8 oz.) cream cheese, softened
- 1 c. (2 sticks) butter
- 1 T. vanilla extract
- 4 c. powdered sugar
- 1-2 T. milk, heavy cream, or coffee creamer
Cupcakes:
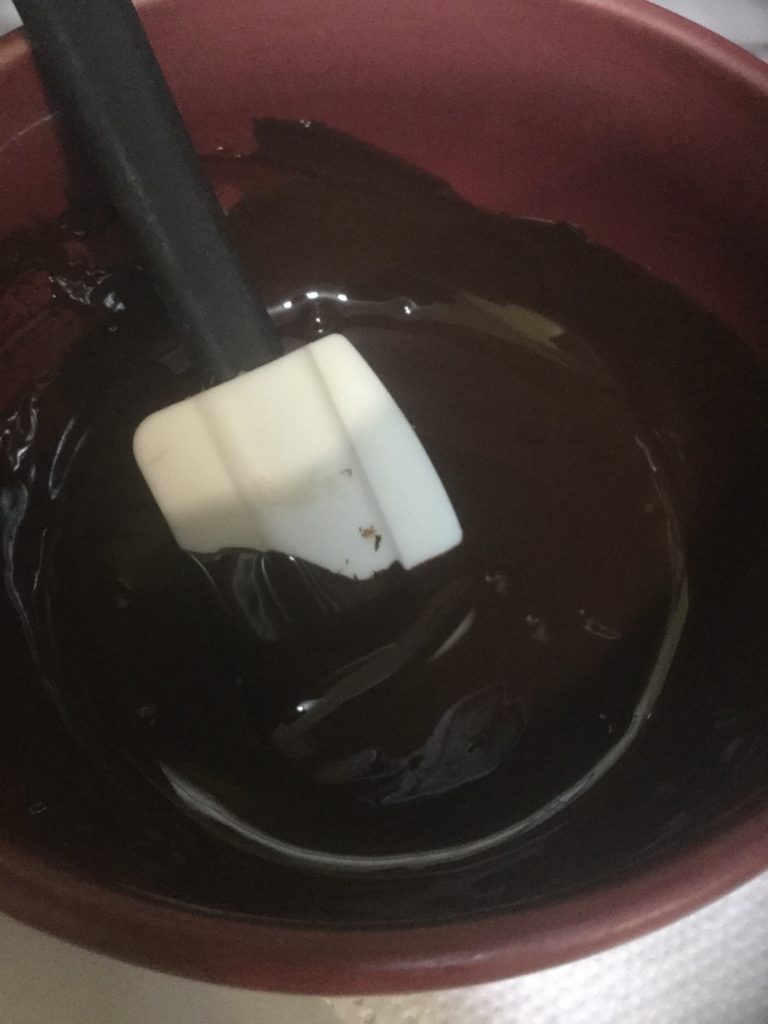
To begin, I melted my bakers chocolate in a large microwave safe bowl. Start with 45 seconds, stir, and put in for another 45 seconds. If it’s still lumpy after another stir, microwave it in 20 second bursts and stir until it’s completely smooth. Allow it to cool while the buttermilk comes to room temperature.
To start mixing the batter, add the buttermilk to the melted chocolate in the large bowl and beat the two ingredients together with a hand mixer. Next, add in the sour cream and red velvet emulsion and beat until combined. Beat in your eggs thoroughly before adding in the oil and sugar. Once the oil and sugar are combined, add in the salt and baking powder, taking extra care to drop them in the center of the batter. Beat them in on a slow to medium speed. Before we add in the flour, give the sides of the bowl a good scrape. Add the two flours and push them down into the batter with mixer before turning it to a low speed and increasing it slowly to medium. It’s important to make sure everything is mixed in while taking care not to over mix. The lumps should get out of the batter pretty quickly, so there will be nothing to worry about. Give the sides of the bowl one more scrape and beat it briefly on medium speed until it’s smooth and the flour is fully combined.
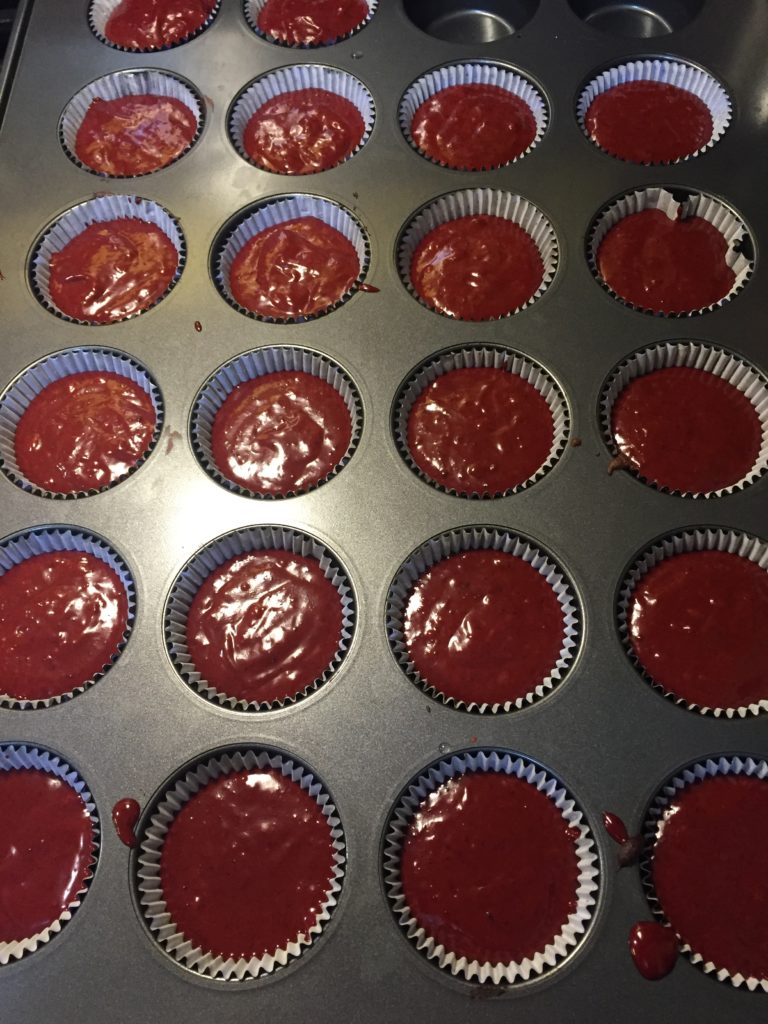
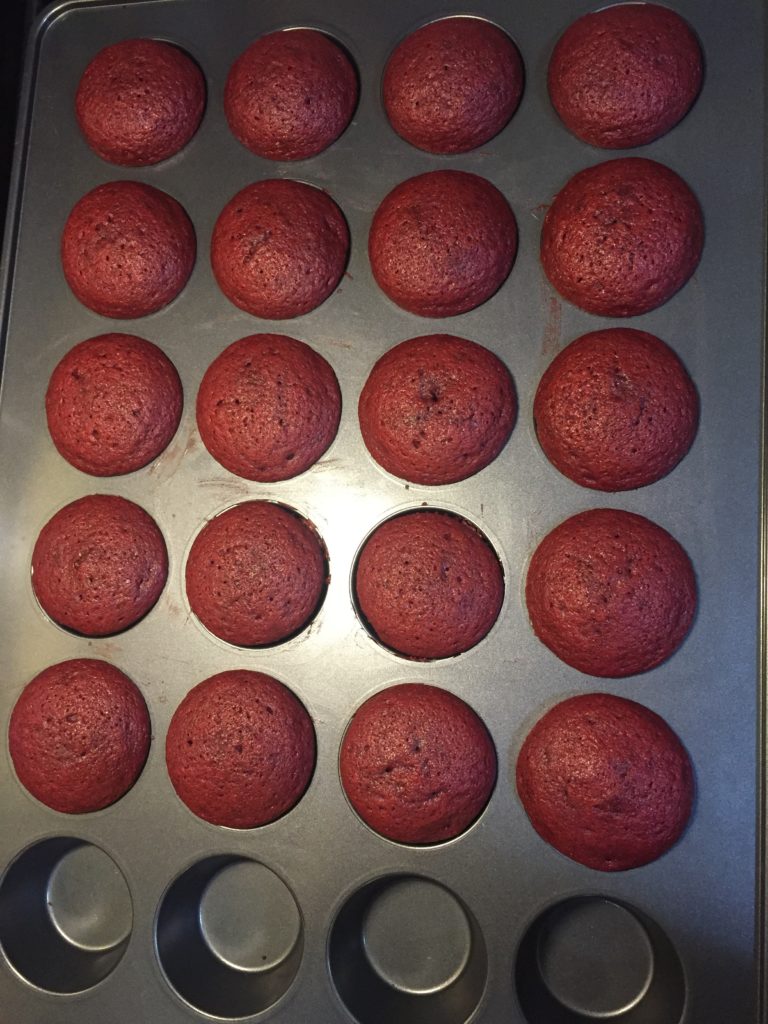
Preheat your oven to 350 and fill your liners almost up to 3/4 of the way. This filled 21 liners for me.
Bake for 20 minutes or until toothpick inserted comes out clean. Allow to cool completely before frosting.
Frosting:
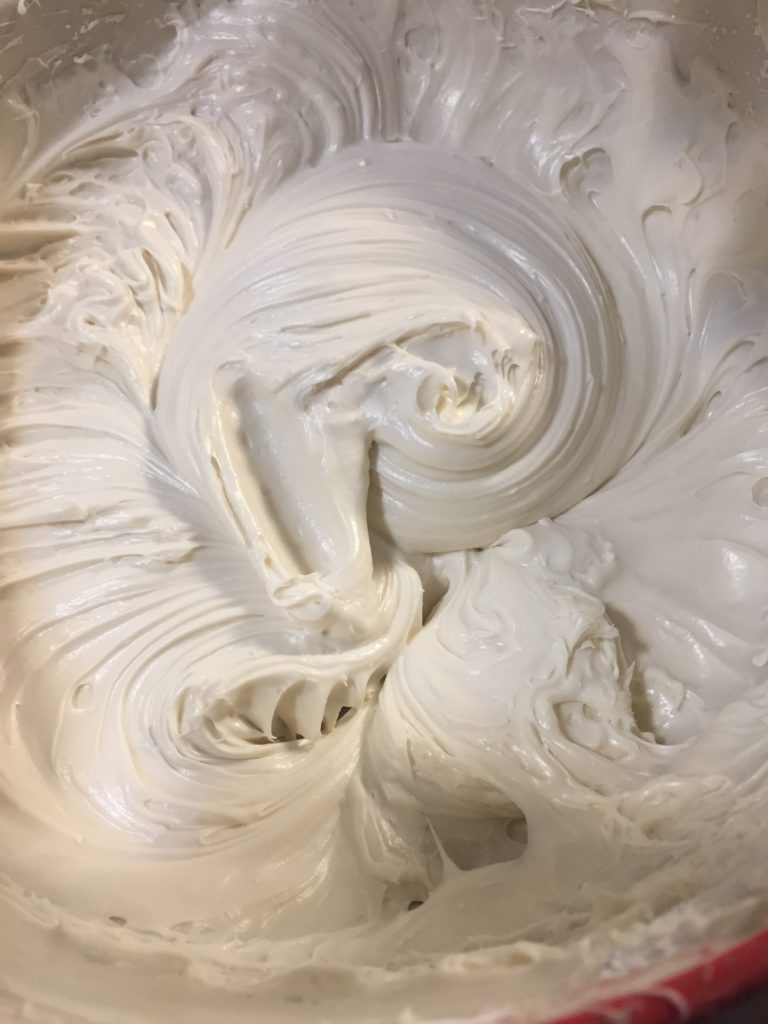
In a large mixing bowl, add the butter, cream cheese, and vanilla and beat together until nice and creamy. Add in the sugar and beat it in slowly, turning up the speed as it gets incorporated. This is challenging since the frosting wanted to climb my beaters. The faster settings worked the best as soon as the sugar was incorporated enough for me to turn up the speed without a sugar explosion.
After beating in a tablespoon of liquid, see how you feel about the consistency. It should become easier to mix after this. If you want it thinner, add in liquid 1/2 tablespoon at a time until you get the consistency you want.
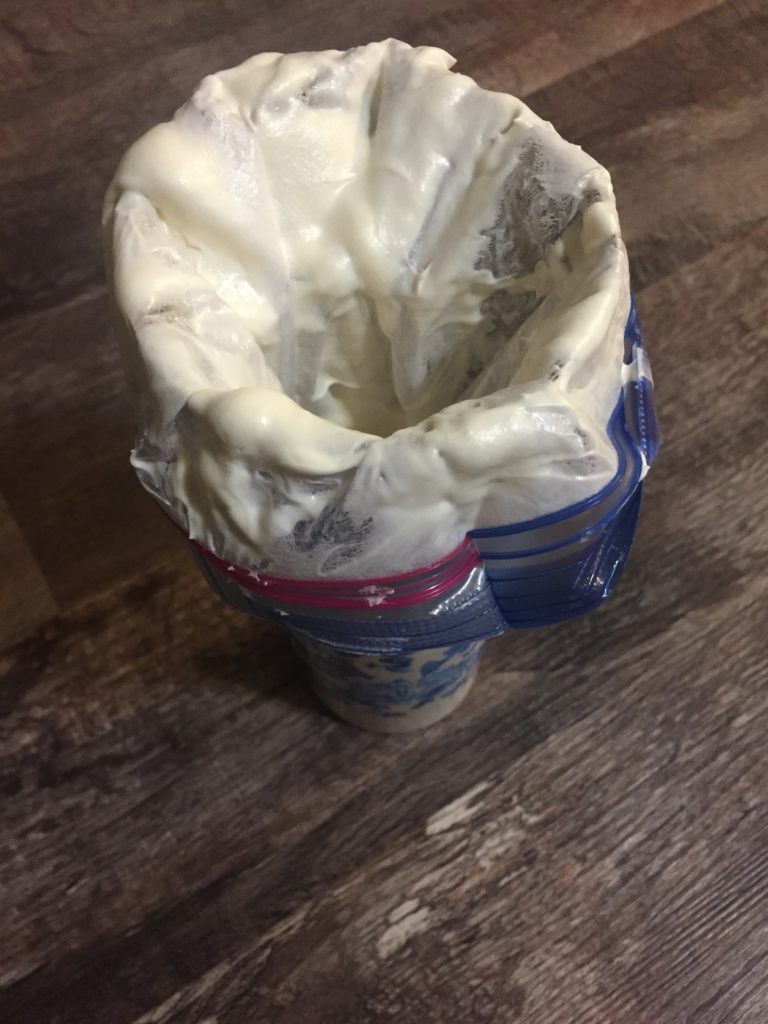
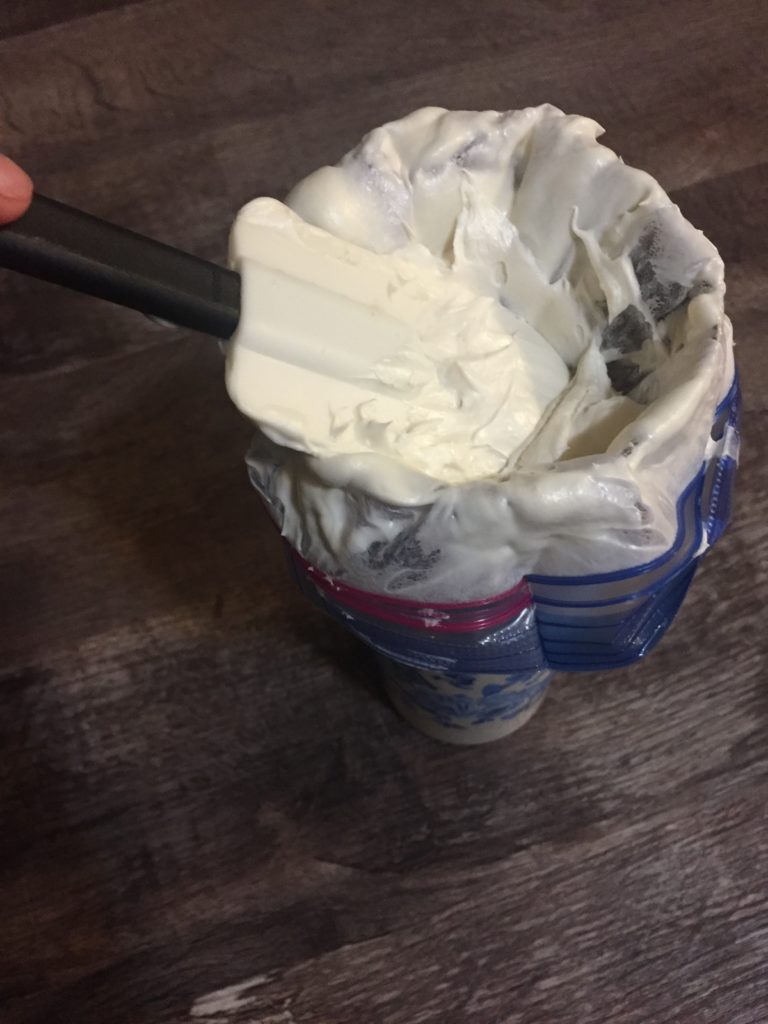
You can spread the frosting on or pipe it- whichever you prefer. I chose to cut a small hole in a sturdy ziploc bag just big enough for the end of my piping tip and use it as my makeshift piping bag.
Refrigerate until ready to serve and enjoy!
Leave a Reply
You must be logged in to post a comment.