February is a huge month for me. Not only is this my first Valentine’s Day ever actually having a valentine, but this is also the birth month of my mom and my aunt, two of my favorite ladies in the world. Add in a couple of work friends having birthdays’ too, and February is a month full of baking for me. As you may guess, I definitely don’t mind this! So in the spirit of Valentine’s Day, I present to you a delicious red velvet treat.
This is a lot like the popular recipe for cake pops or truffles. If you want truffles, roll the “dough” into balls instead of making them square and dip them in chocolate the same way.
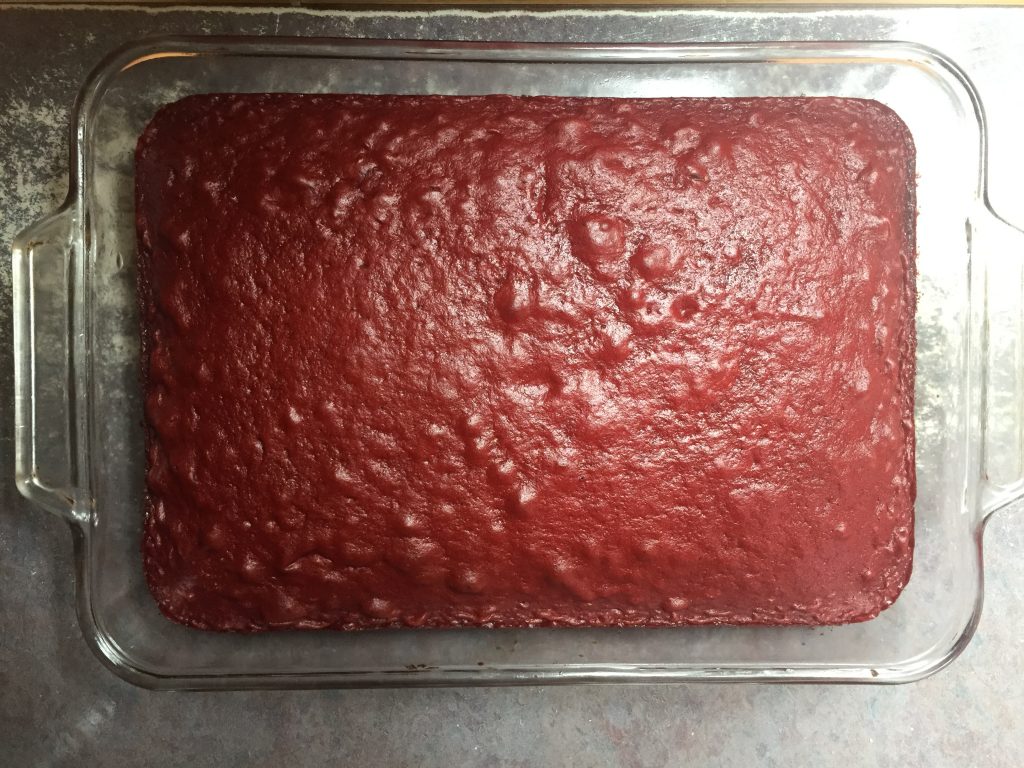
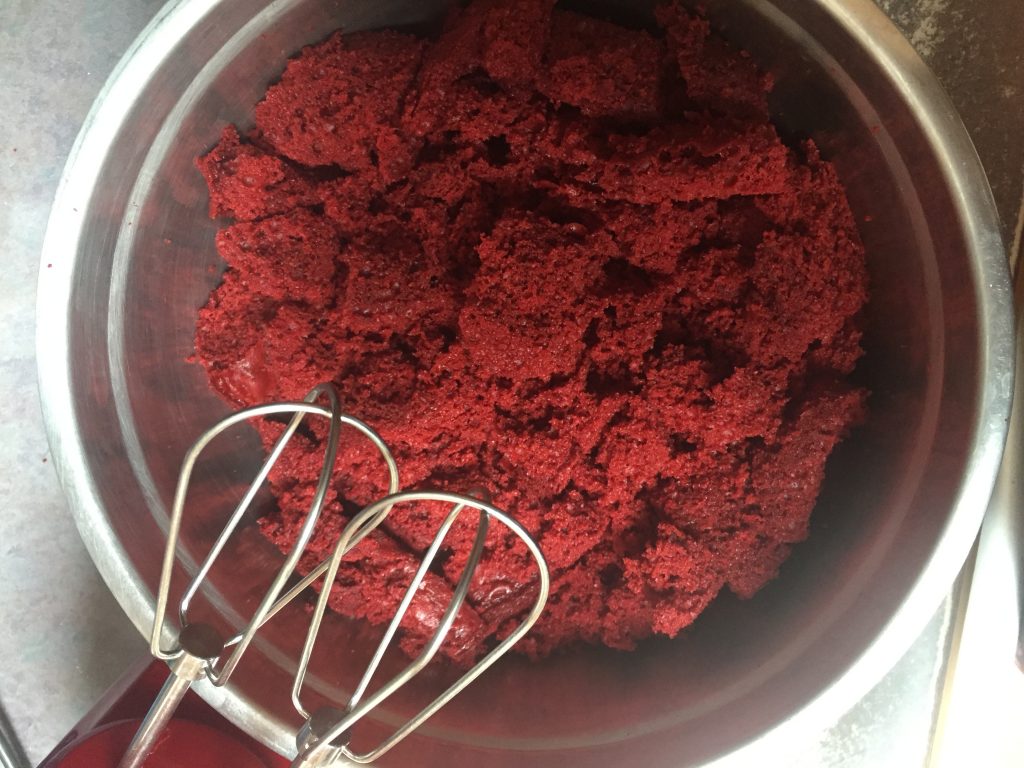
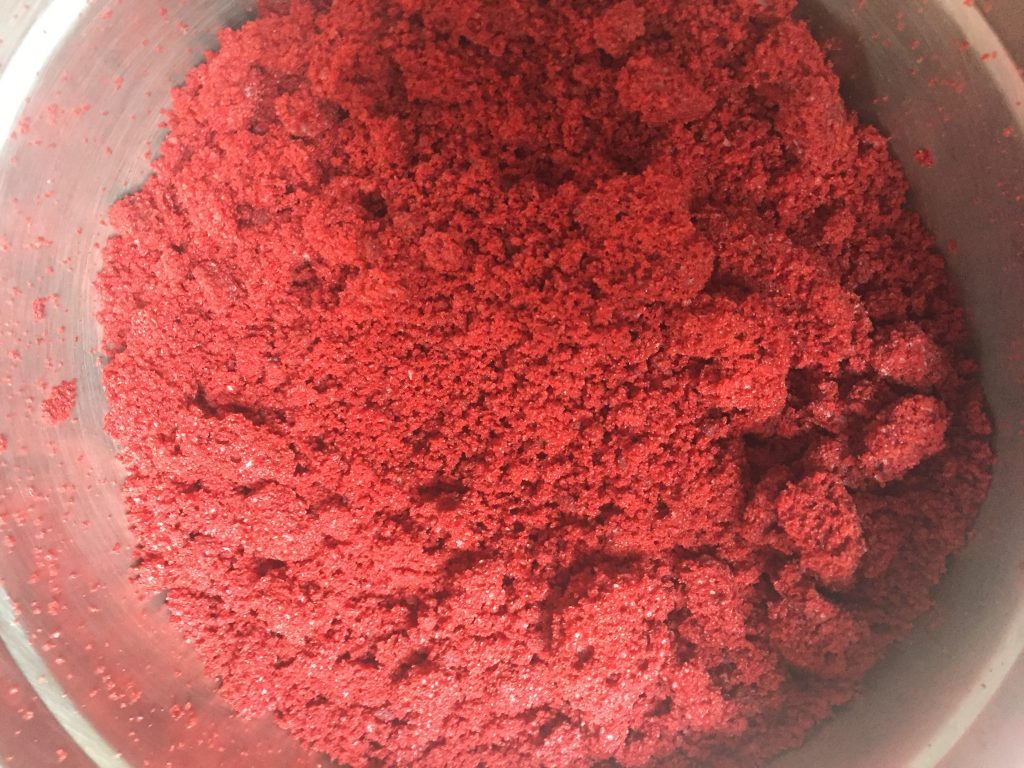
To begin, buy a regular red velvet cake mix and bake it according to package directions. Once it has come out of the oven and cooled, demolish it! This part can be pretty fun and satisfying. I use a hand mixer sometimes and other times I just do it all by hand. The finer the crumbs, the better.
Next, we make the “dough.” As a side note, I feel like there are so many options for this dough. I want to explore some other recipes with it since its very mold-able and the taste is amazing no matter what cake and frosting combo you choose.
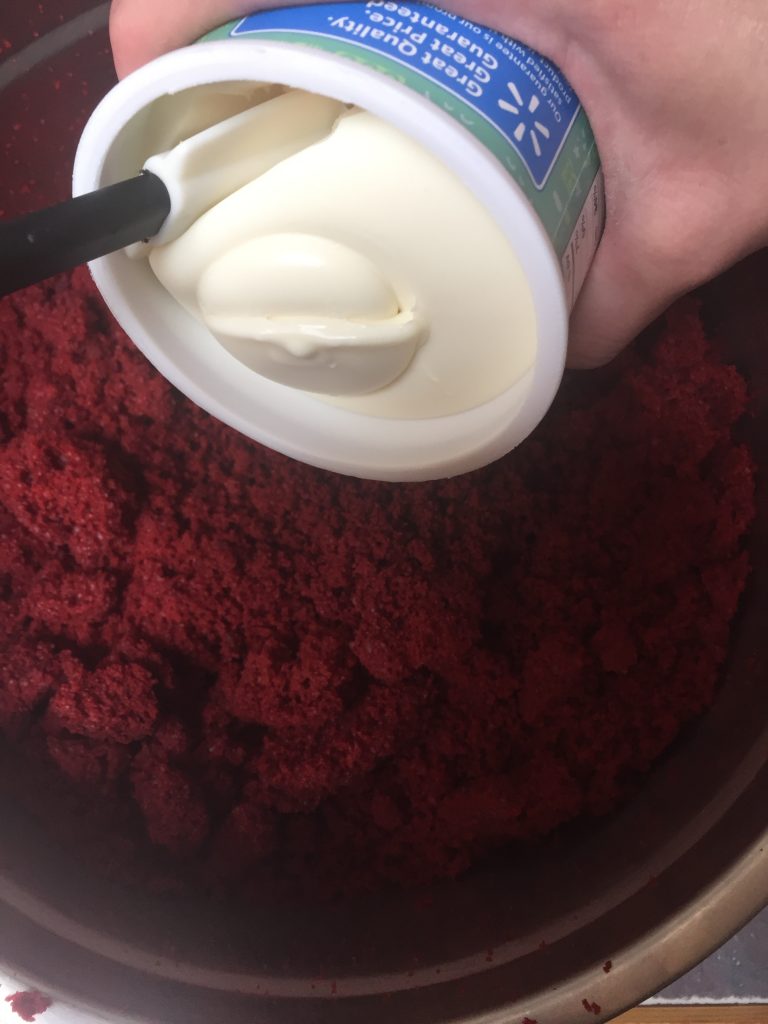
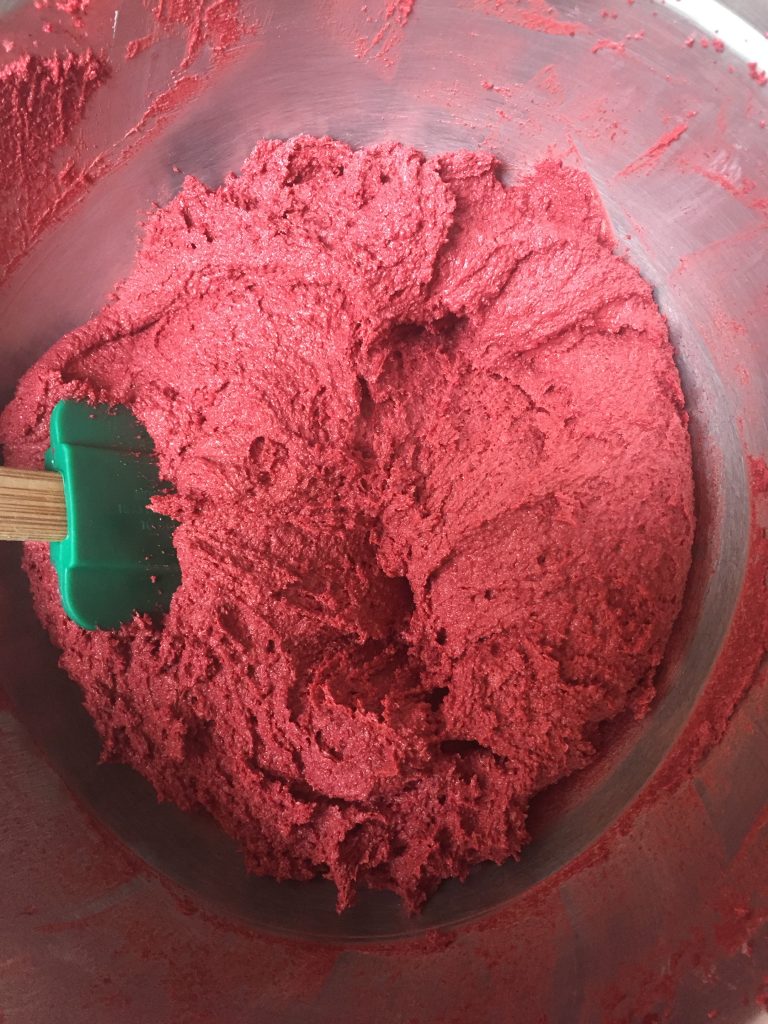
Add in about half a can of cream cheese frosting to your red velvet crumbs and mix until it’s all combined and a dough forms. You can add a little more frosting if need be, but be careful not to add too much. If the dough is too saturated it can make it hard for it to set up.
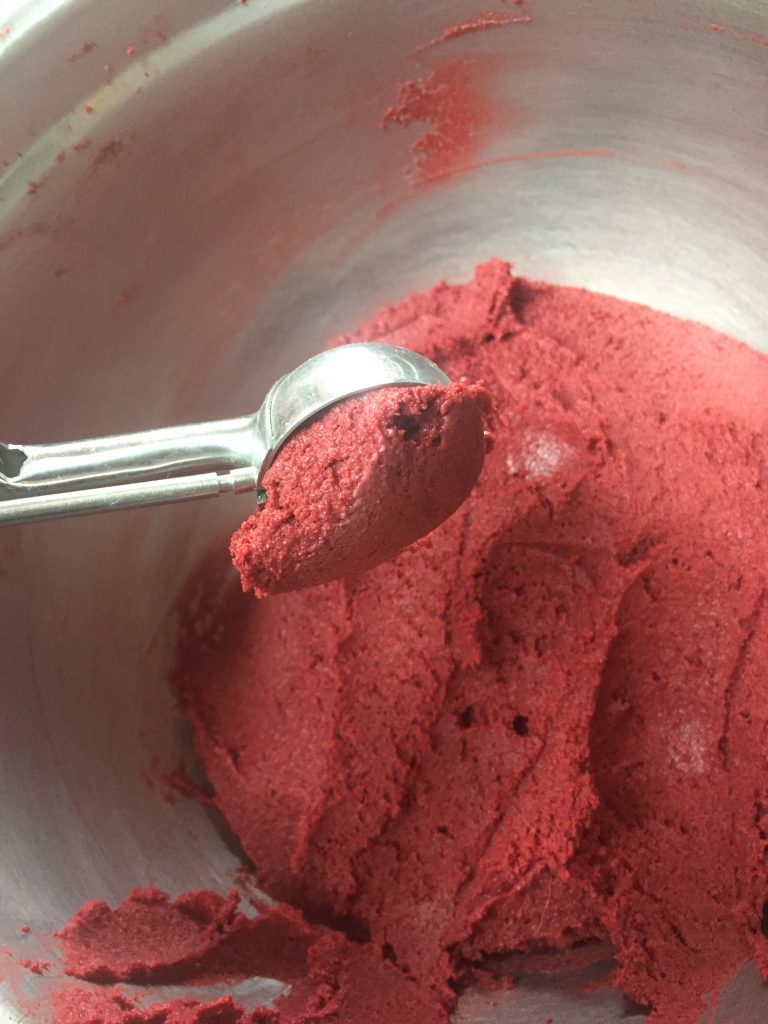
Molding the dough is the messy part. In hindsight, I think rolling the dough and making truffles is the simpler way to go, but mom loves petite fours so it was worth the extra work.
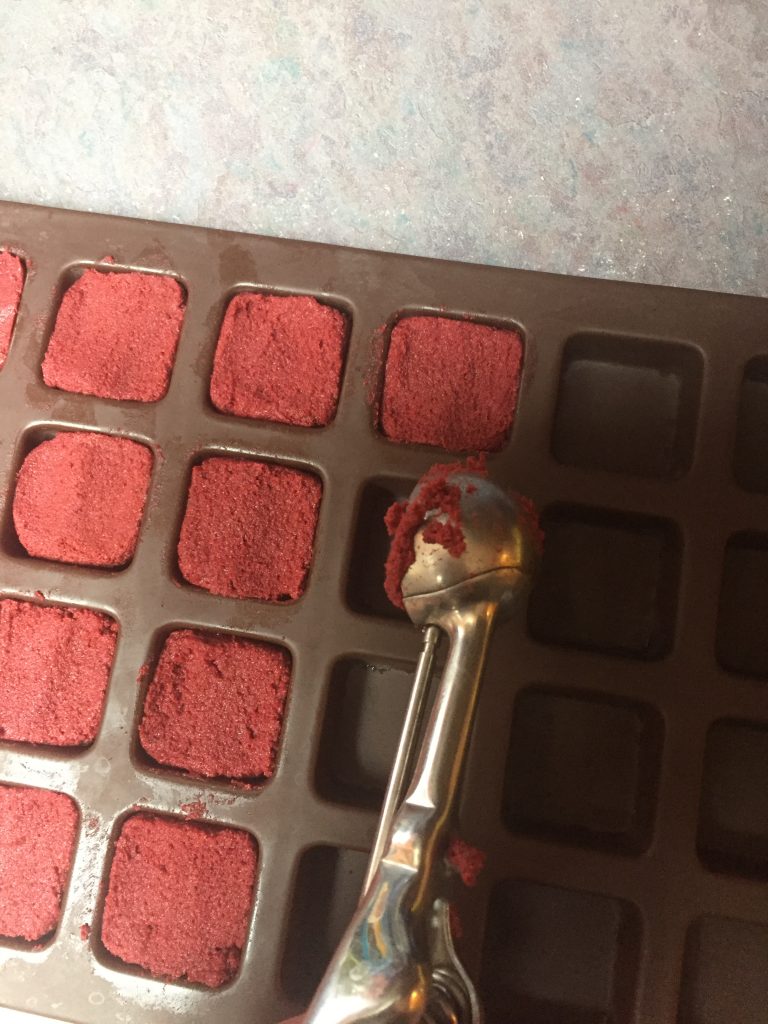
I pressed the dough into silicone pans designed for making tiny brownies and then I popped them in the freezer to set up. Confession time: I put in too much frosting! They were insanely hard to get out and this is why I cautioned you. Hopefully, you will be saved from my mistake.
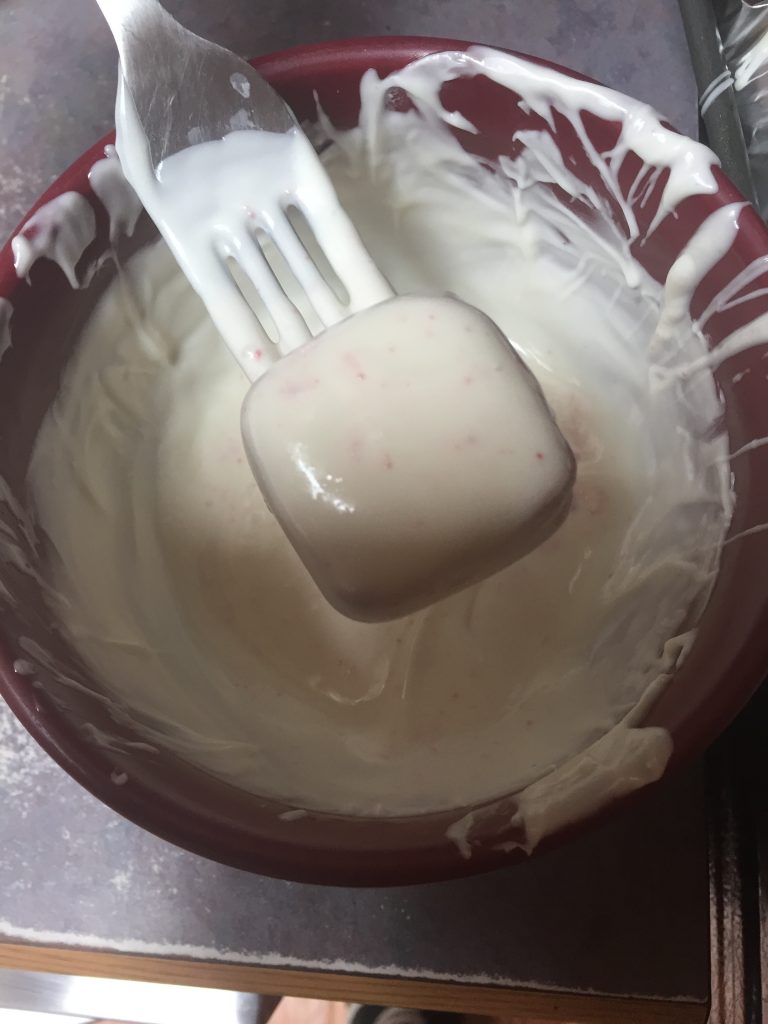
For my second confession, I must tell you that I am HORRIBLE with melting chocolate of any kind on the stove top- double boiler or not. For most of my recipes that involve melting chocolate, they will only involve a microwave and not a stove.
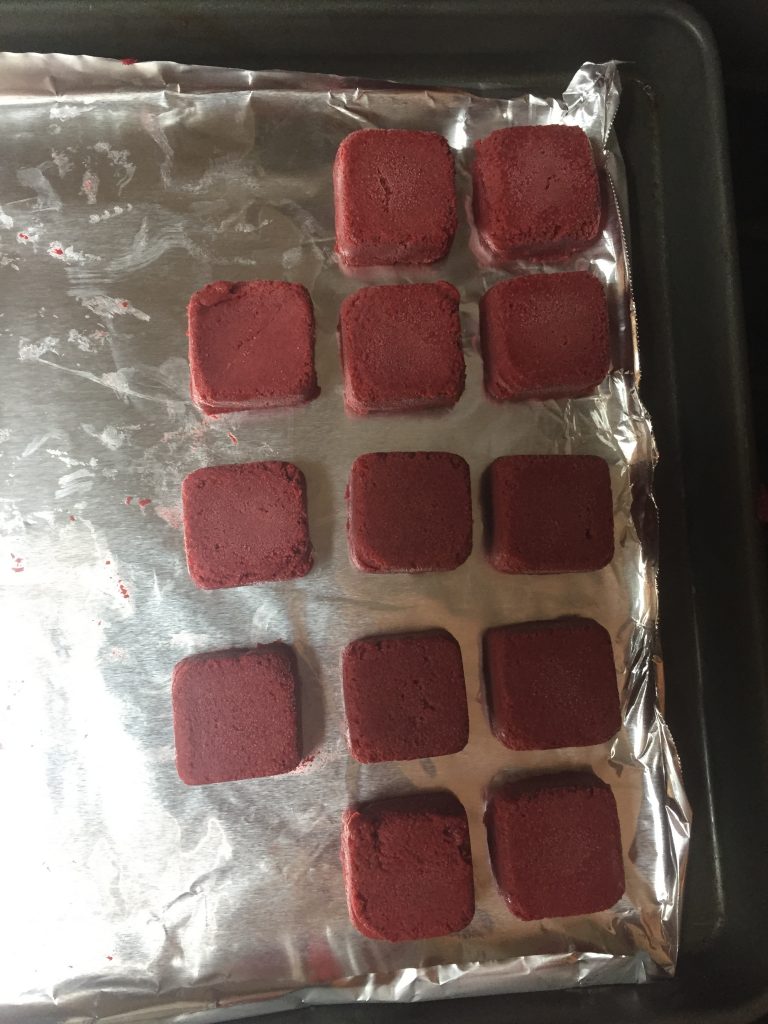
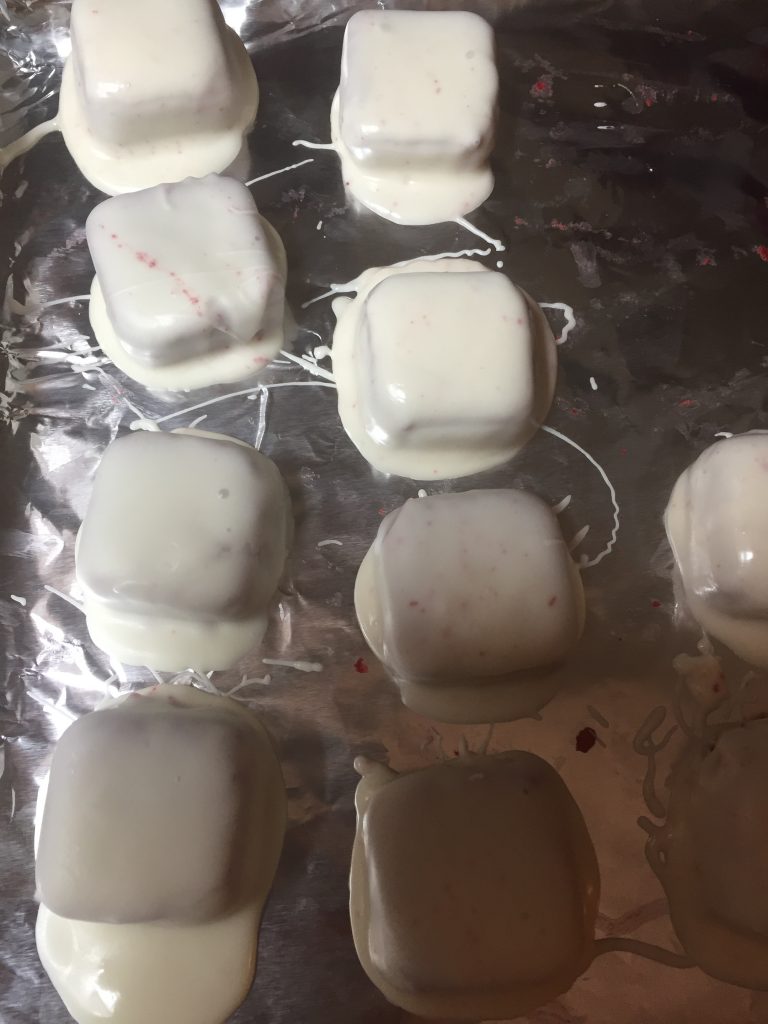
After they all got covered in white chocolate, I put them on a lined baking sheet and popped them in our garage to set up. Of course this only works in the winter time but the cookie sheets are pretty thin and easy to slide on top of other things in the fridge.
Once they’re all set up, it’s time to decorate! You can do any number of things, including a drizzle of melted dark or milk chocolate. For this particular occasion, I went with a bit of red glitter frosting and some mini chocolate chips.
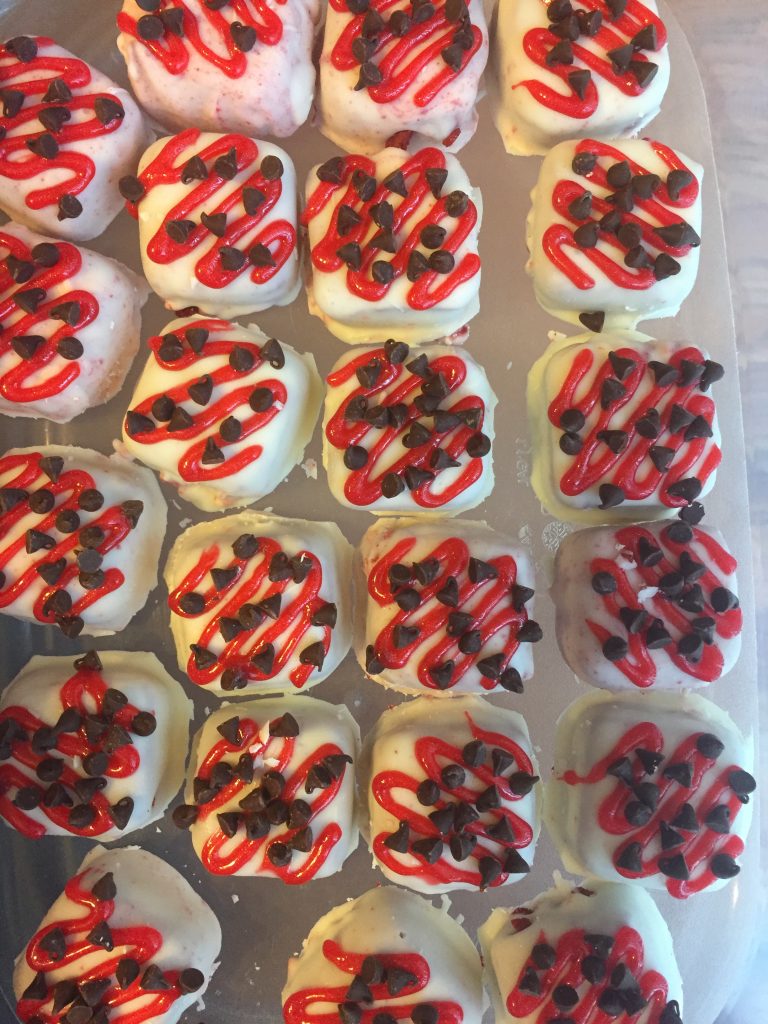
They were a hit and the whole family loved them! With this basic recipe, you can do any flavor combo and the sky is the limit with decorating options.
Have a super happy Valentine’s Day lovelies, and even if you don’t have a romantic partner, make some time to take your grandparents some chocolates or send flowers to your mom. You can even bake these delicious treats and give them to your loved ones as a delicious reminder of how much they’re appreciated in your life.
Red Velvet Petite Fours
Ingredients:
- Red velvet box cake mix, prepared to package directions
- 1/2-2/3 can of cream cheese frosting
- 2 bags of white chocolate chips (roughly 4 cups)
- decorations such as additional chocolate, frosting, and sprinkles
- silicone mini brownie pan
NOTE: If you don’t have or don’t wish to purchase a mini brownie pan, you can just form the dough into a large square about 1 in. thick and freeze it. Cut it into small uniform squares 1 1/2in. by 1 1/2in.
Start by baking your cake mix as directed on the box. Once your cake is baked and completely cooled, remove it in chunks and place the broken up cake in a large bowl. Break it up as much as you can and use a hand mixer to make sure it is all fine crumbs. Mix in 1/2-2/3 can of cream cheese frosting until thoroughly combined. The resulting dough should be about the texture of cookie dough.
Press the dough into the brownie pan and freeze overnight.
When you’re ready to coat the little cakes, melt your white chocolate one bag at a time in microwave safe bowls, stirring every 45 seconds until it’s smooth.
Pop your little cakes out onto an aluminum foil lined baking sheet and coat them in the melted chocolate using a fork to dip them in and out. Transfer them onto the same baking sheet and leave about an inch in between the coated pieces. Refrigerate until the chocolate is fully set, about 2 hours, before decorating.
Keep finished product chilled for up to 5 days.
Leave a Reply
You must be logged in to post a comment.