Welcome to the mask. Yes, that was a totally dramatic intro, but I feel like this mask/scrub deserves it! I discovered this after years of acne products that only served to make my acne worse. After a lot of research and experimenting, this is what I came up with. I’m constantly tweaking it and you can feel free to make your own tweaks based on your own research and skincare concerns.
I am no skin expert or dermatologist, but I am an adolescent acne survivor. Granted, a lot of my acne problems were due to age, but a lot of it was also due to the fact that I didn’t know how to properly care for my skin. There was so much information out there that was all so conflicting. One thing I learned form my grandma is that natural is always better, so when I stumbled upon a book for natural acne treatments, I tried a few recipes and realized that grandma was definitely onto something.
As it usually goes with me, I started researching natural cures more and more and I discovered that a lot of what I had thought previously was not true. Adolescent me heard that oily skin was acne prone, so I deduced that oil causes acne. I had the brilliant idea of not only using oil control products, but also of quitting moisturizer. Yes, I am aware of how awful that probably sounds. It can’t be as awful as it actually was. My face felt awful and even more acne appeared! My research taught me that it is actually quite the opposite. Skin is oily because it’s actually dry. I know, it’s wild. All I can think of is the Disney movie Cars when one of the main characters advises that if you steer hard enough left, you’ll go right. It’s the same way with skincare. If your face is too dry, your pores work overtime trying to produce enough oil and you end up with clogged pores.

I also learned that early soap had animal fat in it since oil is actually cleansing. Fat and oils wash dirt away. I don’t know how oils got such a bad rap, but I can honestly say I’m glad I decided to try them. I have been using coconut oil for my cleanser and makeup remover for years now and my skin has improved so much since I first started.
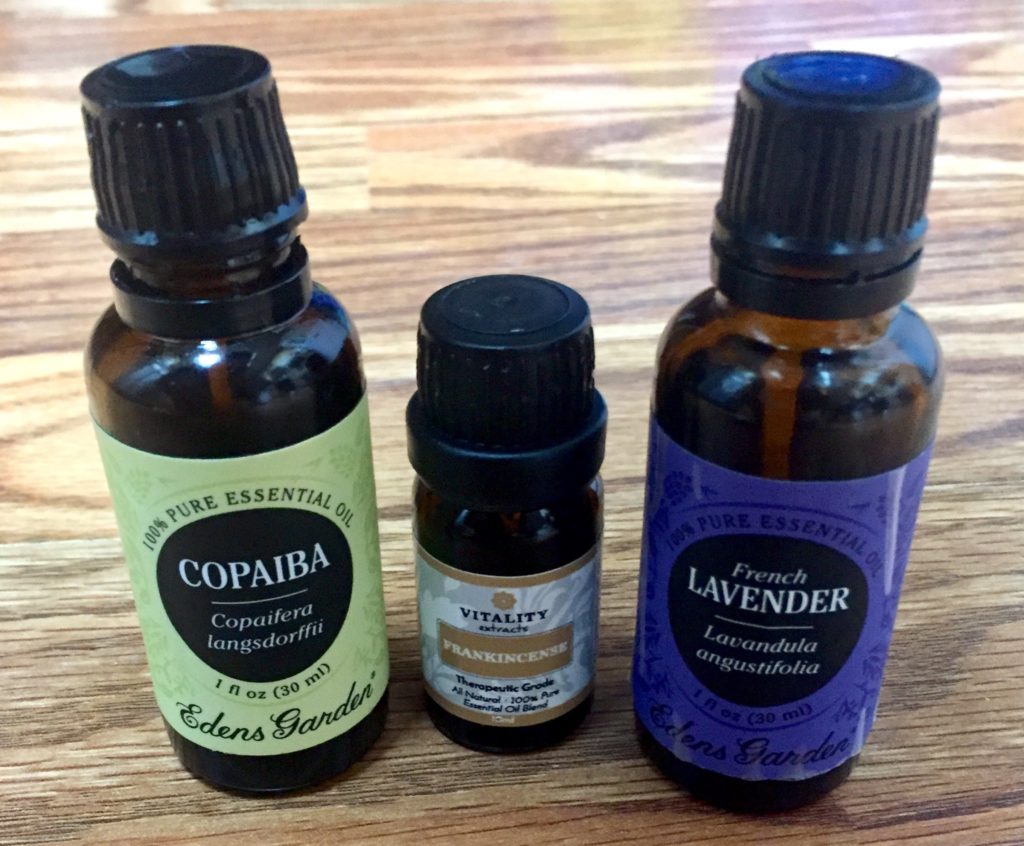
As the years went on and I researched more, I also added essential oils into my routine. You don’t have to add them into this recipe, but I love the boost they give it.
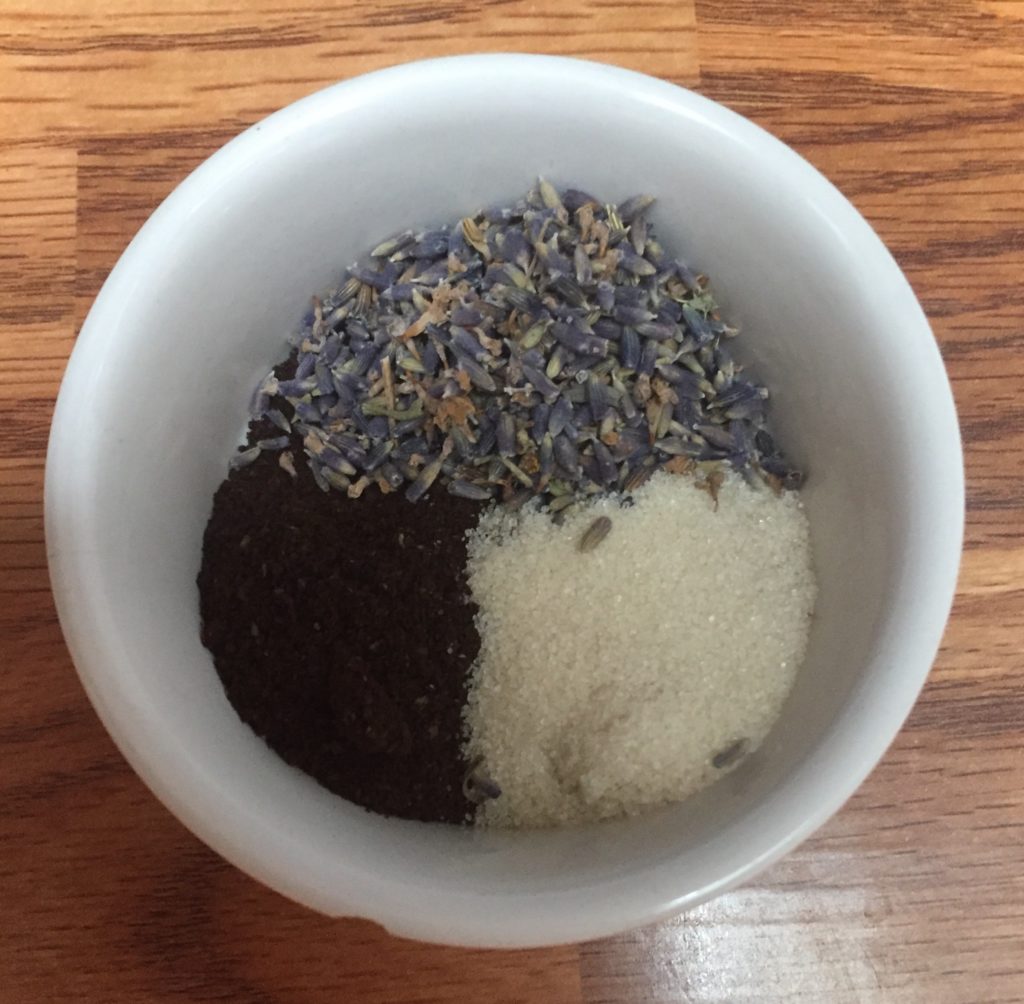
I find it best to mix this all in a stainless steel or glass bowl- especially if you do use the oils! They can damage a plastic or wooden bowl. I show the ingredients all fancy here since it’s a blog, but you can just dump them all in. There is no need to mix wet and dry ingredients separately if you don’t want to.
I am so glad I have lavender buds to use as an exfoliating agent! Lavender is awesomely calming to the skin and it adds such a pleasant aroma to this facial that it feels truly spa like. My wonderful neighbors provided me with this from their own backyard, but if you do decide you want dried lavender buds, I’m sure your local natural store or good ol’ Amazon can hook you up.
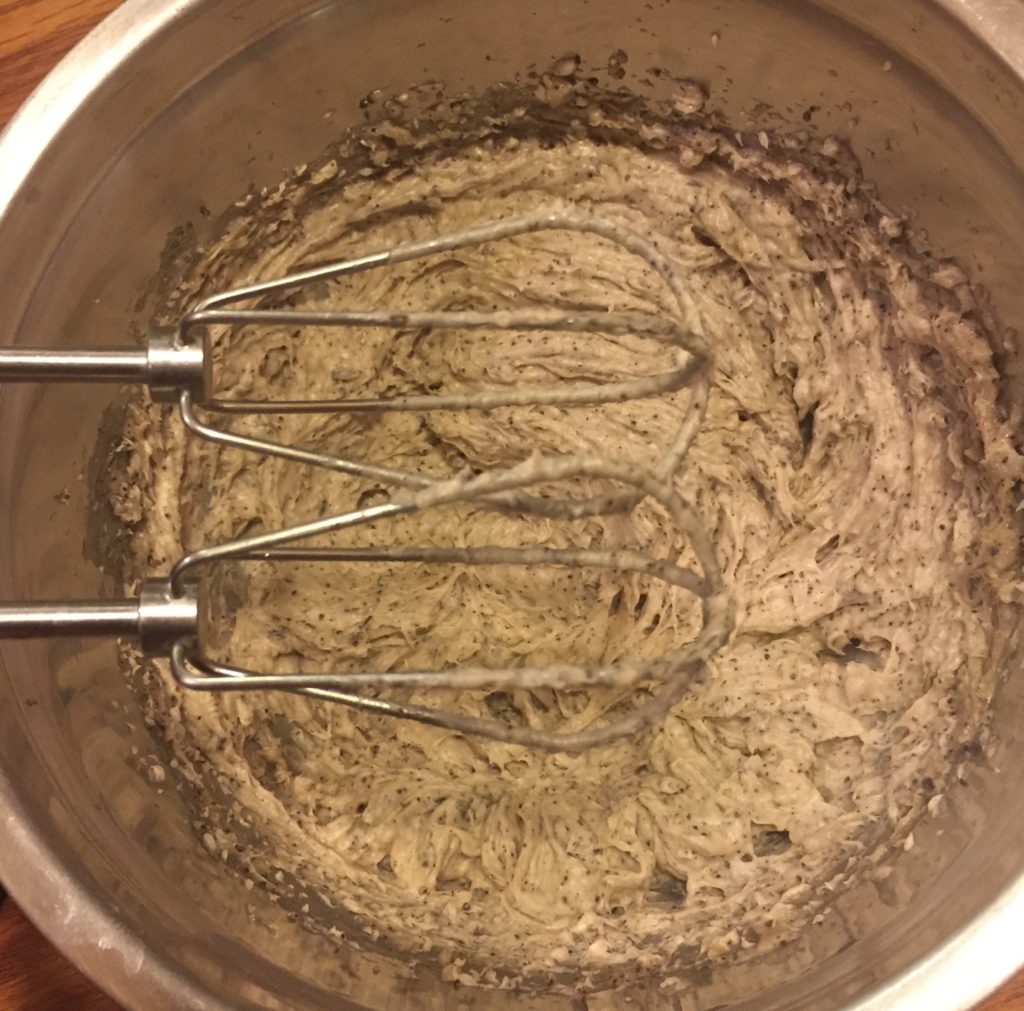
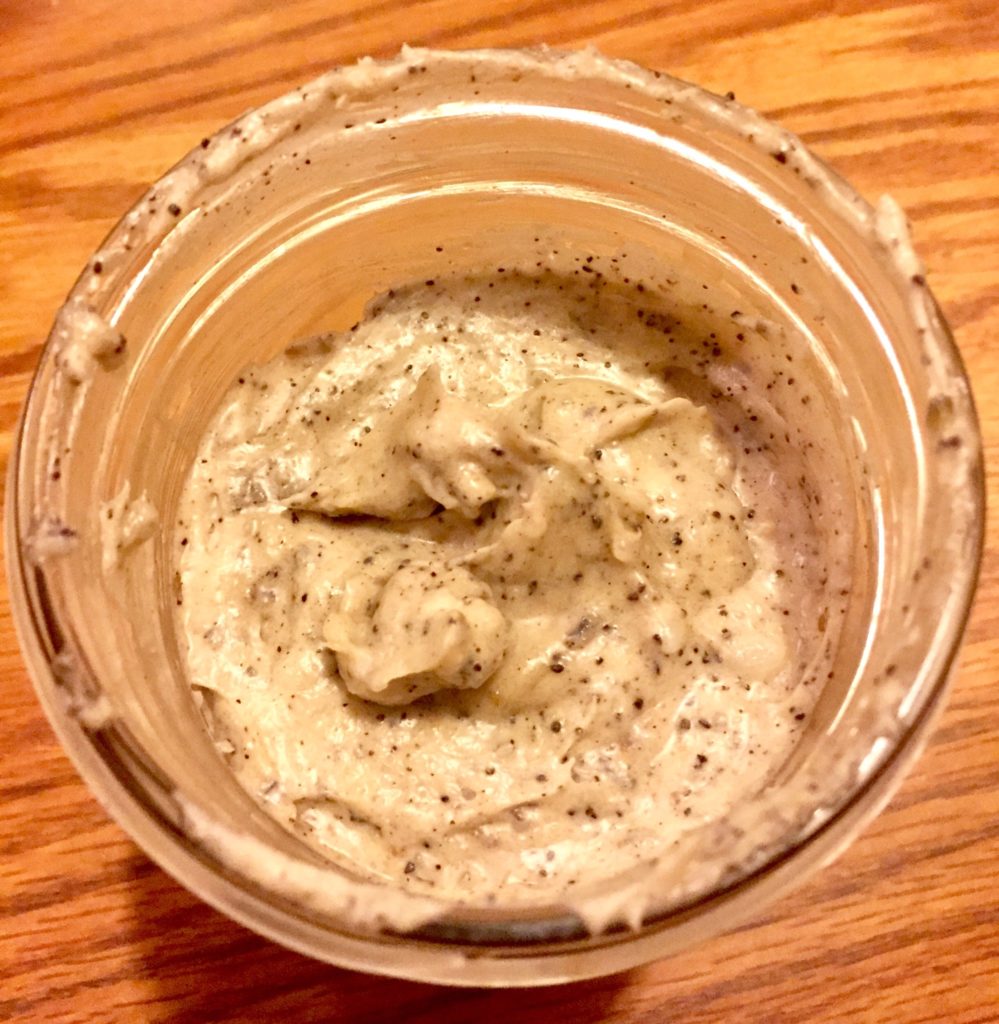
The trick to this is to beat it all together with the hand mixer for a few minutes. It gets a nice light texture and it almost melts on your skin. Once it’s all fluffy and smelling like a spa, transfer it to a large, clean glass container. Essential oils can break plastic down pretty quickly so definitely use glass!
The essential oils along with the vitamin E oil and honey all act as natural preservatives. I have never had it go bad or smell rancid on me but definitely discontinue use if you notice any unpleasant changes. Also, be careful with the essential oils you add. Some can be dangerous around the eyes and others can cause photo sensitivity. I’m not a dermatologist or an aromatherapist- I’m just a girl who reads a lot and likes to experiment with natural skincare. Just because it’s natural, never assume that it can’t be dangerous. Always be cautious and do s test on a small area of skin before using anything new. It’s a bummer but anyone can be allergic to anything no matter how natural it is.
Now that my disclaimer is over, we can talk about how to use this scrub/mask. I like to use it in the morning and just use pure coconut oil at night since it takes all my makeup off. If I’m in a hurry, I massage this onto my face for about a minute and then I leave it while I brush my teeth. I leave it on through my shower and right before I get out, I wash the mask off gently with warm water. Some coconut oil residue stays and I just gently pat it away with my towel when I dry off and then I do my makeup. I don’t use soap on my face or additional moisturizer. Just this mask/scrub in the morning and coconut oil at night. It’s a pretty simple routine and I’m really glad I found something that works for me fairly early in life. If I have extra time, I like to sit with this on my face while I have my morning coffee and wash it off like usual. You could definitely use it at night too- just wash it away with warm water and pat your face dry. You can even use it on your legs before shaving for a super smooth shave! However you decide to use it, I think you’ll love it as much as I do.
Also, this makes an awesome gift! This recipe makes about 1 1/2c. of scrub but you could consider doubling -or even tripling- it to make a large batch and fill several smaller mason jars. I plan on doing that for my co-workers and friends this holiday season. Stay tuned for another personal favorite diy recipe for spray on body lotion!
Natural Face and Body Scrub
Ingredients:
- 1 c. pure coconut oil, room temperature
- 1T. coffee grounds
- 1T. organic raw sugar
- 1T. dried lavender buds (optional)
- 1T. pure honey
- 1T. natural aloe vera gel
- 1T. vitamin E oil
- 8 drops each pure Lavender, Frankincense, and Copaiba essential oils (optional)
Combine all the ingredients together in a steel or glass dish. Note: I don’t always use exact measurements on the wet ingredients so don’t worry- you can just eyeball it.
Using a hand mixer, beat on low setting for 30 seconds and gradually turn it up to high. Beat on high setting for about 2 minutes until the mixture becomes milky looking and airy in texture. Use a spatula to transfer it to a clean glass jar. Put the lid on tight and store in a cool place. Makes approx. 1 1/2c.
Recipe may be doubled or tripled to make a large batch for gifting and sharing!
Leave a Reply
You must be logged in to post a comment.