Do you ever feel like the more effort you put into learning about something, the less you come away knowing? I feel like that with just about everything recently and cold brew coffee is no exception. I have been on a quest to make true homemade cold brew for some time now. Not just buying those home cold brew packs from the grocery store and putting them in a pitcher with however much water it tells me to. There’s nothing wrong with going this route and one of the best cold brews I’ve ever had came from a cold brew pitcher pack, but I want the satisfaction of drinking a cold brew that I made from scratch and thinking “This is incredible!”
I have tried several times and failed, so I decided to research cold brew as much as I could to find the perfect coffee beans, perfect grind, perfect brew ratio, and perfect steep time. To say my results were mixed is a VAST understatement. There were posts that said you need a coarse grind and posts that used a regular bag of coffee from the grocery store. Some steeped it for 12 hours, and some went for 24. I saw brew ratios ranging from 1:2 all the way to 1:12. After researching it, I’ve never known less about cold brew.
If you read last week’s blog post called “What’s so Great About Cold Brew?,” you’ll know why it was worth all the trouble of researching. I finally decided that since it probably wasn’t going to explode on me, I would just dive in, try my own recipe, and see what worked. I once read the phrase regarding coffee “If you like the taste of it, it’s right.” and I decided to use this phrase as my guiding light and experiment until I found cold brew that I personally loved.
The first choice is what coffee you’re going to use. Pretty much anything works for cold brew, but a lot of people like to use a darker roast. I decided I would go with Death Wish Coffee. They claim to be world’s strongest coffee, but of course, I read an article discussing why this may not be true. Instead of driving myself crazy researching yet another thing, I just closed my eyes and bought a bag of whole bean. It’s delicious dark roast coffee and that’s all I need to know. It should be really accessible too. Most Hy-Vee stores carry it in ground AND whole bean so you’re in business.
When deciding on what coffee to water ratio I wanted to use, I decided to err on the side of too strong. If you make your cold brew too strong, you can add water or milk until you tone it down to your liking. If you get it too weak on the other hand, there’s really not much you can do. You can always make it weaker but you can’t make it stronger. Knowing I like a strong, robust cold brew, I decided to start at a 1:6 ratio, 1 cup of coffee and 6 cups of spring water. Spoiler alert: this ended up being the perfect ratio for me!
Of course I also couldn’t get a straight answer on the grind size of your coffee. Most places said that you had to buy whole bean coffee and grind it coarsely, but there were also a couple of recipes that said to grind it slightly finer, or even use a bag of regular old coffee from the grocery store. I tried a finer grind and a coarser grind and I find a grind closer to sea salt works best since you have to strain the grounds and I have found that a finer grind leaves a grainy texture. I’m sure you could filter it an extra couple times the get the graininess out, but if you can go with a coarser grind, it will save you a lot of headache.
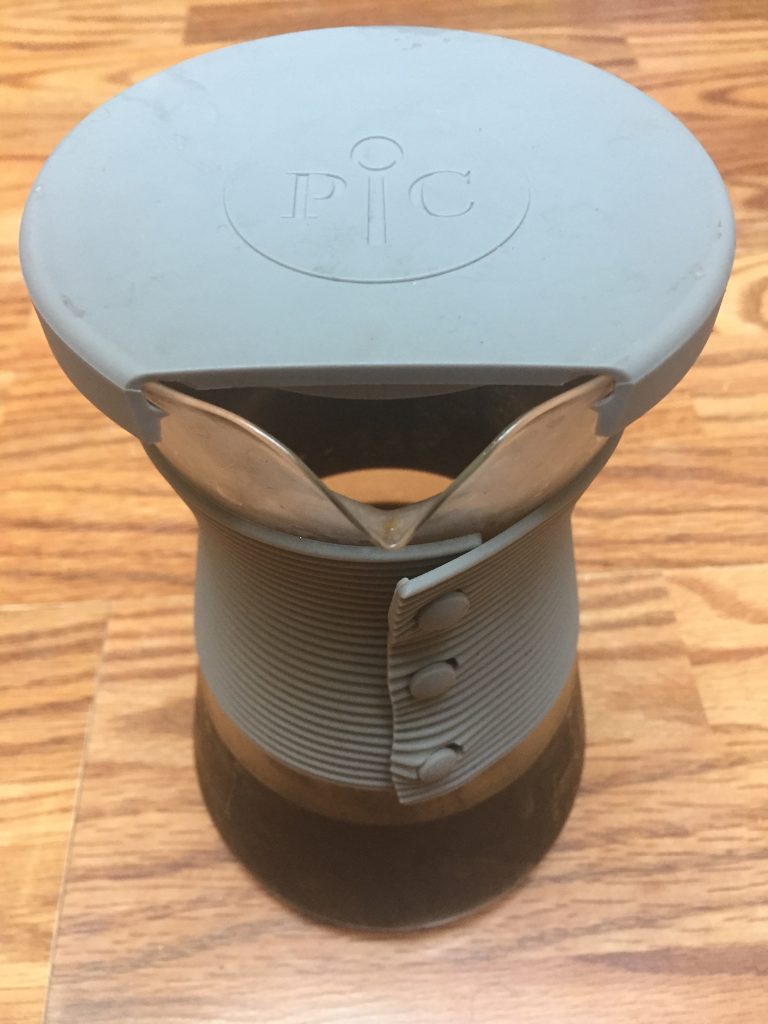
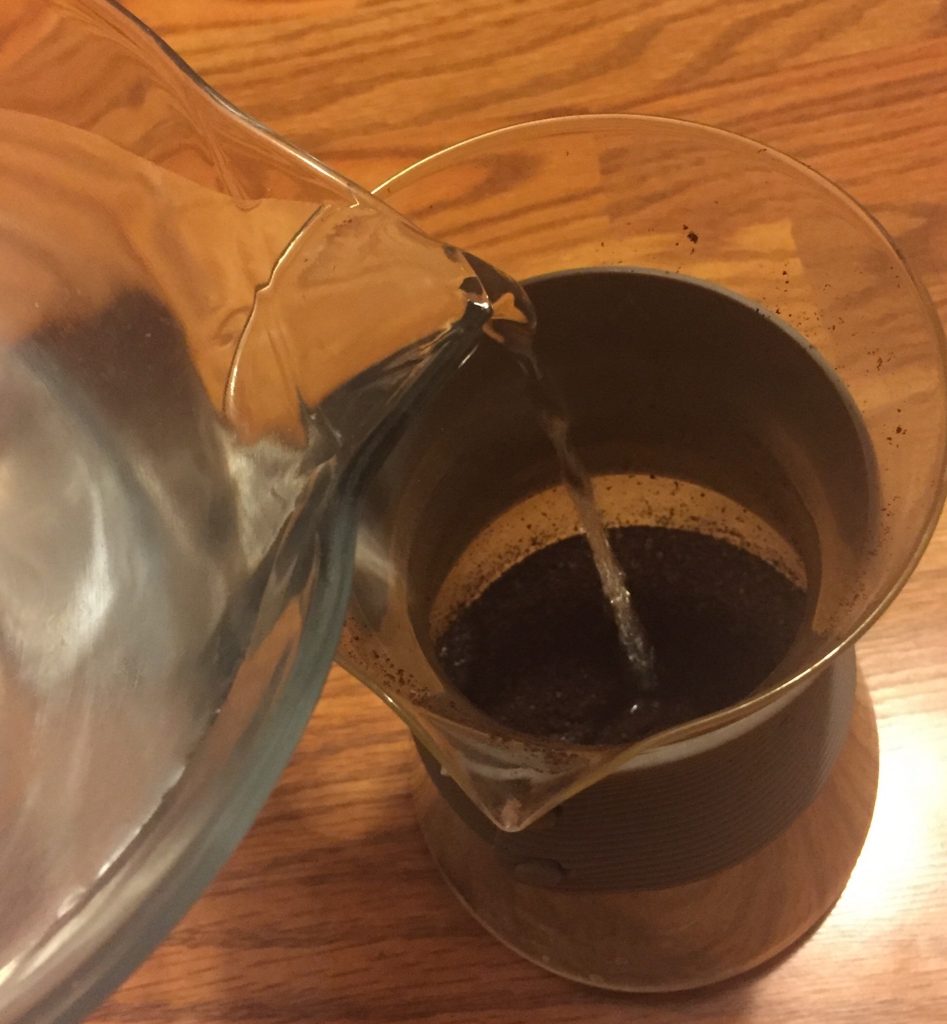
I use a Mr. Coffee Burr Mill grinder since burr grinders give you a more even grind size. I set it for a french press grind and I grind 1/2c. of beans at a time. Pour your grounds into a glass pitcher and add in your water. I admit I usually try to add an extra 1/2c. of water since the coffee grounds absorb some of the water and I like to have an exact 6 cups of cold brew since I measure for my coffee drinks.
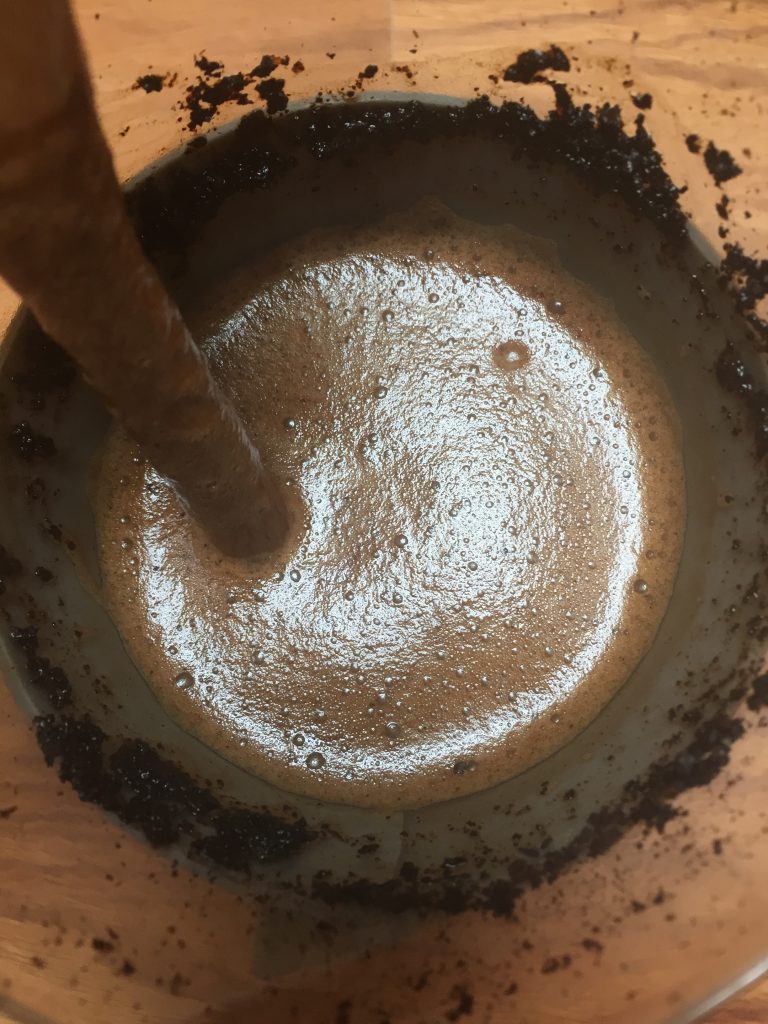
Give the mixture a stir with a long handled spoon so all the grounds get incorporated and set it in the fridge. Some places say you can leave it on the counter and others say that bacteria can grow if you leave it out for longer than 12 hours. Since I steep for the full 24, I leave it out half the time and refrigerate it for the other half, but sometimes I’m lazy and just pop it in the fridge to begin with and it turns out tasty both ways. Give it another stir or two during the 24 hour time period, and when time is up, it’s ready to become the tastiest cold brew ever!
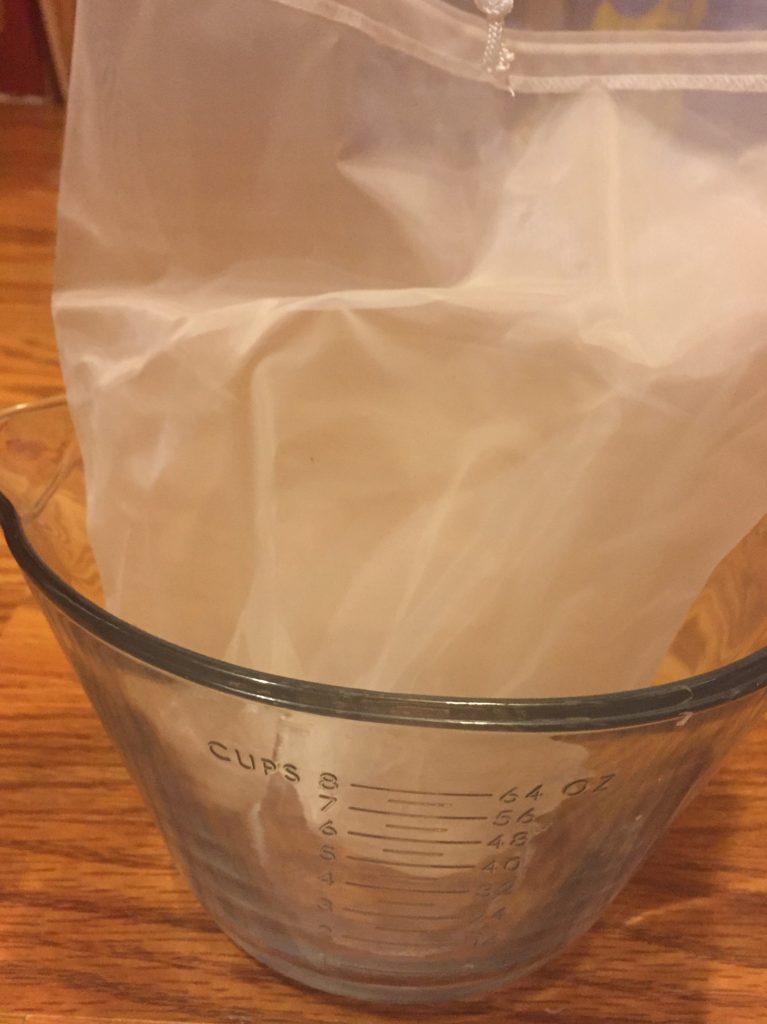
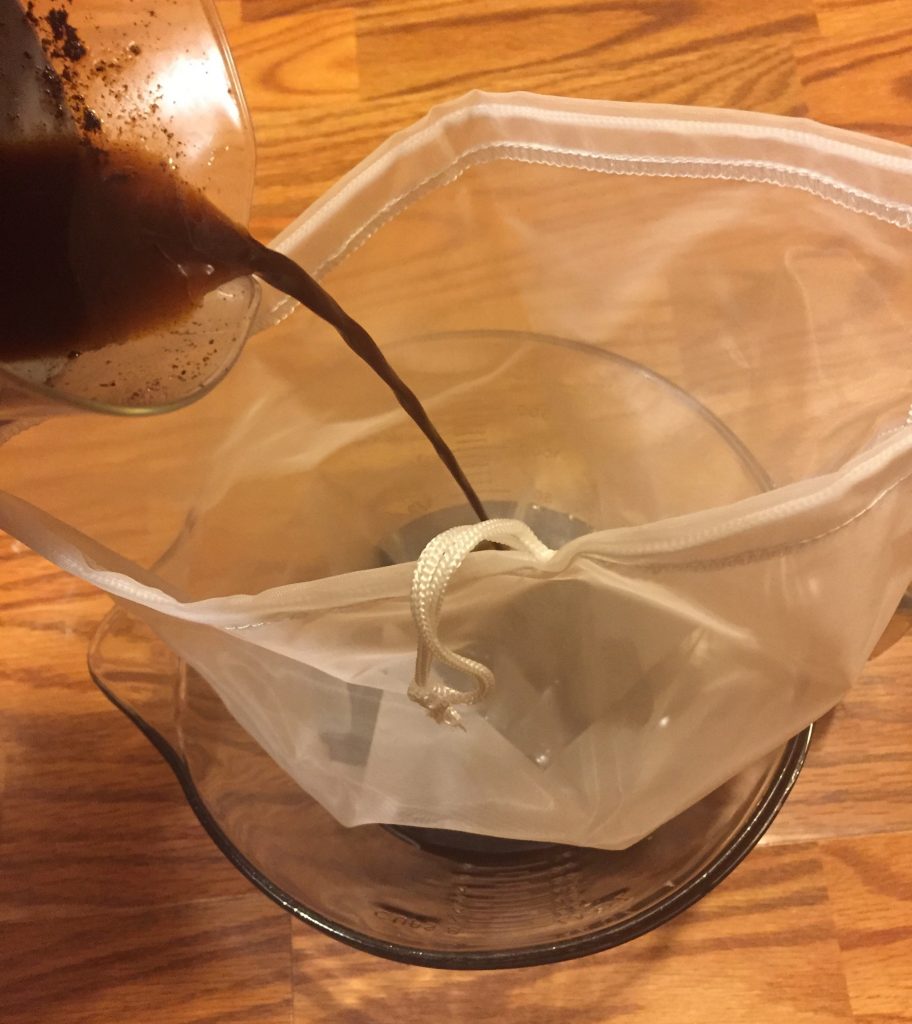
I used “The Bigger, Better, Nut Milk Bag” that I got from Amazon, but you can use cheesecloth, a fine mesh strainer, or even a regular coffee filter if you can find something to hold it in place.
Once you have all the coffee squeezed out of its filter, you can now put it through another filter, or you can pour it back into a glass pitcher and get yourself a glass of ice! Too weak? Add a little more coffee next time or a little less water. Too strong? Add some milk or water and take note of how much you added. Maybe a 1:8 ratio might suit your taste buds better.
If you would like to try a cold brew concentrate, you can make your cold brew at a 1:2 ratio. I have tried this also. You can add milk to make it like a latte, or you can you can drink your cold brew hot by adding in 1c. hot water to 1/2c. cold brew concentrate. If you’re wondering why you would want to go through the trouble of making cold brew only to heat it up, read last weeks post that I mentioned earlier. I explain the whole deal with cold brew. I personally prefer to make it at a regular dilution and drink it over ice with a bit of cream and sweetener.
I encourage you to experiment with your cold brew and try new things. Make sure you write everything down so you can remember what you did when you finally sip that perfect cold brew that makes your taste buds sing.
Cold Brew Coffee
Ingredients:
- 1c. coarsely ground coffee beans
- 6 1/2c. spring water
Additional Items:
- Glass pitcher
- Additional pitcher or bowl of the same size or larger
- Coffee grinder
- Nut milk bag or other straining device such as cheesecloth.
Instructions:
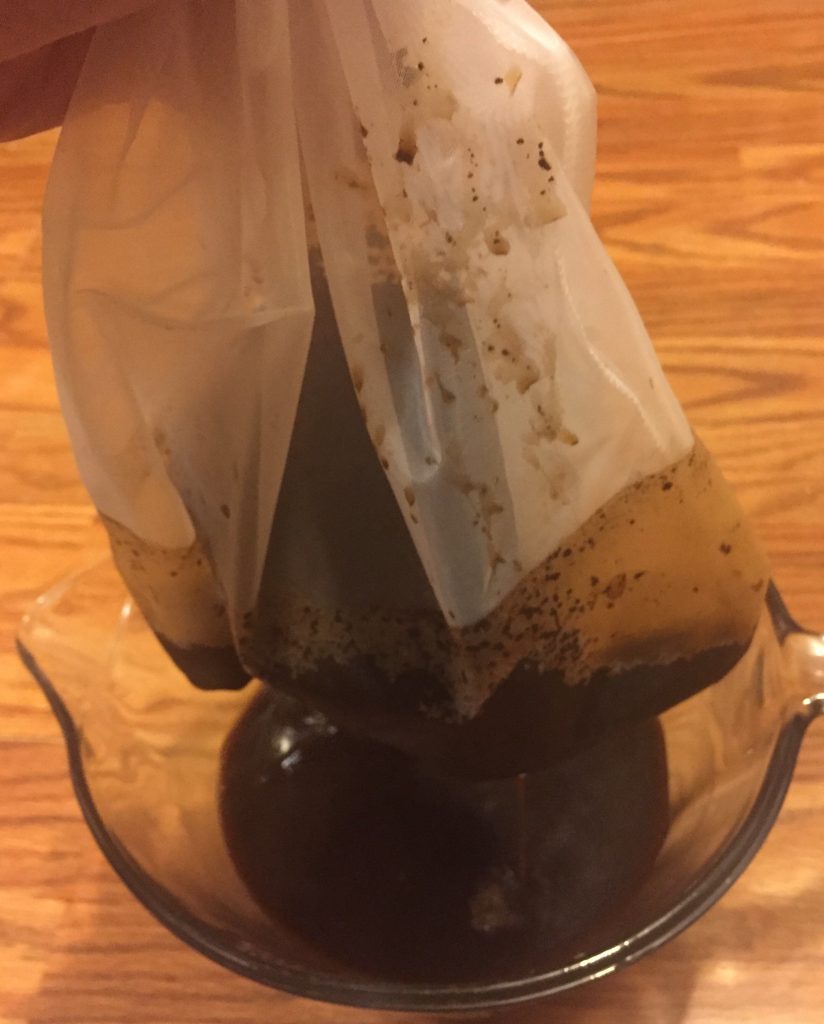
Grind 1c. of coffee beans on a french press setting and pour the coarse grounds into a glass pitcher. You may have to grind the beans 1/2c. at a time. Pour in 6 1/2c. spring water and stir until the grounds are all incorporated with the water. Place in the fridge for 24 hours, stirring a couple more times during this time period. When time is up, place the strainer in a big bowl or pitcher that can hold the contents of the cold brew pitcher. Give the coffee grounds and water another good stir before pouring them through the strainer and into the other bowl/pitcher. Lift out your strainer and gently squeeze the last of the coffee out of the grounds. Put your strained coffee into a covered pitcher or container to store it in the fridge and enjoy your delicious cold brew all week long! You can add more milk or water if it’s too strong, or add less water or more coffee next time if you find it too weak. Always start stronger and go weaker.
Leave a Reply
You must be logged in to post a comment.